Advertisement
Quick Links
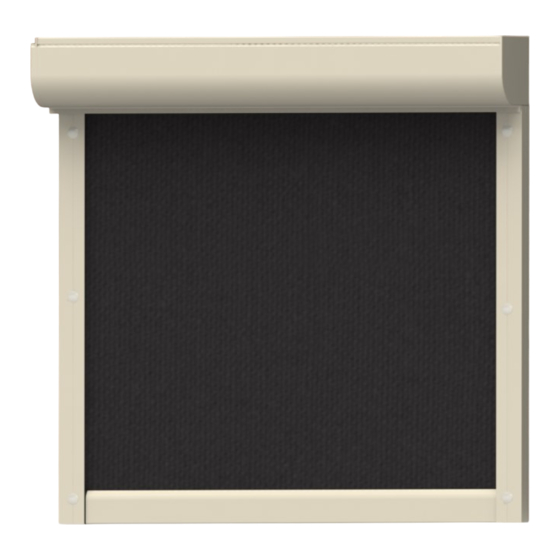
MaestroScreens
Adjustable Track
(recessed or surface mounted)
with
5.5" Rounded Hood
Installation Manual
MaestroShield ® Headquarters: Florida, USA 33916
Office: +1.239.596.8883 • Fax: +1.239.596.8823 • Toll Free 866.549.0269
Email: sales@maestroshield.com
www.MaestroShield.com
Copyright © 2014 MaestroShield. All Rights Reserved
April 2023
1
Motorized Screen System Installation
Screen Systems by MaestroShield
®
Advertisement

Summary of Contents for MaestroShield MaestroScreen
- Page 1 5.5” Rounded Hood Installation Manual MaestroShield ® Headquarters: Florida, USA 33916 Office: +1.239.596.8883 • Fax: +1.239.596.8823 • Toll Free 866.549.0269 Email: sales@maestroshield.com www.MaestroShield.com Copyright © 2014 MaestroShield. All Rights Reserved April 2023 Motorized Screen System Installation Screen Systems by MaestroShield ®...
- Page 2 Content • Recommended Tool List • Recommended Fasteners • First part: Surface Mount Installation • Second part: Trapped Installation Screen Systems by MaestroShield ® Motorized Screen System Installation...
- Page 3 The installation of the MaestroScreen System is a result of the measurements taken at the beginning of the project. For the seasoned installer the entire process can be completed in 45 minutes. The screen is a series of 90° degree angles. The more level, flush, and plum the side tracks and hood, the easier the installation.
- Page 4 MaestroScreens This installation manual is divided into two sections. Please follow instructions for proper installation: First part: Surface Mount Installation Second part: Trapped Installation MaestroScreens Screen Systems by MaestroShield ® Motorized Screen System Installation...
- Page 5 MaestroScreens First part: Surface Mount Installation Manual MaestroScreens Motorized Screen System Installation Screen Systems by MaestroShield ®...
- Page 6 If bottom bar needs to clear opening, add an additional 3” to opening of measurements (X) Step 4. Fasten bottom anchors of both side caps. Screen Systems by MaestroShield ® Motorized Screen System Installation...
- Page 7 A professional electrician should be consulted. Step 7. Program remote to motor using the programming instructions, once synchronized, position Keder groove the motor tubes keder groove facing towards you shown with the arrow. Motorized Screen System Installation Screen Systems by MaestroShield ®...
- Page 8 Example Only: Below is Smart Motor with Drip Loop Drip Loops should be used on all motor types. IMPORTANT Screen Systems by MaestroShield ® Motorized Screen System Installation...
- Page 9 Step 10. Using a level, adjust the left side track until leveled. When leveled, predrill and insert bottom fastener. Insert remaining fasteners. Repeat for right side. IMPORTANT: Side tracks MUST BE installed plumb and flush for proper operation of Screen. Motorized Screen System Installation Screen Systems by MaestroShield ®...
-
Page 10: Installation | Screen
The screen must be rolled up on the back side of the motor tube as shown. Welding always faces front of the bottom bar Screen Systems by MaestroShield ® Motorized Screen System Installation... - Page 11 Insert the rest of the adjustment screws (# 6x1” flat head sheet metal screws) except the topmost one. Make sure not to tighten as much as in the third picture below. Allow some slack in the screen for the next step. Motorized Screen System Installation Screen Systems by MaestroShield ®...
- Page 12 Alternatively add more weight to the bot- tom bar if you install the screen in a windy area. Make sure the limits are set correctly. Screen Systems by MaestroShield ® Motorized Screen System Installation...
- Page 13 NOTE: If installation has concealing cover a hood face is not necessary! Step 22. Reattach front hood using #10 3/4” Hex Head self tapping screw into each side of the bottom section of the hood. Congratulations to a successful install! Motorized Screen System Installation Screen Systems by MaestroShield ®...
- Page 14 MaestroScreens Second part: Trapped Installation Manual MaestroScreens Screen Systems by MaestroShield ® Motorized Screen System Installation...
- Page 15 Install hood assembly into top of opening in desired position using hole fasteners in side caps. Level bottom of hood, using a level. Adjust hood and fasteners if hood is not leveled. Motorized Screen System Installation Screen Systems by MaestroShield ®...
- Page 16 A professional electrician should be consulted. Step 6. Program remote to motor using the programming instructions, once synchronized, position Keder groove the motor tubes keder groove facing towards you shown with the arrow. Screen Systems by MaestroShield ® Motorized Screen System Installation...
- Page 17 Example Only: Below is Smart Motor with Drip Loop Drip Loops should be used on all motor types. IMPORTANT Motorized Screen System Installation Screen Systems by MaestroShield ®...
- Page 18 2. Fasten outer tracks inside the channels using a level and self tapping sheet metal screws. Step 10. Adjust the left side track until leveled. When leveled, insert bottom fastener. Insert remaining fasteners. Repeat for right side. Screen Systems by MaestroShield ® Motorized Screen System Installation...
- Page 19 The screen must be rolled up on the back side of the motor tube as shown. Welding always faces front of the bottom bar Motorized Screen System Installation Screen Systems by MaestroShield ®...
- Page 20 Insert the rest of the adjustment screws (# 6x1” flat head sheet metal screws) except the topmost one. Make sure not to tighten as much as in the third picture below. Allow some slack in the screen for the next step. Screen Systems by MaestroShield ® Motorized Screen System Installation...
- Page 21 NOTE: If installation has concealing cover a hood face is not necessary! Step 20. Reattach front hood using #10 3/4” Hex Head self tapping screw into each side of the bottom sec- tion of the hood. Congratulations to a successful install! Motorized Screen System Installation Screen Systems by MaestroShield ®...
- Page 22 B. Check the setting of the upper limit on the track tube. motor. The bottom bar should always stay en- D. Tube may not be leveled. gaged in the track. E. Outer tube not centered Screen Systems by MaestroShield ® Motorized Screen System Installation...
Need help?
Do you have a question about the MaestroScreen and is the answer not in the manual?
Questions and answers