Table of Contents
Advertisement
Quick Links
Advertisement
Table of Contents

Related Manuals for Nickelodeon pinkfong BABY SHARK BSDVD902


Summary of Contents for Nickelodeon pinkfong BABY SHARK BSDVD902
- Page 1 BSDVD902 USER MANUAL...
-
Page 3: Table Of Contents
Table of Contents Safety Precautions Main Features In the Box Swiveling LCD Screen Main Unit Controls System Connection Basic Operation Playing DVDs and CDs Virtual Remote Operation Viewing Photos (JPEG Files) Playing MP3 Files System Setup General Setup Video Setup Preference Setup Battery Troubleshooting... -
Page 4: Safety Precautions
Safety Precautions Please read this manual carefully prior to use and keep it for future reference. Use care to avoid electric shock WARNING: To reduce risk of fire or electric shock, do not expose this device to rain or moisture. 1. - Page 5 This device complies with Part 15 of the FCC Rules. Operation is subjected to the following two conditions: (1) this device may cause harmful interference, (2) this device must accept any interference received, including interference that may cause undesired operation. NOTE: This equipment has been tested and found to comply with the limits for a Class B digital device, pursuant to Part 15 of the FCC Rules.
-
Page 6: Main Features
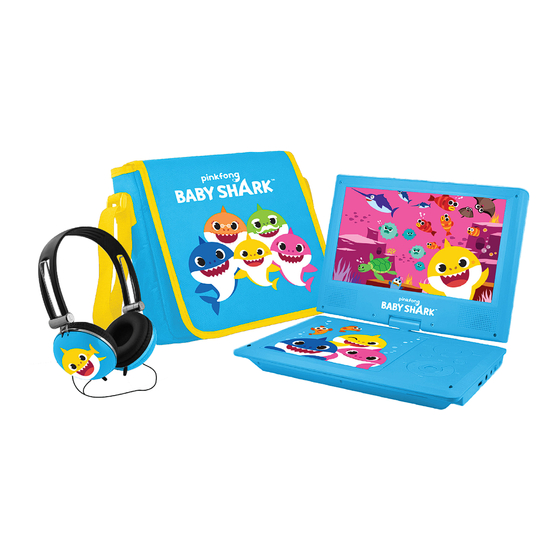
Main Features • Colorful 9” adjustable LCD screen • Compatible with various disc formats: DVD, VCD, MP3, CD, JPEG, AVI, MP4 • Built-in stereo speaker • Built-in rechargeable Lithium Polymer battery • Supports PAL or NTSC systems • Supports multi-language OSD, fast forward/rewind and repeat In the Box •... -
Page 7: Swiveling Lcd Screen
Swiveling LCD Screen Swivel the LCD screen up to 180˚ for optimal viewing angles. -
Page 8: Main Unit Controls
Main Unit Controls VOL- button DVD/USB/SD/Setup (Press for DVD/USB/SD; press and hold for setup) VOL+ button FUNCTION STOP PLAY/PAUSE Scroll LEFT/REWIND, DOWN/SKIP TO END, RIGHT/FAST FORWARD, UP/SKIP TO START Open DC IN 5V Power ON/OFF switch AV OUT Headphone jack SD card slot USB port... -
Page 9: System Connection
System Connection Charging Plug one end of the micro USB cable into the DC IN 5V port on the side of the unit, and then plug the other USB end into the power adapter. The device can now be plugged into a power outlet. Connecting to a TV You can connect the device to a TV to enjoy high quality videos and stereo... - Page 10 Connecting to an External Speaker The device can be connected to an external speaker. Please refer to the diagram below: *NOT INCLUDED NOTE: 5.1 surround sound will only be available after connecting to an amplifier.
-
Page 11: Basic Operation
Basic Operation Playing DVDs and CDs 1. Plug the DVD player into a power source. 2. Open the device and adjust the screen to the preferred position. 3. Turn the device on by sliding the ON/OFF switch to ON. 4. Open the disc door and insert a disc with the label side facing up. 5. - Page 12 : View the number bar. When playing DVDs, you can change the chapter and the title. When playing CDs, you can select the track. Use up/down/left/right keys to move the cursor. Press OK to confirm. NOTE: To select the title, enter two numbers. M (Menu): Enter/exit main menu.
-
Page 13: Viewing Photos (Jpeg Files)
Viewing Photos (JPEG Files) 1. To view JPEG photos on a disc, insert the disc into the player. The device will read it and begin playback immediately. 2. Press and OK to select a JPEG file from the menu. 3. Press to rotate the picture. -
Page 14: System Setup
NOTE: 1. The quality and speed of reading JPEG files depends on the resolution and compression of the photos. Some JPEG files may not be played due to disc quality and formatting. 2. Some DVD+R/RW,DVD-R/RW,CD-R/RW discs may not be played due to the quality of burning. -
Page 15: Video Setup
OSD Language Select this option to set the language. The default is English. Optional settings: English, French, German, Italian, Spanish, and Portuguese Screen Saver Select this option to activate or deactivate the screen saver function. The default in Text to Speech Select this option to set text to speech function. -
Page 16: Preference Setup
Preference Setup Audio Select this option to set the preferred audio language for DVDs. The default is English. NOTE: The audio language depends on the material on each disc. During playback, the audio language can be changed by pressing the Audio button. Subtitle Select this option to set the preferred language for onscreen subtitles. -
Page 17: Battery
Default Select this option and press OK to reset all settings to original factory settings. Battery Rechargeable Battery Use This devices uses a lithium polymer battery for portable power supply. The battery has no memory effect and thus can be recharged safely regardless of whether the battery is fully charged. -
Page 18: Troubleshooting
Troubleshooting No sound or distorted sound Make sure the DVD player is connected properly. Make sure all cables are securely inserted into the appropriate ports. Can’t advance through a movie The disc is programmed to prohibit any action attempting to skip through the opening credits and warning information that appear at the beginning of movies. -
Page 19: Specifications
Specifications Compatible discs: DVD+R/RW, DVD-R/RW, CD-DA, CD-R/RW, MP3, JPEG, and VCD. Signal system: NTSC/PAL Panel size: 9 inch Picture resolution: 800 x 480 (RGB) Frequency response: 20 Hz to 20 kHz Video output: 1 Vp-p/75 Ohm, unbalanced Audio output: 1.4 Vrms / 10 kOhm Audio S/N: 80 dB Dynamic range:... -
Page 20: Need Help
Need Help? For customer support regarding your device, please submit a request by emailing support@dpaudiovideo.zendesk.com. You will be provided a ticket number regarding your inquiry, which you can refer to when contacting us further. You may also reach a DP AV customer service representative by calling 1-833-909-2673. -
Page 21: Warranty Information
Warranty Information Limited Warranty DP AV (the “Company”) warrants the product purchased and contained in this package (the “Product”) against defects in material or workmanship for 90 Days (Parts & Labor) and 1 Year (Limited). In order for the Company to honor this limited warranty, you must present a valid proof of purchase (i.e.
Need help?
Do you have a question about the pinkfong BABY SHARK BSDVD902 and is the answer not in the manual?
Questions and answers