Advertisement
Quick Links
Advertisement

Subscribe to Our Youtube Channel
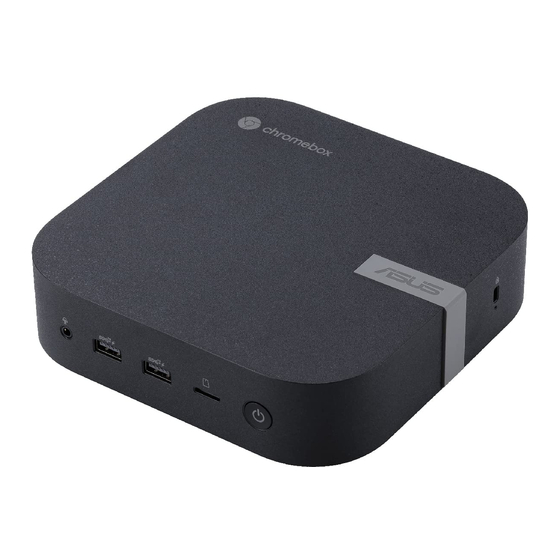
Summary of Contents for Asus Chromebox 5
- Page 1 ASUSTeK Computer Inc. [Chromebox 5 / CN67] RMA Shim Flow for Self-Repair...
-
Page 2: Table Of Contents
Index RMA Shim Flow for Self-Repair ............................2 Introduction ..................................2 Preparation ..................................2 Create RMA Shim Bootable USB Drive ........................2 Disable Hardware Write Protection ........................... 7 Enter Developer Mode (DEV mode) .......................... 8 Enable USB Boot & Install RMA Shim ........................10 Finalize Device Information ............................ -
Page 3: Rma Shim Flow For Self-Repair
2) An USB flash drive with at least 8GB capacity Create RMA Shim Bootable USB Drive 1) Access ASUS Support to download the corresponding RMA shim image. Extract the file after the download is complete, there will be a .bin file. - Page 4 3) Click Add to Chrome or Get if you’re using Edge. 4) Click Add extension. 5) Click extension icon on the browser, find and click Chromebook Recovery Utility.
- Page 5 6) Insert the USB drive and then click Get started. 7) Click the gear icon in the upper-right corner and select Use local image.
- Page 6 8) Navigate to the .bin file and click Open. (The file name should be something like …_RMA_Bundle.unsigned.bin) 9) Select the target USB drive and click Continue.
- Page 7 10) Click Create now. It takes a while and please don’t shutdown the system. WARNING: All the data and partitions on this USB drive will be deleted. 11) Click Done, then unplug the USB drive.
-
Page 8: Disable Hardware Write Protection
Disable Hardware Write Protection Hardware Write Protection needs to be disabled before installing the RMA shim on a Chromebox. Please ensure that the device is powered off and that the AC power cord is unplugged before proceeding with the following steps. 1) Remove the bottom cover and locate the Write Protection Pin. -
Page 9: Enter Developer Mode (Dev Mode)
Enter Developer Mode (DEV Mode) 1) Connect to AC power, press and hold Recovery Button with a paper clip, and then press Power Button to power on the device. 2) Press Ctrl + D when the following message appears. 3) Press Recovery Button with a paper clip when the following message appears. The system will reboot automatically. - Page 10 4) Press Ctrl + D when the following message appears. The system will reboot again. 5) Following messages will appear during the process. 6) Please press Ctrl + Alt + F2 to enter VT2 (Developer Console) when OOBE shows up.
-
Page 11: Enable Usb Boot & Install Rma Shim
Enable USB Boot & Install RMA Shim 1) Enter Username & Password: root / test0000 2) Enter command: crossystem dev_boot_usb=1, then plug in the USB drive, and then enter command: reboot During system reboot, continuously tap Ctrl + U (long press Ctrl, then tap U) to initiate the installation process. - Page 12 4) Press any key, then select “ I ” and press Enter when the following screen appears. The RMA shim will be installed automatically. 5) Press Enter when “OK” shows up, the device will reboot to Factory Test Mode automatically. 6) Remove the USB drive and shutdown the system by long pressing power button or remove AC power adapter.
-
Page 13: Finalize Device Information
Finalize Device Information 1) Connect to AC power and press power button, the device will boot to factory test mode automatically. 2) Select Update Device Data, enter Serial Number, then press Enter to continue. - Page 14 3) Select Region, then press Enter to continue. 4) System auto reboot.
- Page 15 5) Auto update firmware. 6) Auto HWID checking. 7) System auto reboot.
- Page 16 8) Auto TPM check. 9) Auto reboot for data writing and system finalizing.
- Page 17 10) 1) Upon completion of the finalizing step, the Chromebox will start the wiping process and then shutdown the system. 11) Press Power Button, system boot to OOBE.


Need help?
Do you have a question about the Chromebox 5 and is the answer not in the manual?
Questions and answers