Advertisement
Quick Links
TM
MC
INSTYLE CANADA
ST. JACOBS, ONTARIO, NOB 2NO
©2021 Home Hardware Stores Limited
2022-04-06
OWNER'S MANUAL | MANUEL DE L'UTILISATEUR | GUÍA DE USUARIO
Questions, problems, need help?
If there are any questions or concerns,
TM
please return the product to Home Hardware.
MC
Questions, problèmes ou besoin d'aide?
Si vous avez des questions ou des préoccupations,
veuillez retourner le produit à Home Hardware.
Preguntas, problemas o necesita ayuda?
Si tiene alguna pregunta o inquietud,
devuelva el producto a Home Hardware.
www.homehardware.ca
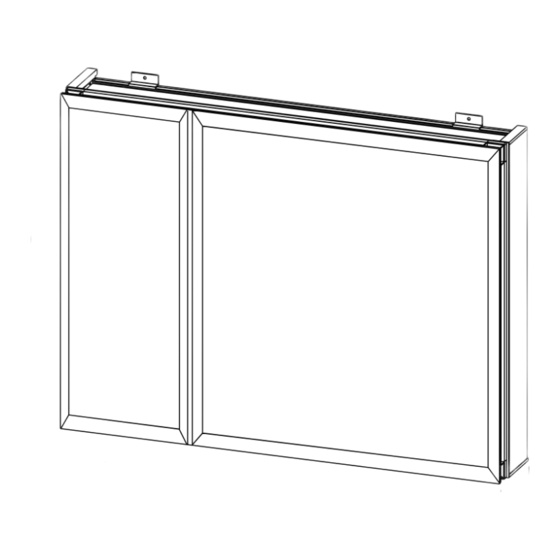
MODEL | MODÈLE | MODELO #3221-242
28" [711]
TIGA
4 13/16" [122]
PAGE 1
Advertisement

Related Manuals for In Style Furnishings TIGA 3221-242

Summary of Contents for In Style Furnishings TIGA 3221-242
- Page 1 TIGA OWNER’S MANUAL | MANUEL DE L’UTILISATEUR | GUÍA DE USUARIO MODEL | MODÈLE | MODELO #3221-242 4 13/16” [122] 28” [711] Questions, problems, need help? If there are any questions or concerns, please return the product to Home Hardware. Questions, problèmes ou besoin d’aide? Si vous avez des questions ou des préoccupations, veuillez retourner le produit à...
- Page 2 TABLE OF CONTENT TABLE DES MATIÈRES TABLA DE CONTENIDOS PART # QUANTITY # DE PIÈCE DESCRIPTION DESCRIPTION DESCRIPCIÓN QUANTITÉ PARTE # CANTIDAD Door (small) Porte (petit) Puerta (pequeño) Inner Shelf Tablette intérieure Estante interior Side panel Panneau latéral Panel lateral Door (large) Porte (grand) Puerta (grande)
- Page 3 TOOLS REQUIRED (not supplied) OUTILS REQUIS (non fournis) HERRAMIENTAS NECESARIAS (no incluidas) Pencil Screwdriver Level Crayon Tournevis Niveau Lápiz Destornillador Nivel Rubber mallet Measuring Tape Drill Maillet en caoutchouc Ruban à mesurer Perceuse Mazo de goma Cinta métrica Taladro INSTALLATION GUIDELINES DIRECTIVES POUR INSTALLATION DIRECTRICES PARA LA INSTALACIÓN When installing this product, the screws should reach...
- Page 4 INSTALLATION GUIDELINES DIRECTIVES POUR INSTALLATION DIRECTRICES PARA LA INSTALACIÓN This unit is designed to be mounted in two different ways as shown below depending on the preference of the door openning direction. By default, the door hinges are adjusted for the mounting shown on the left, which means if this unit is mounted as show on the right, some adjustment of the door hinges may be needed in order for proper door alignment.
- Page 5 INSTALLATION OPTION#1: WALL HUNG OPTION D’INSTALLATION N° 1: SUSPENDUE AU MUR OPCIÓN DE INSTALACIÓN #1: COLGADO EN LA PARED PAGE 5...
- Page 6 INSTALLATION OPTION#1: WALL HUNG OPTION D’INSTALLATION N° 1: SUSPENDUE AU MUR OPCIÓN DE INSTALACIÓN #1: COLGADO EN LA PARED PAGE 6...
- Page 7 INSTALLATION OPTION#1: WALL HUNG OPTION D’INSTALLATION N° 1: SUSPENDUE AU MUR OPCIÓN DE INSTALACIÓN #1: COLGADO EN LA PARED CAUTION! Use the wall anchors (HH) only if the screws (GG) cannot reach any studs. ATTENTION ! Utilisez les ancrages muraux (HH) uniquement si les vis (GG) ne peuvent atteindre aucun montant.
- Page 8 INSTALLATION OPTION#2: RECESS INSTALLATION (HANGING) OPTION D’INSTALLATION N° 2: ENCASTRÉE INSTALLATION (SUSPENDU) OPCIÓN DE INSTALACIÓN #2: EMPOTRADO INSTALACIÓN (COLGADO) 27 3/16" 690 mm 23 7/16" 595 mm PAGE 8...
- Page 9 SHELF INSTALLATION INSTALLATION DU ÉTAGÈRE INSTALACIÓN DE ESTANTE PAGE 9...
- Page 10 HOW TO ADJUST THE DOOR’S POSITION COMMENT RÉGLER LA POSITION DE LA PORTE CÓMO AJUSTAR LA POSICIÓN DE LA PUERTA PAGE 10...
-
Page 11: Maintenance
CONSUMER RESPONSIBILITIES The DISTRIBUTOR’s products will remain beautiful for many years if you properly care for them. The DISTRIBUTOR does not recommend the use of harsh abrasive cleansers on any of its products. Harsh cleansers will damage the finish of your product. MAINTENANCE ▶...
Need help?
Do you have a question about the TIGA 3221-242 and is the answer not in the manual?
Questions and answers