Advertisement
Quick Links
Features
•
Interlinks wirelessly with combined smoke and heat alarm 1171
•
Remote testing of wireless alarms
•
Alarm location feature identifies the alarm that was activated by
silencing other wireless alarms in the system
•
Can be wall mounted using the bracket supplied. Easy to remove the
controller from the bracket to carry out walk around testing
•
Battery powered (AA batteries supplied) with 5 year battery life
•
Visual indication when smoke alarm is activated
•
Over 10 years product life
Safety Instructions
1.
These instructions should be read carefully and retained for future reference.
2.
Never dispose of batteries in a fire and never attempt to recharge ordinary batteries.
3.
Electrical and electronic equipment and batteries should never be disposed of with general household waste but must be separated for its correct
treatment and recovery. Where possible recycle your packaging.
Installation
Wall mounting
The wireless alarm controller should be positioned at an accessible
position, ideally at 1.4m from the floor level.
1. Remove wall mounting bracket from rear of the controller.
2. Use mounting points on the bracket as a template, mark and
drill holes on a mounting surface (Figure 1). Fix the wall
mounting bracket to the wall using screws and wall plugs
supplied.
3. Insert batteries into the wireless alarm controller.
4. Fix the wireless alarm controller onto the wall bracket by
sliding it down the channels on the bracket until secure.
Figure 2
1
P a g e
Figure 1
User and Installation Instructions Manual
Interlinking with Wireless Alarms
A maximum of 50 wireless alarms can be wirelessly interlinked with the
wireless alarm controller. For a quick set-up of the alarm system network,
it is recommended that wireless alarms are placed in close proximity to the
wireless alarm controller.
Pairing/interlinking the wireless alarm controller with a wireless alarm
1.
To enter interlinking mode, press the NETWORKING button on the
rear of the controller 3 times within 2 seconds (Figure 3). The GREEN
LED on the wireless controller will light up indicating that it has
entered networking mode and is ready to be paired with wireless
alarms. The first alarm must be paired with the wireless alarm
controller within 30 seconds or the network will timeout.
2.
To interlink a wireless alarm, press the test button on the alarm 3
times within 2 seconds. A successful pairing is confirmed by 5 LED
flashes and a beep on the alarm. Each time a new alarm is added, the
networking time period is extended by 30 seconds for adding more
alarms to the system.
3.
Once all the alarms are added to the network, press the networking
button 3 three times within 2 seconds to exit the pairing mode or
wait for 30 seconds to allow the network to time out. To test the
interlink, press and hold the test button on the wireless controller
(see Testing the Alarms).
Resetting the Wireless Alarm Controller
Press and hold down the networking switch on the rear for 5 seconds. The
green LED would blink 3 times to confirm that the controller and the
network are reset.
Replacing the Battery
Remove the battery cover to access the drained batteries (Figure 4a).
Replace the used batteries with new 2x1.5V AA batteries and place the
battery cover back (Figure 4b).
Figure 4a
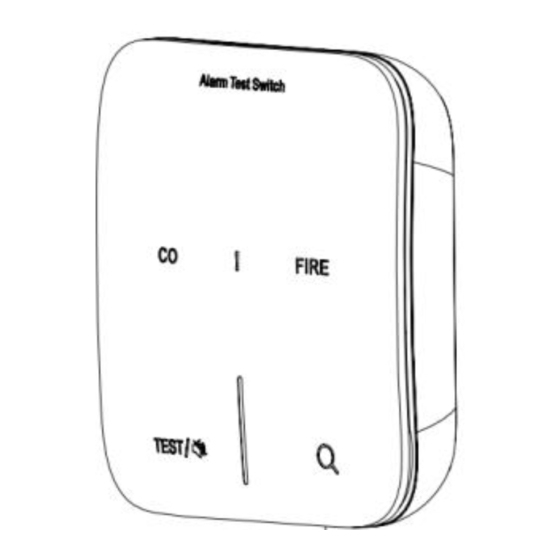
Wireless Alarm Controller
Figure 3
Figure 4b
1190
Advertisement

Subscribe to Our Youtube Channel
Summary of Contents for Deta 1190
- Page 1 User and Installation Instructions Manual Wireless Alarm Controller 1190 Features • Interlinks wirelessly with combined smoke and heat alarm 1171 • Remote testing of wireless alarms • Alarm location feature identifies the alarm that was activated by silencing other wireless alarms in the system •...
- Page 2 Deta Electrical Company Ltd UK: Panattoni Park Luton Road Chalton Bedfordshire LU4 9TT P a g e EU: Unit 16 Ashbourne Ind. Est. Ashbourne Co. Meath A84 W972 INS0299 V1.0 06/23 NPD 0733 deta.co.uk | Technical Helpline: +44(0)1582 544 548...
Need help?
Do you have a question about the 1190 and is the answer not in the manual?
Questions and answers