
Subscribe to Our Youtube Channel
Summary of Contents for FLUX POWER M24 G1
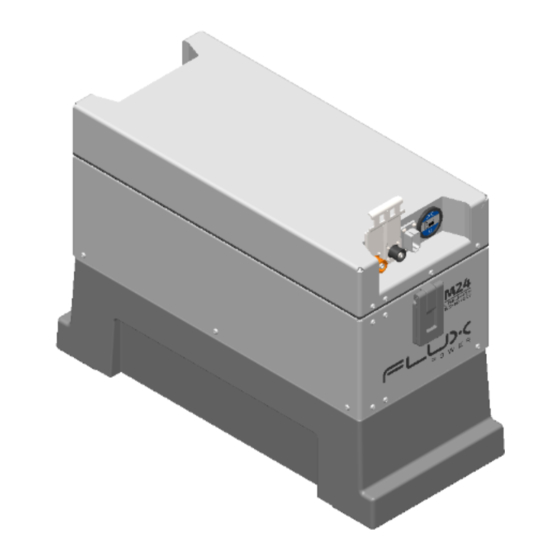
- Page 1 Installation Flux Power M24 G1 Installation Guide WARNING – Risk of Fire – No User Serviceable Parts...
- Page 2 Installation 1 Deliverables Battery with Weight Adapter External SOC Gauge QTY: 1 Qty: 1 Power Cables (varying connector and length) External Harness (varying connection and length) QTY: 1 QTY: 1 Telematics Box (if applicable) Zip Tie QTY: 1 QTY: 2...
-
Page 3: Battery Installation
Installation 2 Battery Installation 2.1 Lifting Points The battery has two lifting rings to be used as lifting points. A set of hooks with proper chains or lifting straps is recommended. - Page 4 Installation 2.2 Installing Battery into Truck 2.2.1 Drop-in Lift and align the battery into the truck’s battery compartment by positioning the battery in the center of the battery compartment.
-
Page 5: Installing Power Cables
Installation 2.3 Installing Power Cables 2.3.1 Power Connections Between Battery Boxes Power connections can only be inserted into the same color and key receptacles. An orange insert will slide into an orange receptacle, and a black insert into a black receptacle. Align the keys of the insert to that of the receptacle to properly insert the connection. - Page 6 The external SOC gauge has two mounting points to mount onto the truck frame. These two mounting points can be mounted onto the truck with self-tap screws or zip ties. 3.1.2 Mounting Location Mount the external SOC gauge so that the Flux Power logo and the LEDs face the operator.
- Page 7 Installation 3.2 Telematics 3.2.1 Mounting Points Use the four holes on the side to mount the telematics box onto the truck by tapping into the truck frame or use the two slots on the side to zip-tie the telematics box onto the truck frame. 3.2.2 Mounting Location Mount the telematics box on a secured spot where collisions with other objects cannot damage it.
- Page 8 Installation 3.3 External Harness 3.3.1 Mounting Points Use zip ties to mount the external harness’s body along the truck frame. Different external harnesses have different connectors depending on the truck and the customer’s order. The external harness should not be zip-tied to the power cables.
-
Page 9: Operation
Installation 4 Operation 4.1 Discharging the Battery The battery must have an external harness and all connectors adequately connected to any external accessories present to discharge. External harness connections will vary between different harnesses and truck configurations. An external harness will connect to the battery’s 12-pin communications port. The battery’s power cables will have a complimentary connector to the truck. - Page 10 Installation The external SOC gauge connection is a 9-pin connection. Turn the set screws on the connector to properly secure this connection: This battery is equipped with an internal BDI. When the external harness is connected correctly, the battery is turned ON by pressing and holding the power button symbol on the BDI for at least 3 seconds.
-
Page 11: Charging The Battery
Installation 4.2 Charging the Battery 4.2.1 External Charger The battery is charged through the same power cables that it uses to discharge through the truck. The connector on the power cables is complimentary to the connector on the truck and the charger. Disconnect the battery’s power cables from the truck and connect them to the charger to charge the battery. - Page 12 Flux Power, Inc. All other brands and product names are trademarks or registered trademarks of their respective owners. This information is intended for the use of Flux Power customers only. Any other use without the express written consent of Flux Power, Inc. is strictly prohibited...
Need help?
Do you have a question about the M24 G1 and is the answer not in the manual?
Questions and answers