Advertisement
Quick Links
Advertisement

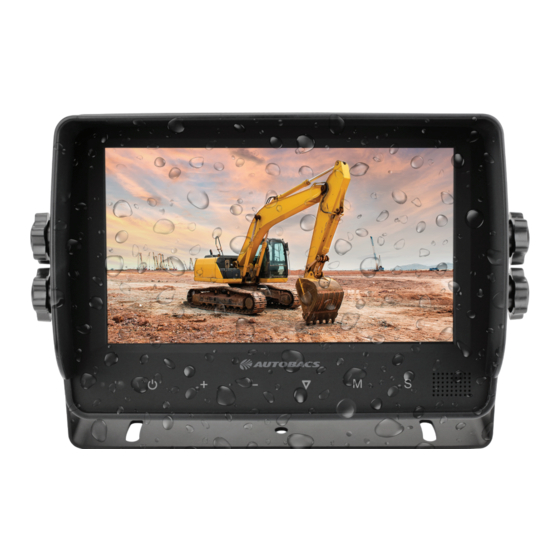
Summary of Contents for AUTOBACS HD73WP
-
Page 2: Table Of Contents
Contents (5)SCALE CAM1,CAM2,CAM3,CAM1-SCALE,CAM2-SCALE,CAM3-SCALE options display on the ………………………………………………………… screen as illustrated below: 3, 4 1. Precautions Press to select CAM1. …………………………………………………… 2. Features …………………………………………… 3. Technical Specifications SCALE 4. Accessories ……………… ……………………………………… CAM1 ……………………………………………… 5. Parts Identification CAM2 CAM3 6. Basic Operation ………………………………………... -
Page 3: Precautions
1. Precautions Storage and Keeping 1) Do not expose the monitor to excessive heat or cold. The storage temperature of this device is -30~+80℃, and the operating temperature is -20~+70℃. The humidity is Rh90%. 2) Avoid dropping or striking this device. 3) Avoid using this device in enclosed spaces, areas with excessive vibration or subject to severe impacts. - Page 4 Maintenance 1) Remove all the cable connections from the monitor before cleaning the unit. 2) Use a mild household detergent and clean the unit with a slightly damp,soft cloth. Never use strong solvents such as thinner or benzine, as they might damage the finish of the device.
-
Page 5: Features
2. Features • TFT LCD monitor with wide angle view and high resolution display. • Picture image may be adjusted for Inverted, Mirror and Normal viewing. • Select from 8 languages for user operation. • Automatic backlighting for automatic brightness control. •... -
Page 6: Basic Operation Cam3
4. Accessories 7. Basic Operation Installation of Base Support: Adjust monitor level by sliding the support to the desired height. Adjust the angle of the monitor and tighten the knob on the center mounting bracket. Center Mount Bracket U- Support Bracket Knob AV and Power supply adapter cable... - Page 7 Parts Identif ication Digital Color LCD screen Power indicator Menu Loudspeaker Light level sensor CAM1/CAM2/CAM3 Power switch Guidelines/ down Decrease Increase Selector Mounting bracket installation...
- Page 8 7. Basic Operation Installation of Base Support: Adjust monitor level by sliding the support to the desired height. Adjust the angle of the monitor and tighten the knob on the center mounting bracket. Knob Installation of U-support bracket: 1. Fix the U-bracket into the desired position. 2.
- Page 9 7. Basic Operation Installation of Base Support: 1. Fix the U-bracket into the desired position. 2. Align the holes on the sides of the monitor with the gaps on sides of the bracket. Adjust monitor level by sliding the support to the desired height. 3.
- Page 10 Maintenance 8. Menu 1) Remove all the cable connections from the monitor before cleaning the unit. 2) Use a mild household detergent and clean the unit with a slightly damp,soft cloth. Never use strong solvents such as thinner or benzine, as they might damage the finish of the device.
- Page 11 (3)SYSTEM LANGUAGE,RESOLUTION,BLUE BLACK,AUTO DIM functions will display on the screen as illustrated below: Press to select LANGUAGE. S Y S T E M LA N G U A G E E N G LI S H R E S O LU T I O N A...
-
Page 12: Menu Cam1-Scale
Contents (5)SCALE CAM1,CAM2,CAM3,CAM1-SCALE,CAM2-SCALE,CAM3-SCALE options display on the ………………………………………………………… 3, 4 1. Precautions screen as illustrated below: …………………………………………………… Press to select CAM1. 2. Features …………………………………………… 3. Technical Specifications SCALE 4. Accessories ……………… ……………………………………… CAM1 ……………………………………………… 5. Parts Identification CAM2 6. Basic Operation ………………………………………... -
Page 13: Troubleshooting
8. Troubleshooting The Symptoms described below do not necessarily mean a failure within the display. Please check the following items before you initiate request for repair. Possible Causes/Solutions Symptom Improper connection of wiring harness. Check fuses. No picture Power switch is on OFF position. No picture Check whether AV cable is properly connected.

Need help?
Do you have a question about the HD73WP and is the answer not in the manual?
Questions and answers