Andover SpinBase - Turntable Speaker System Manual
- Quick setup manual (2 pages) ,
- Product manual (12 pages) ,
- Product manual (12 pages)
Advertisement
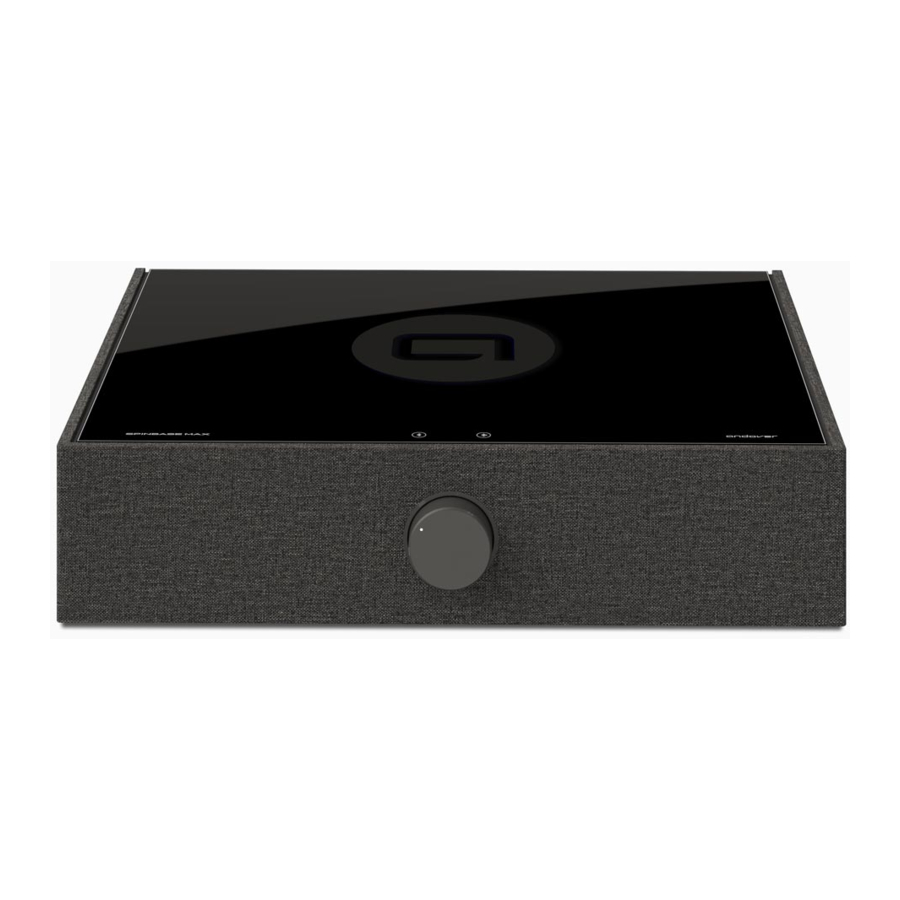
Introduction
It is all you need to enjoy great sound from your Turntable or Portable Record Player, Bluetooth device, and any wired analog source you may wish to add. Combining Spinbase with the Andover Spindeck Turntable creates a simple and affordable playback system that is easy to set up, sounds great and is a snap to use.
If you need a place to put your Spinbase, we also offer a matching Spinstand that provides a solid platform for Spinbase while providing storage for up to 150 LP's.
Adding our Songbird WiFi Streaming adapter (sold separately) will give your Spinbase access to the Worldwide Web of High Resolution entertainment from the most popular streaming services and internet radio stations.
Contact your local dealer, or check out our website for more information on these accessories.
We sincerely hope that you will be overjoyed with the years of great-sounding, simple to operate, musical entertainment that Spinbase will provide.
To get the most from Spinbase, be sure to thoroughly review this manual and heed the important safety instructions. If you have any questions not covered here please contact Andover Audio support via email (support@andoveraudio. com) or phone (+1 978.775.3670).
With the proper care and operation, your Spinbase will provide many years of trouble-free enjoyment.
Please save the carton and original packaging in case you ever need to move or ship your unit.
About Andover Audio
Since 2012, we at Andover Audio have provided design and manufacturing services behind the scenes to some of the most recognized brands in mobile, professional, and high-performance consumer audio. We now focus our awardwinning skills on our own product line that artfully blends exceptional sound with distinctive design.
In the Box
- Spinbase main unit
- AC Power supply
- RCA signal cable
Rear Panel Connections

POWER INPUT - Connect the provided DC Power supply here first, then plug the supply into the wall outlet.
CERAMIC EQ SWITCH - If your Record Player has a Ceramic Cartridge, flip this switch to ON. Leave it OFF for all other inputs. See pg.8 for more detail.
LINE IN - Use this input to connect a Turntable that has a built-in Phono Preamp, the Line-Out from a Record Player, or any Line Level source such as a CD player or Streaming Audio accessory.
MAGNETIC PHONO INPUT - Connect to a high quality turntable equipped with a Magnetic Phono Cartridge that does not have a built-in preamp, or has its preamp bypassed.
GROUND SCREW - Connect the GROUND wire from turntables with this feature to reduce hum.
HEADPHONE OUTPUT - Connect headphones here. Plugging a device into this jack will turn off the built-in speakers.
LINE or SUB OUTPUT - Use this jack to connect a subwoofer, or to connect external powered speakers or amplifier.
How to Connect your Turntable
Spinbase can be used with many different types of Turntables or Record players. The term Record Player describes an all-in-one device containing speakers. A Turntable is a component which requires connection to a speaker or amplifier. How you connect it to Spinbase depends on the Turntable or Record Player type you have.
- Component Turntable with Magnetic Cartridge
This is the most common type of turntable typically used with Spinbase.- Connect the Left and Right Phono Plugs to the pair of input jacks labeled "Magnetic Phono".
- If your turntable is equipped with a GROUND wire, attach it to the ground screw on Spinbase. If this is not securely attached, you may hear excessive hum from the speakers.
- Place the Ceramic Cartridge switch in the "OFF" position.
- Component Turntable with Magnetic Cartridge and built-in preamplifier.
These are also quite common, and you have two options for connection.- If your turntable does not have a switch to defeat the built-in preamp, connect the turntable's output to the LINE-IN jacks on Spinbase.
- If your Turntable has a switch that allows you to bypass its built-in preamplifier, place the switch in the bypass mode and connect it as in example 1 above.
- Depending on the quality of your Turntable's built-in preamplifier, you may want to try both options and use whichever sounds best to you.
- Place the Ceramic Cartridge switch in the "OFF" position.
- All-in-one Record Player
Spinbase can also dramatically improve the sound of most all-in-one Record Players that already contain built-in speakers.- Connect the output of your Record Player to the LINE-IN jacks on Spinbase.
- If your Record Player is equipped with a Ceramic Cartridge (Most common for this type of product), place the Ceramic Cartridge EQ switch in the ON position.
- If your Record Player has a Magnetic Cartridge (not common), leave the Ceramic EQ switch in the OFF position.
Using Spinbase
To turn on Spinbase, rotate the central control knob clockwise past the click. The LED pointer on the knob will illuminate to indicate power is on.
All inputs on Spinbase are always active. It is not necessary to switch between inputs. Simply start using the source you want to hear, and turn off the source you don't. You may find this uncommon, but once you become accustomed to it we believe you will find it to be natural and intuitive.
Connecting Bluetooth Devices
Spinbase is easy to connect. No passwords or codes are required.
- Turn Spinbase power on.
- Enter the Bluetooth menu on your phone or other device.
- Select Spinbase.
- Once the device indicates it's "connected", you are ready to play.
Please note: If you wish to connect to a different device, you must first "disconnect" or "forget" the original device. This must be done from the original device.
Bass & Treble Controls
Bass and Treble controls are located on the back panel and may boost or cut their respective frequency ranges. The normal position with unaltered response is indicated by the detent you feel when the controls are centered.
Specifications
Description: Integrated Powered Loudspeaker system with Phono Preamp and Bluetooth receiver.
Music Power: 36W total (2 x 18W)
Acoustic Frequency range: 65Hz – 20kHz +/- 3dB (under laboratory conditions)
Phono input impedance: 47k / 100pF
Line Input impedance: 20k Ohm
Headphone / Line Output: 105mW @ 16 Ohms. Frequency Response: 20Hz–20kHz
Power Consumption: 19VDC / 2A
Weight: 5 kg / 11 lbs
Dimensions:
Height: 82.55 mm / 3.25"
Width: 446mm / 18"
Depth: 356mm / 13.5"
Room Placement
As with any sound system, where it's placed in your room affects how well the sound fills the space. Spinbase features a 270-degree sound field to provide a spacious, room-enveloping performance that defies its compact size. Sound is emitted from both sides and the front of the unit, so be careful not to block the sound from the sides. Although placement of Spinbase is less complex than a typical component system, following these simple guidelines will result in the most enjoyable sound quality.
- To ensure the most even sound coverage, try to place system near the center of one of the walls. It should be at, or slightly below, ear height for a seated listener.
- Using the optional Spinstand will place the system at the ideal height in most rooms.
- If the unit will be placed in a corner, angle it at 45-degrees so that the speakers on one side are not blocked.
- Keep the sides of the unit unobstructed by solid objects for as much distance as practical, but by at least 12" (~30.5 cm).
- Place the unit on a solid table or component rack. DO NOT use soft vibration isolators or place the unit on a carpet or foam surface. If the support surface is not sufficiently rigid, acoustic feedback may occur.
- Avoid placing the unit in an enclosed bookshelf or cabinet, as this will significantly compromise its performance.
Service
Should you encounter a problem that you are unable to solve, please contact customer service at support@andoveraudio.com, or the dealer that sold you your unit.
If you must return your unit for any reason, it must be safely packed and shipped in its original carton and packing material. Damage that is the result of improper packaging is not covered by the warranty.
Product Cleaning
Use a soft dry cloth, or compressed air. Vinyl surfaces may be cleaned using a mild surface cleaner or a damp cloth.
Do not use harsh or chlorine based cleaner anywhere on the product. Only clean the exterior of the product.
Andover Audio, L.L.C.
15 High Street North Andover, Massachusetts 01845
www.andoveraudio.com | support@andoveraudio.com | 978.775.3670
Andover is a registered trademark of Andover Audio, L.L.C.
Andover Audio subscribes to a program of continuous improvement. As a result, some product fearures and characteristics may change without prior notice.
WARNINGS

DO NOT OPEN TO PREVENT THE RISK OF ELECTRIC SHOCK, DO NO REMOVE COVER. NO USER-SERVICEABLE PARTS INSIDE.
REFER SERVICING TO QUALIFIED SERVICE PERSONNEL.
 This symbol alerts the user to the presence of uninsulated "dangerous voltage" within the product's enclosure that may be of sufficient magnitude to constitute a risk of electric shock to persons.
 This symbol is intended to alert the user to the presence of important operating and maintenance (servicing) instructions in the literature accompanying the appliance.
Important Safety Instructions
- Read these instructions.
- Keep these instructions.
- Heed all warnings.
- Do not use this apparatus near water.
- Clean only with dry cloth.
- Do not block any ventilation openings. Install in accordance with the manufacturer's instructions.
- Do not install near any heat sources such as radiators, heat registers, stoves, or other apparatus (including amplifiers) that produce heat.
- Do not defeat the safety purpose of the polarized or grounding-type plug. A polarized plug has two blades with one wider than the other. A grounding type plug has two blades and a third grounding prong. The wide blade or the third prong are provided for your safety. If the provided plug does not fit into your outlet, consult an electrician for replacement of the obsolete outlet.
- Only use attachments/accessories specified by the manufacturer.
- Use only with the cart, stand, tripod, bracket or table specified by the manufacturer, or sold with the apparatus. When a cart is used, use caution when moving the cart/apparatus combination to avoid injury from tip-over.
- Unplug this apparatus during lighting storms or when not used for long periods of time.
- Refer all servicing to qualified service personnel. Servicing is required when the apparatus has been damaged in any way, such as power supply cord or plug is damaged, liquid has been spilled or objects have fallen into the apparatus, the apparatus has been exposed to rain or moisture, does not operate normally, or has been dropped.
- The apparatus shall not be exposed to dripping or splashing and that no objects filled with liquids, such as vases, shall be placed on the apparatus.
- Do not install this apparatus in a bookcase or similar unit.
- The apparatus draws nominal non-operating power from the AC outlet with its STANDBY/ON switch in the standby position.
- The apparatus should be located close enough to the AC outlet so that you can easily grasp the power cord plug at any time.
- To completely disconnect the power input, the rear panel power switch may be switched off.
- Excessive sound pressure from earphones and headphones can cause hearing loss.
- The battery shall not be exposed to excessive heat such as sunshine, fire or the like.
Additional Safety Advice
- Keep surrounding objects at least four inches away from the apparatus for adequate ventilation.
- Ventilation openings on the apparatus should not be impeded by such items as newspaper, cloths, curtains, and the like.
- Do not place naked flame sources near the apparatus, such as lighted candles.
- Dispose of internal electronics in accordance with local safety and environmental regulations.
- Do not operate the apparatus at a temperature less than 36˚ F / 2˚ C or greater than 100˚ F / 38˚ C.

- DO NOT REMOVE THE EXTERNAL ENCLOSURE PARTS TO EXPOSE THE ELECTRONICS. NO USER SERVICEABLE PARTS ARE INSIDE.
- IF YOU ARE EXPERIENCING PROBLEMS WITH THIS PRODUCT, CONTACT ANDOVER AUDIO CUSTOMER SUPPORT. DO NOT USE THE PRODUCT UNTIL IT HAS BEEN REPAIRED.
Documents / Resources
References
Download manual
Here you can download full pdf version of manual, it may contain additional safety instructions, warranty information, FCC rules, etc.
Advertisement


Need help?
Do you have a question about the SpinBase and is the answer not in the manual?
Questions and answers