Advertisement
Quick Links
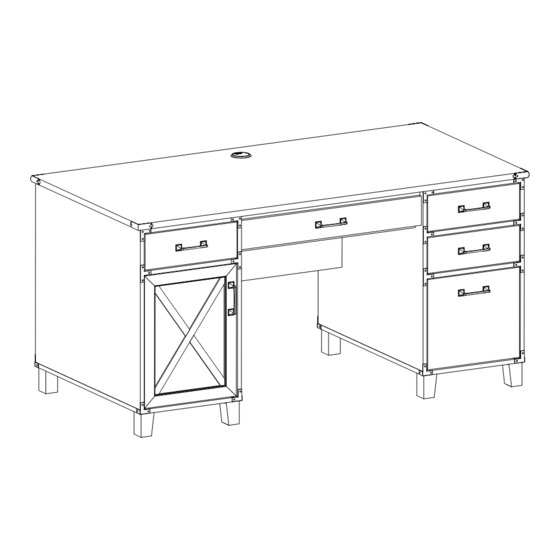
ASSEMBLY INSTRUCTIONS
Important Safety Instructions:
Please read all instructions before beginning assembly
●
Please make sure receive all the parcels to start the assembly
●
For your safety and convenience,assembly by two people is recommended
●
Use the parts and hardware lists to identify and separate each of the components included
●
Save all packing materials until assembly is completed to avoid the accidental discarding
●
of smaller parts or hardware
Use of power tools is not recommand
●
ITEM#: OF1601
THANK YOU FOR PURCHASING
AGH
Advertisement

Related Manuals for AGH Deco OF1601


Summary of Contents for AGH Deco OF1601
- Page 1 ASSEMBLY INSTRUCTIONS ITEM#: OF1601 Important Safety Instructions: Please read all instructions before beginning assembly ● Please make sure receive all the parcels to start the assembly ● For your safety and convenience,assembly by two people is recommended ● Use the parts and hardware lists to identify and separate each of the components included ●...
- Page 2 PARTS LIST...
- Page 3 HARDWARE LIST Qty. Qty. Spare Spare Name Part Name Part 5/6" nail 7/8" Screw 5/8" Screw 9/16" Screw 1" Screw 1-7/8" Screw Bumper Ø10x4mm 2" Screw 1-1/2" Screw 9/16" Screw 1/2" Screw...
- Page 4 STEP 1 x18pcs STEP 2 x8pcs...
- Page 5 STEP 3 x10pcs STEP 4 x5pcs...
- Page 6 STEP 5 x5pcs STEP 6 x8pcs Finished Side Inclined Plane Inclined Plane...
- Page 7 STEP 7 x6pcs Groove STEP 8 x1pcs x1pcs x6pcs Peel off the adhesive sticker's protective paper and bond it onto the designated position before secure with nails.
- Page 8 STEP 9 With assistant carefully flip the other side. Peel off the adhesive sticker's protective paper and bond it onto the designated position before secure with nails. x1pcs x1pcs x6pcs STEP 10 Peel off the adhesive sticker's protective paper and bond it onto x2pcs the designated position before secure with nails.
- Page 9 STEP 11 x8pcs STEP 12 x8pcs...
- Page 10 STEP 13 x2pcs x2pcs x1pcs x4pcs STEP 14 x4pcs...
- Page 11 STEP 15 x4pcs STEP 16 x8pcs Finished Side Inclined Plane Inclined Plane...
- Page 12 STEP 17 x6pcs Groove STEP 18 x1pcs x1pcs x6pcs Peel off the adhesive sticker's protective paper and bond it onto the designated position before secure with nails.
- Page 13 STEP 19 With assistant carefully flip the other side. Peel off the adhesive sticker's protective paper and bond it onto the designated position before secure with nails. x1pcs x1pcs x6pcs STEP 20 Peel off the adhesive sticker's protective paper and bond it onto x2pcs the designated position before secure with nails.
- Page 14 STEP 21 x8pcs STEP 22 x3pcs Holes 15 mm in diameter face the other side An assistant is required. Es necesario un ayudante. Un assistant est nécessaire.
- Page 15 STEP 23 x3pcs An assistant is required. Es necesario un ayudante. Un assistant est nécessaire.
- Page 16 STEP 24...
- Page 17 STEP 25 x3pcs x13pcs STEP 26 x13pcs...
- Page 18 STEP 27 x8pcs 5/6" nail x4pcs STEP 28 x1pcs...
- Page 19 STEP 29 x4pcs Finished edge Borde terminado Cote fini STEP 30 x2pcs x4pcs x1pcs x2pcs 1" Screw...
- Page 20 STEP 31 Installation DO NOT Insert Hinge beneath mount Adjustment...
- Page 21 STEP 32 x6pcs STEP 33 Raw Side x6pcs Finished edge Borde terminado Cote fini...
- Page 22 STEP 34 x2pcs x4pcs x1pcs x2pcs 7/8" Screw STEP 35 x2pcs x2pcs...
- Page 23 STEP 36 STEP 37 x6pcs x12pcs 9/16" Screw Do not use power tools for Drawer Bracket...
- Page 24 STEP 38 x12pcs 1/2" Screw Do not use power tools for Drawer Bracket STEP 39 Finished Side...
- Page 25 STEP 40 x12pcs STEP 41 x3pcs x6pcs 7/8" Screw...
- Page 26 STEP 42 x2pcs x4pcs 9/16" Screw Do not use power tools for Drawer Bracket STEP 43 x4pcs 1/2" Screw Do not use power tools for Drawer Bracket...
- Page 27 STEP 44 Finished Side STEP 45 x4pcs...
- Page 28 STEP 46 x1pcs x2pcs 7/8" Screw STEP 47 x2pcs x1pcs x1pcs...
- Page 29 STEP 1. STEP 48 STEP 2. STEP 3. -Move unit to final location. -Adjust drawer fronts as shown below. Step1--Loosen screws on back of drawer front brackets as shown. Step2--Position drawer front as required. Step3--Tighten screws while holding drawer front in position. STEP 49 STEP 1.
- Page 30 Maximum weight capacities MAXIMUM WEIGHT: 200 LBS (91KG) MAXIMUM WEIGHT: 17 LBS (7.7KG) MAXIMUM WEIGHT: 33 LBS (15KG)
- Page 31 Bestsign International Inc. 667 S. Brea Canyon Rd., # 27, Walnut, CA 91789 Tel: (909)-274-7615 Fax: (909)-274-7432 Furniture Care & Cleaning Instructions Do not expose the furniture to strong sunlight, which casues discoloration and shorten the product lifetime. Do not expose the furniture to extreme heat, cold, or humidity, which may cause wood to swell or warp. Do not leave the furniture wet with beads of water standing on the furniture.
- Page 32 What is Proposition 65? Proposition 65 is a California law that requires warning labels on products that may contain one of more than 800-plus chemicals or ingredients that the California Office of Environmental health Hazard Assessment(OEHHA) has deemed to cause cancer or other reproductive toxicity. chemicals and elements on this list include wood dust , brass , and other everyday substances, which can be found in very common household items, such as : lamps , tableware , jewelry , crystal glasses , electric cords , beauty products , automobiles , and furniture.
Need help?
Do you have a question about the OF1601 and is the answer not in the manual?
Questions and answers
I can’t get the door adjusted correctly and the keyboard drawe only goes in about halfway. Any suggestions?
To adjust the AGH Deco OF1601 drawer front:
1. Loosen the screws on the back of the drawer front brackets.
2. Position the drawer front as needed.
3. Tighten the screws while holding the drawer front in place.
For the keyboard drawer that only goes in halfway, ensure it is correctly aligned and check that all screws are tightened. Do not use power tools on the drawer bracket screws. Re-tighten bolts if the drawer feels loose.
This answer is automatically generated