Advertisement

Quick Links

Instruction manual Original Instruction
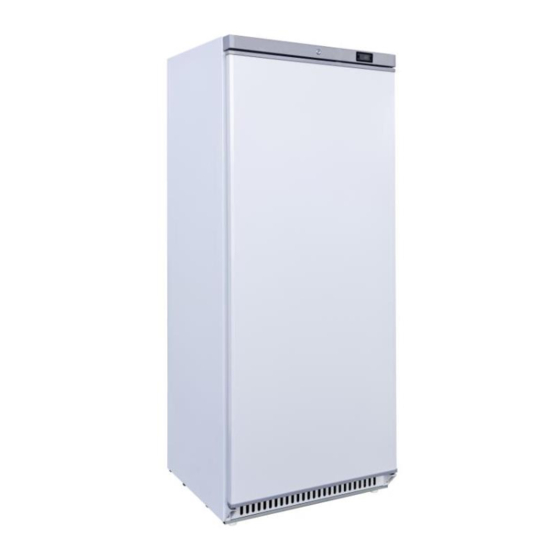
Chiller Cabinet:
R200 / R200 SS / R200G / R200G SS
Freezer Cabinet:
F200 / F200 SS / F200G / F200G SS
Upright Chiller Cabinet:
R401 / R401 SS / R400 / R400 SS / R400G / R400G SS
R601 / R601 SS / R600 / R600 SS / R600G / R600G SS
Upright Freezer Cabinet:
F400 / F400 SS
F600 / F600 SS
1

Advertisement

Table of Contents
loading

Summary of Contents for Adexa R200

  • Page 1 Instruction manual Original Instruction Chiller Cabinet: R200 / R200 SS / R200G / R200G SS Freezer Cabinet: F200 / F200 SS / F200G / F200G SS Upright Chiller Cabinet: R401 / R401 SS / R400 / R400 SS / R400G / R400G SS R601 / R601 SS / R600 / R600 SS / R600G / R600G SS Upright Freezer Cabinet:...
  • Page 2: Safety Tips

    Dear Customer, Congratulations on your purchase of this product. Like all our products , this product has also been developed on the basis of the latest technology and produced using reliable and modern electrical components. Please take a few minutes before starting operation of the appliance and read the following operating instructions.
  • Page 3: Intended Use

    21. For indoor used only. Not suitable for installation in an area where a water jet could be used.Must not be cleaned by a water jet. 22. To guarantee safe operation, ensure that the appliance is set up and connected as described in the instruction manual.
  • Page 4: Power Requirements

    Note: If the unit has not been stored or moved in an upright position, let it stand upright for approximately 12 hours before operation. Note: Before using the appliance for the first time, clean the shelves and interior with water. Power Requirements The cabinet is intended for connection to an alternating current.
  • Page 5: Changing The Door Hinge

    To get the best results from your appliance, follow these instructions: • Only store foodstuffs in the appliance when it has reached the correct operating temperature. • Always close the door, when not in use and appliance is switched on. •...
  • Page 6 hing 3(Upper door hinge) hing (Lower door hinge) hing 1 hing 2 2.Remove hinge2 3.Take off the door...
  • Page 7 4.Remove hinge1 hinge 1 hinge 2 5.Change the two hinge positions hinge 2 hinge 1 6.Fix hinge 1...
  • Page 8: Cleaning, Care And Maintenance

    7.Tum the door up side down and connect to the upper hinge hinge 3 Move the Hinge3 hinge axle from the right side to left side. 8.Fix hinge 2 Cleaning, Care & Maintenance Before cleaning, switch off the cabinet and disconnect from the mains.
  • Page 9 The cabinet should be kept clean using a mild soap solution. Do not use abrasive cleansers. The plastic parts cannot withstand boiling water (max. temperature +85 °C). When regular cleaning is performed, be sure to wipe clean the rubber door gasket to ensure any sticky substances are removed that would otherwise damage the gasket.
  • Page 10: Troubleshooting

    Trouble shooting If your Refrigerator appliance develop a fault, please check the following table Fault Probable Cause Action Check that the unit is plugged in The unit is not switched on correctly and switched on The appliance Plug and/or lead are damaged Call our agent or qualified technician is not working Power supply...
  • Page 11: Warranty

    WARRANTY A statutory warranty applies for this product. Damages caused by wrong treatment or operation, by false placement or storage, improper connection or installation, as well as force or other external influences are not covered by this warranty. We recommend careful reading of the operating instructions as it contains important information. Note: 1.In case this product does not function correctly, please firstly check if there are other reasons, e.g.

Table of Contents