Advertisement
Quick Links
TROUBLESHOOTING
Problem
Cause
1. The machine is not
1.When connecting the power
connected to the power
cord to the socket, the green
source.
indicator light is not on and the
machine is not working.
2. The fuse of the socket is
blown or the socket is
damaged.
2. The red and green indicator
1. The wiring of the electric
lights are on at the same time,
heating tube is loose.
but the oil temperature does
not rise.
2. The electric heating
tube is burnt out.
3. The red indicator light is
1. The thermostat does not
always on, and the oil tempera-
work.
ture cannot be controlled.
4. The temperature can be
1. The indicator light
controlled normally, but the
burned out.
red indicator light is not on.
5. The green indicator light is
1. The temperature limiter
on, but the red indicator light is
has already been activat-
not on and the temperature
ed, resulting in overheat-
does not rise no matter what
ing protection.
temperature it is set to.
2. The timer was not set
up.
SAFETY PRECAUTIONS
The voltage used by this machine must be the same as the rated voltage. The machine
1.
should be connected to a 16A socket.
Users must not use extension cables with this machine.
2.
There is a grounding bolt at the back of the machine. A copper core wire of no less than
3.
2.5mm² should be reliably connected to a grounding wire that complies with safety
regulations.
Before using, check if all the wiring is tight, the operating voltage is correct, and the outlet is
4.
reliably grounded. The shell of the machine should be attached properly to ensure safe
operation. Thank you for your cooperation and understanding.
Solution
1. Fasten the power cord and
ensure the socket is powered
on.
2. Replace the fuse (>16A) of
the socket, or replace the
current socket with a suitable
16A socket.
1. Tighten the connecting
screw on the electric heating
tube.
2. Replace the heating tube.
1. Replace the thermostat.
1. Replace the indicator light.
1. Reset the temperature
limiter. (Refer to Instruction
#10)
2. Set up the timer to ON or a
desired time. (Refer to Page 1,
Instruction #3 to set up the
timer.
3
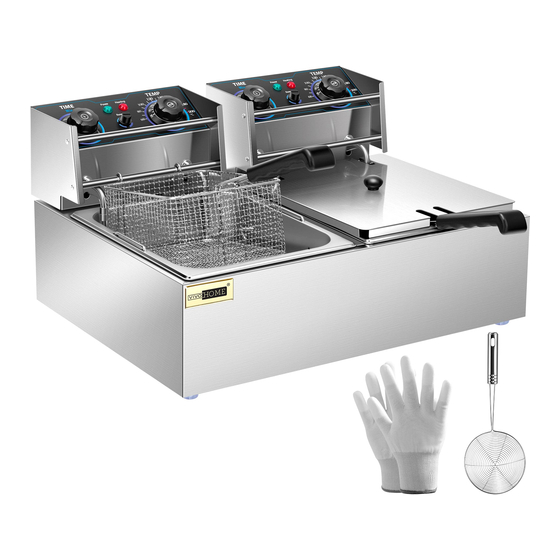
Electric Deep Fryer
Instruction Manual
To continuously improve its products, VIVOHOME reserves the
right to modify this information without prior noti cation.
For any questions during assembly, please watch the video in the
product page for reference. Or contact our customer service with
any questions, comments, or concerns. Thank you for using
VIVOHOME products in your home!
Advertisement

Related Manuals for VIVOHOME VH1118

Summary of Contents for VIVOHOME VH1118
- Page 1 There is a grounding bolt at the back of the machine. A copper core wire of no less than To continuously improve its products, VIVOHOME reserves the 2.5mm² should be reliably connected to a grounding wire that complies with safety right to modify this information without prior noti cation.
- Page 2 Then, the red HEATING indicator light will turn on. The oil Item Name Electric Deep Fryer temperature will rise. Item Number VH1118 7) The machine works in this way repeatedly in order to make sure the oil temperature is Voltage AC110V within a certain selected range.
Need help?
Do you have a question about the VH1118 and is the answer not in the manual?
Questions and answers