Table of Contents
Advertisement
Quick Links
Advertisement
Table of Contents

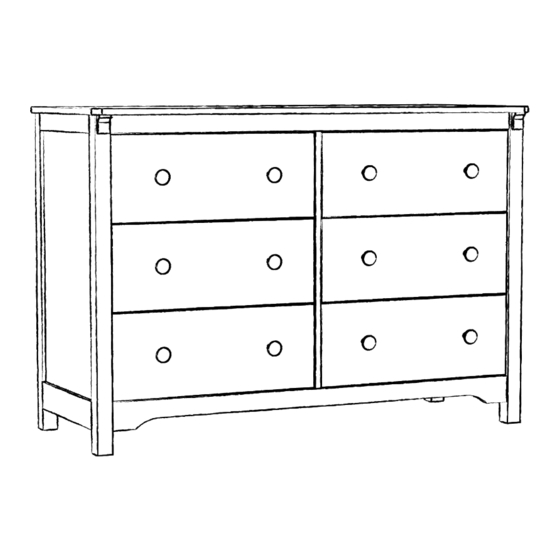
Summary of Contents for DaVinci Shea M27226
- Page 1 M27226...
- Page 3 Pregnancy is a wild journey. We get it! At DaVinci we’re obsessed with your child’s safety, so you can focus on welcoming your baby home. Let’s get started—it’s time to set up the perfect space for your little one. When you’re settled in, be sure to share your family’s milestones @davincibabyusa.
- Page 4 G E T T I N G P A R A P O U R S TARTE D C O M E N Z A R C O M M E N C E R We’d love to chat with you (we’re parents ourselves!), so don’t hesitate to contact us with whatever questions you have.
- Page 5 PARTS PIEZAS PIÈCES not to scale no a escala non dessinées à l'échelle...
- Page 6 DR A WER BA CK DR AW E R F RO NT TR AS ER O DE CA JÓ N F REN TE D E C AJ ÓN AR R IÈR E DE T IROIR F AÇ AD E D E TIRO IR LE F T DR AWE R S I DE RIG H T D R A WER SI D E LA DO DE L CA JÓ...
- Page 7 HARDWARE HERRAJE MATÉRIEL actual size tamaño real taille actuelle x 12 x 48 x 24 x 24 x 20 x 12 x 20 x 20 x 12...
-
Page 8: Instrucciones De Ensamblaje
ASSEMBLY INSTRUCCIONES INSTRUCTIONS INSTRUCTIONS DE ENSAMBLAJE DE MONTAGE... - Page 20 ANTI-TIP KIT INSTALACIÓN DEL KIT INSTALLATION DE LA INSTALLATION CONTRA VOLCAMIENTOS TROUSSE ANTI-BASCULEMENT Children have died from furniture tipover. To reduce the risk of furniture tipover, ALWAYS install tip over restraint provided. Han muerto niños al volcarse los muebles. Para reducir el riesgo de que se vuelque un mueble, SIEMPRE instale la sujeción contra volcamientos incluida.
- Page 21 Find your wall material and follow Determine el material de la pared y Trouvez votre propre matériau mural steps to attach the anti-tip kit to your siga los pasos para instalar el kit et suivez les étapes pour fixer la wall.
- Page 22 Fasten strap to back of dresser. Fije la tira en la parte posterior de la cómoda. Fixez la sangle à l’arrière de la commode. Mark spot on wall 1-2” (25-50mm) below the top of the dresser. Marque el punto en la pared a 25-50 mm (1-2 pulgada) debajo de la parte superior de la cómoda.
- Page 23 Fasten strap/bracket by screwing into plastic anchor or wood stud. FIje la tira/el soporte atornillando en la fijación de plástico o el remache de madera. Fixez la sangle/le support par vissage dans l’ancrage de plastique ou le montant en bois. Complete! ¡Listo! C’est terminé!
- Page 28 DO NOT OVERTIGHTEN THE SCREWS. NO APRIETE LOS TORNILLOS EN EXCESO. NE SERREZ PAS TROP LES VIS.
- Page 30 You did it! ¡Lo logró! Vous y êtes!
-
Page 31: Care And Cleaning
If you would like to order replacement or missing parts, please visit us: Have an issue? We’re here to help. Your DaVinci product is covered under davincibaby.com/parts warranty for one year after the date of purchase. Visit us for more details on... -
Page 32: Cuidado Y Limpieza
Si quisiera pedir repuestos o piezas faltantes, visítenos en: ¿Tiene algún problema? Estamos aquí para ayudar. Su producto DaVinci está cubierto por davincibaby.com/parts una garantía de un año a partir de la fecha de compra. Para conocer más detalles sobre o puede contactarnos por correo en: nuestra política de garantía, visite:... -
Page 33: Nettoyage Et Entretien
Vous avez un problème? Nous sommes là pour vous aider. Votre produit davincibaby.com/parts DaVinci est couvert par une garantie d’un an à compter de la date d’achat. ou communiquer avec nous par courriel à Pour plus de détails sur la politique de l’adresse:... - Page 34 30 JAN 2 024...


Need help?
Do you have a question about the Shea M27226 and is the answer not in the manual?
Questions and answers