Advertisement
Quick Links
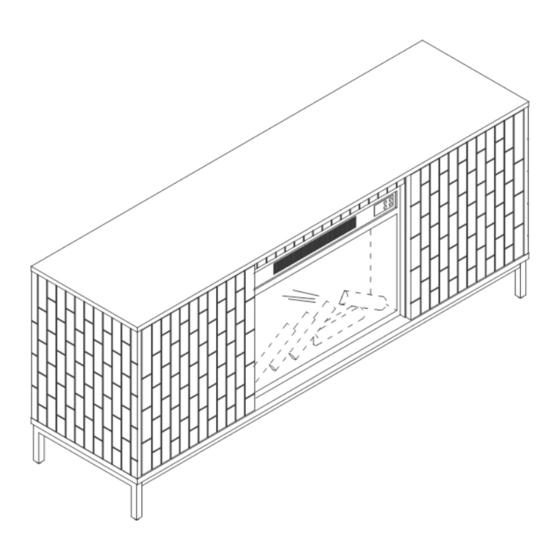
Airam TV Stand with fireplace
ITEM NO. ZTVJT0286
Thank you for purchasing the TV Stand with fireplace.. Please read the instructions and warnings carefully
before use, to ensure safe and satisfactory operation of this product. At HULALA home we are committed
to making great products possible. From our in-house Design Team, to our Buyers, we work together to
bring great designs to life. Our expert Product Technologists work collaboratively with our buyers and
suppliers to assure the legality, safety and quality of the product we sell. We are all committed to designing
and developing products to the highest industry standards. We hope you are happy with your product and
welcome any feedback or comments you may have.
1
Advertisement

Summary of Contents for HULALA HOME Airam ZTVJT0286
- Page 1 Thank you for purchasing the TV Stand with fireplace.. Please read the instructions and warnings carefully before use, to ensure safe and satisfactory operation of this product. At HULALA home we are committed to making great products possible. From our in-house Design Team, to our Buyers, we work together to bring great designs to life.
-
Page 2: Explosive View
EXPLOSIVE VIEW ITEM NO. ZTVJT0286 2PERSONEN... - Page 3 PARTS LIST Top Panel Bottom Panel Side Panel Back Panel Back Vertical Panel Middle Vertical Panel Adjustable Side Shelf Adjustable Middle Shelf Rail Left Rail Right Rail Left Door...
- Page 4 Right Door Middle Leg HARDWARE LIST Cam Lock ø15*12mm Cam Bolt M6*32mm Wood Dowel ø8*30mm Cover ø20mm Hinge Door Stop Button Shelf Pin Blot M6*10mm...
- Page 5 Blot M6*35mm Flat Washer M6*ø16*1.5mm Allen Wrench #4 Screw M3.5*14mm Bracket Anchor Screw M3*16mm Screw M4*35mm Bracket...
- Page 6 SPARE Wood Dowel ø8*30mm Cover ø20mm Blot M6*10mm Blot M6*35mm Flat Washer M6*ø16*1.5mm Screw M3.5*14mm Screw M3*16mm Screw M4*35mm Be sure to check all packing material carefully for small parts, which may have come loose inside the carton during shipment.
-
Page 7: Assembly Instruction
ASSEMBLY INSTRUCTION STEP 1 Attach Leg(O/N) to frame of Bottom Pane(B) with Bolt(9/10) and Flat Washer(11) as shown, tight it with Allen Wrench(12). STEP 2 Attach Cam Bolt(2) and Wood Dowel(3) to Bottom Panel(B) , tight it with screwdriver. - Page 8 STEP 3 Attach Middle Vertical Panel( F) to Bottom Panel(B) with Cam Lock (1) and Cover (4) ,tight it with screwdriver. STEP 4 Attach Cam Bolt(2) to Side Panel(C) ,Attach Cam Bolt(2) and Wood Dowel(3) to Rail(J/K) , tight it with screwdriver.
- Page 9 STEP 5 Attach Rail(J/K) to Rail(I) with Wood Dowel (3). STEP 6 Attach Rail(J/K) to Bottom Panel(B) with Cam Lock(1) and Cover 4) ,tight it with screwdriver.
- Page 10 STEP 7 Attach Back Vertical Panel(E) to Side Panel(C) with Cam Lock(1) and Cover(4) ,tight it with screwdriver. STEP 8 Attach Side Panel(C) to preassemble unit at step 6 with Cam Lock(1) and Cover(4) ,tight it with screwdriver.
- Page 11 STEP 9 Attach Back Panel(D) to preassemble unit at step 8. STEP 10 Attach Cam Bolt(2) to Top Panel(A) , Attach Door Stop(6) to Top Panel(A) with Screw(13) , tight it with screwdriver.
- Page 12 STEP 11 Attach Top Panel(A) to preassemble unit at step 9 with Cam Lock (1) and Cover (4) and Wood Dowel(3) ,tight it with screwdriver. STEP 12 Insert Shelf Pin(8) to preassemble unit at step 11 , And attach Adjustable Shelf (G) to it.
- Page 13 STEP 13 Attach Hinge(5) to Door(L/M) with Screw(13), then tight screw with screwdriver. STEP 14 Attach Door(L/M) to the unit preassembly at step 12 with Screw(13), and tight screw with screwdriver...
- Page 14 STEP 15 IX. Concealed hinges are three-way adjustable. side side side panels panels panels Door Door Door In-and-Out Vertical Horizontal by by loosening the hinge-arm Via slots in the mounting screw adjustment mounting screw or via cam plate or via cam adjustment adjustment Close the door , if the doors are not at the perfect position , please adjust it as shown.
- Page 15 STEP 17 Attach Button(7) to the unit preassembly at step 16 with Screw(16), and tight screw with screwdriver STEP 18 Insert Shelf Pin (8) to preassemble unit at step 17 , and attach Adjustable Shelf (H) to it.
- Page 16 STEP 19 Finish as shown. STEP 20 Remove the Middle Shelf panel and Shelf Pin as shown.
- Page 17 STEP 21 Firebox shipped in separate carton Attach Firebox to the body. with Bracket(14) and Bolt(9), tight it with Allen Wrench(12). STEP 22 Finish as shown.
- Page 18 STEP 23 Attach Bracket(18) to the body. with Screw(16), and tight screw with screwdriver STEP 24 Drill hole on the wall , and insert Anchor(15) , then attach Bracket(18) to it with Screw(17), tight screw with screwdriver.
- Page 19 STEP 25 Attach the unit to the wall with Tie(19) Anti-tipping hardware must be used for this product to avoid tipping and injury.If the unit is not stable , please adjust the adjustable level. STEP 26 20 Ibs< 85 Ibs< 30 Ibs<...
-
Page 20: Warranty
MAINTAINANCE AND WARNING Keep furniture away from heat. Do not clean furniture with harsh cleansers or polish. Do not use detergents, Solvents, abrasives, spray packs or leather cleaner. Use non-color mild soap with warm water clean spills(Mix 1:10 soap to water) Do not place furniture under direct sunlight, material will possibly fade over time.
Need help?
Do you have a question about the Airam ZTVJT0286 and is the answer not in the manual?
Questions and answers