Advertisement
Quick Links
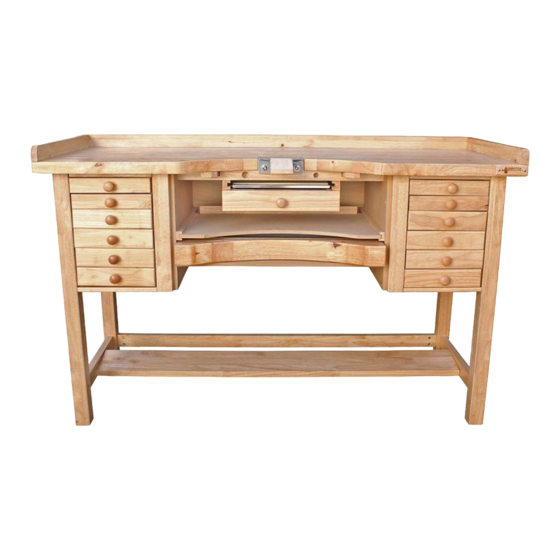
Goldsmith Jeweller's Bench
Instru ctions
Goldsmith Jeweller's Bench #1913 (Issued 31 May 2023)
If you have any further queries or questions relating to your Bench, please do not
hesitate to contact us:
support@durston.com
+44 (0) 1494 535388 / +44 (0) 1494 526777
www.durston.com
Advertisement

Summary of Contents for Durston Tools Goldsmith Jeweller's Bench 1913
- Page 1 Goldsmith Jeweller’s Bench Instru ctions Goldsmith Jeweller’s Bench #1913 (Issued 31 May 2023) If you have any further queries or questions relating to your Bench, please do not hesitate to contact us: support@durston.com +44 (0) 1494 535388 / +44 (0) 1494 526777 www.durston.com ...
- Page 2 Thank you for purchasing your Durston Bench. With the correct care and use it will last many years and possibly a lifetime. The Goldsmith Workbench from Durston Tools beautifully made from eco-friendly materials with a solid hardwood top creating a super- strong work surface to give a lifetime of use.
-
Page 3: Box Contents
Box Contents... - Page 4 Assembling Your Bench After removing all of the box contents, the first step is to remove the drawers from the main body (a) this prevents anything falling out when turning. After removing, turn upside down. remember to use something on the floor to protect the top of the bench.
- Page 5 Assembling Your Bench Assemble the legs, you may need some help to hold the foot rest and back rail while tightening the leg fixings.
- Page 6 Assembling Your Bench After attaching the legs Its time to stand your bench up. get help from a second person to lift and turn the bench. Then move to your desired position. Its easier to move the bench before replacing the drawers incase any slide out and to make lighter work.
Need help?
Do you have a question about the Goldsmith Jeweller's Bench 1913 and is the answer not in the manual?
Questions and answers