Advertisement
1. System Installation
1-1. M Hybrid Inverter & M Cabinet Installation
1. Installation Location and Clearance
Before installation, verify that the
location allows for the clearances speci-
fied in Figure 1.1 to avoid any potential
operational or safety issues
NOTE: For outdoor installations,
refer to the product manual for full
details on selecting a location.
2. Installing the M Hybrid
Inverter Bracket
1. Measure 6" 3" from the ground
mark the bottom of the bracket.
2. Verify that the arrow on the
inverter is oriented upwards.
3. Place the bracket against the mark
and ensure it is level.
4. Mark the positions where the holes
will be drilled for the bracket.
3. Securing the M Hybrid Inverter
Bracket
1. Ensure bracket is level and in the
correct orientation, before securing all
fasteners.
≥15.7inches(400mm)
screw
≥3.9inches(100mm)
screw
Figure 1.1 - Installation Location and Clearance
TOP
5.7inches(145mm)
17.3inches(440mm)
18inches(458mm)
Figure 1.2 - Bracket Orientation
Figure 1.3 - M Hybrid Inverter Installed
4. Mounting the M Inverter
1. Lift the inverter above the bracket and lower into position. Ensure
the inverter is placed onto both of the bracket support arms.
2. Loosely fasten L brackets onto both the left and right sides of the
inverter using the M6 (4) bolts
3. Securely fasten them to the wall the brackets to the wall.
4. Tighten the M6 (4) bolts to secure the brackets on the inverter
5. Remove the appropriate knockouts.
NOTE: Electrical conduit is not
included and should be contractor
supplied.
5. Installing the M Cabinet Bracket
Warning: The supplied brackets are not
intended to support the weight of the M
Cabinet, the M Cabinet must be floor .
1. Measure 3" 3" from the ground mark the
bottom of the bracket.
2. Place the bracket against the mark and
ensure it is level.
3. Mark the positions where the holes will be
drilled for the bracket.
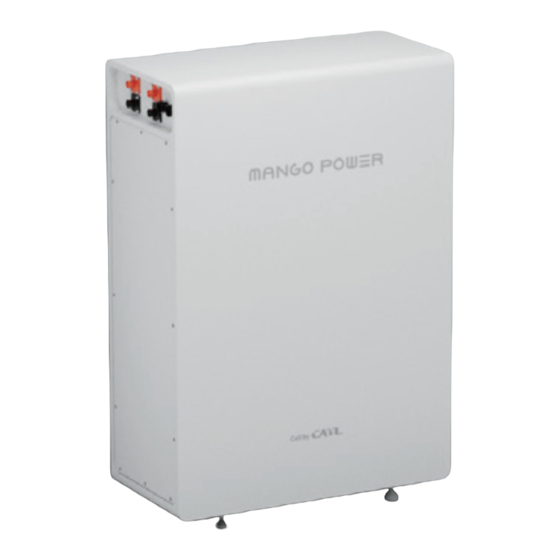
6. Securing the M Cabinet
1. Secure the clips to the top of the M
Cabinet using the provided M8 (6) bolts.
2. Line up the M Cabinet Clips with the
three designated slots on the mounting
bracket.
3. Raise the Cabinet and then gently guide
the clips down into the slots.
4. Place the protective caps into position
as shown in Figure 1.5
Overview of connection port knock-outs
2.1inches(55mm) 2.1inches(55mm)
7.4inches(188mm)
1.7inches(2-44mm)
1.1inches(2-28.5mm)
1.4inches(2-35mm)
3.2inches(81.5mm)
3.2inches(81.5mm)
3.2inches(81.5mm)
3.2inches(81.5mm)
3.2inches(81.5mm)
Figure 1.4 - M Hybrid Inverter Connector Knockouts
Figure 1.5 - M Cabinet Protection Caps
2.48inches(4-63mm)
Advertisement
Table of Contents

Summary of Contents for MANGO POWER M Hybrid Inverter
- Page 1 4. Mounting the M Inverter 1. Lift the inverter above the bracket and lower into position. Ensure 1-1. M Hybrid Inverter & M Cabinet Installation the inverter is placed onto both of the bracket support arms. 2. Loosely fasten L brackets onto both the left and right sides of the inverter using the M6 (4) bolts 3.
-
Page 2: System Wiring
1-2. System Wiring 7. Ensure all feet are adjusted to properly level the cabinet WARNING: Ensure the switch of M Battery is in OFF Remove the nut; Adjust the Tighten the nut position before connecting leveling foot; Positive cable 1. Remove the dust caps 8. - Page 3 ON GRID. The BACKUP L1 is connected to the L1 of the MAIN PANEL, and the backup L2 point towards the terminal connections, is connected to the L2 of the MAIN PANEL. PE connects to the PE port on the MAIN PANEL. inside the M Hybrid Inverter. NOTE: AC Breaker not supplied Whole Home Backup Connection...
- Page 4 The Backup Panel is optional, and the LOAD on the inverter is connected to the load to be backed up in the home. L1 of the GRID is connected to L1 of the MAIN PANEL, and L2 is connected to L2 of the MAIN PANEL. The Existing Solar System is connected to L1 of GEN.
-
Page 5: Main Panel
The L1 from the MAIN PANEL is connected to the L1 of the inverter ON GRID, and the L2 is connected to the L2 of the inverter ON GRID. BACKUP panel is optional. The load to be powered on is connected to the backup panel of the inverter. - Page 6 The PV Connection cable is shown in the following figure 1. The inverter has three MPPTs. For MPPT1, users can connect two strings. For MPPT2 and MPPT3, users can connect one string. All three MPPTs work inde- pendently All of these strings are to be connected directly into the Inverter. not use a PV combiner as this may cause damage to the inverter.
-
Page 7: System Commissioning
2. Ensure Bluetooth is enabled. 3. Press "Add a device”. 4. Select the Mango Power M, identified by SN to be added. 5. Configure the Wi-Fi, enter the SSID and Password. Wait for the connection success NOTE: In case of multiple parallel M Batteries, you can distinguish them by setting the message. -
Page 8: Warranty Registration
4. Warranty Registration Note: This step must be performed, other- wise the warranty cannot be guaranteed. Please click on the link or scan the QR code to fill in the machine's SN and installation date. https://mp-aftersales.mangopower.com/ 5. Install M Cabinet Door 1.
Need help?
Do you have a question about the M Hybrid Inverter and is the answer not in the manual?
Questions and answers