Table of Contents
Advertisement
Quick Links
CR1020 meets the NWS evaluation criteria for NWR All Hazards logo use
Emergency Alert Radio
CR1020
with AM/FM/NOAA weather/Flashlight
Chapter 1 LOCATION OF CONTROLS
4
1
2
9
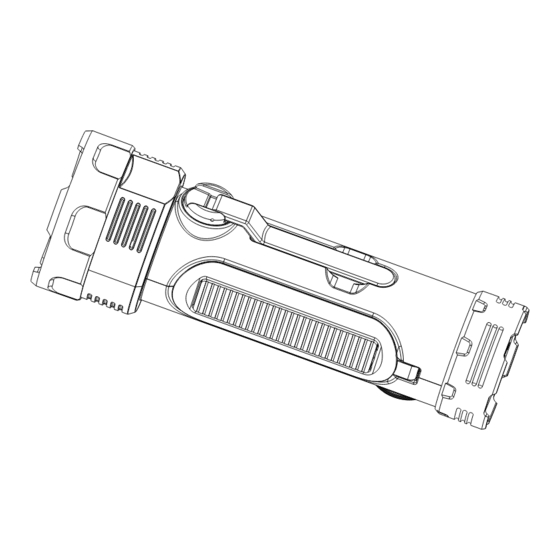
1. Flashlight
2. Light Control Button
3. Telescopic Antenna
5. Solar Panel
7. Radio Rotating Disk
5
7
3
6
ON
VOL
OFF
11
10
12
13
8. Speaker
9. Crank Handle
10. DC Charging Jack
11. USB Output Charging Jack
12. AM/FM/WB Selector
13. Radio Switch & Volume
Adjustment Gear
- 01 -
https://www.raynic.com
Chapter 2 POWER SUPPLY MODE
8
There are 4 power supply to power the radio:
1. Micro USB Adapter Charging
(1) Connect the USB cable (included) to a regular AC power adapter (not
included).
(2) Plug the USB cable into the Micro USB port of the radio.
(3) Plug the AC adapter into a standard 110-220V outlet.
A 5V/2A AC power adapter is highly recommended.
2. Hand Crank Charging
Unfold the crank handle and rotate it in either direction (generating
350mA of current) for approximately 7 hours to fully charge the
flashlight.
Note: Rotate the crank handle at 2 revolutions per second and it will produce 300-
350mA of power.
3. Solar Panel Charging
The solar panel can be charged by placing it in the sunlight (do not charge
indoors)
Note: Solar panel charging will produce about 30-50mA of current, it is
difficult to fill the flashlight, mostly used to maintain the
rechargeable battery.
4. Rechargeable Lithium Polymer Battery
Contact our experts
support@raynic.com
Made in China
2
- 02 -
Version 1.2
3
1
Advertisement
Table of Contents

Summary of Contents for Raynic NOAA CR1020
- Page 1 Contact our experts support@raynic.com CR1020 meets the NWS evaluation criteria for NWR All Hazards logo use https://www.raynic.com Emergency Alert Radio CR1020 with AM/FM/NOAA weather/Flashlight Version 1.2 Made in China Chapter 1 LOCATION OF CONTROLS Chapter 2 POWER SUPPLY MODE There are 4 power supply to power the radio: 1.
- Page 2 Chapter 3 BATTERY STATUS INDICATOR Chapter 5 MODES FLASHLIGHT Press the power button continuously to adjust the light Battery is charging Red Light brightness and mode: The radio is on/ Battery is full charged (1). High brightness (300 lumens) Green Light (2).
Need help?
Do you have a question about the NOAA CR1020 and is the answer not in the manual?
Questions and answers