Table of Contents
Advertisement
Quick Links
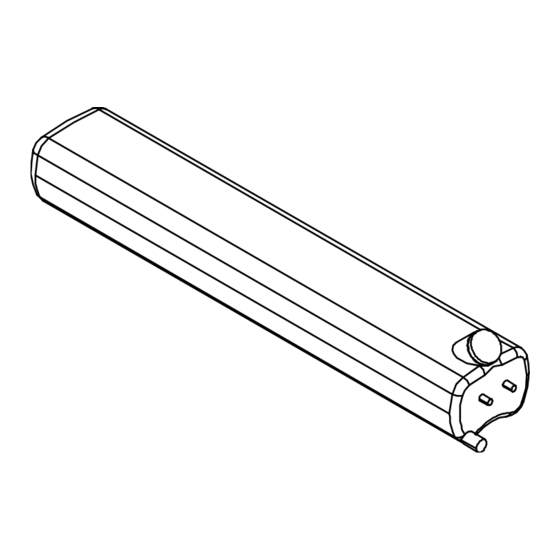
W E E K E N D E R W A T E R T A N K 3 0 L
30-liter water tank with 4.5m long elastic water hose, which is ideal when you are
outdoor for some time. Use it as an outdoor shower, for cleaning, as a flushing device
and whenever you need pressurized water. The water tank and hose are both made of
BPA free plastic, so the container can also be used for drinking water.
C O M P O N E N T S
Package 1
A: 1
x
F: 1
x
Please note this is not needed for installation on HeroCamper.
2
x
B: 8
8
HeroCamper – www.herocamper.com
Lammefjordsvej 5 – 6715 Esbjerg N – Denmark
Phone +45 7022 5840 – sales@herocamper.com
VAT No DK – 40193189
Version 05-02-2024
C: 8
x
x
E: 1
x
G: 1
x
8
8
x
x
x
8
x
D: 8
x
H: 1
x
Advertisement
Table of Contents

Summary of Contents for HeroCamper WEEKENDER
- Page 1 E: 1 F: 1 G: 1 H: 1 Please note this is not needed for installation on HeroCamper. HeroCamper – www.herocamper.com Lammefjordsvej 5 – 6715 Esbjerg N – Denmark Phone +45 7022 5840 – sales@herocamper.com VAT No DK – 40193189...
- Page 2 R: 8 S: 16 A: Weekender Water Port B: Buttonhead 19.4 x Ø7.75mm Hex 7/32’’ C: Spring washer Ø14.5mm D: Washer with rubber Ø22mm E: Water spray gun F: Water hose G: Ball Valve water hose H: Ball valve Weekender Water Port I: Middle bracket J: Buttonhead M10x37 TX45 K: Buttonhead M10x67 TX45 L: Left racket M: Right bracket N: Drill template O: Washer Ø12 P: Countersunk bolt M6x20 Q: Lock nut...
- Page 3 (Part used: I, L, M, O, P, and Q) HeroCamper – www.herocamper.com Lammefjordsvej 5 – 6715 Esbjerg N – Denmark Phone +45 7022 5840 – sales@herocamper.com VAT No DK – 40193189 Version 05-02-2024...
- Page 4 3. Place the Weekender Water Port onto the bracket and bolt it together. Please be careful not to overtighten the bolts. The Washer With Rubber Ø22mm should be place directly under the Water Port and with the rubber facing up against the Water port.
- Page 5 Please be careful not to drop the Weekender Water Port or scratch the camper. (Part used: J or K – see step 1, R and S) 6. Mount the Ball Valve Weekender Water Port. Tighten the collar and not the valve itself. Please ensure not to overtighten it. ( Part used: H) 7.
- Page 6 8. Mount the Ball Valve for the water hose if needed. Connect the two hoses and open the valve for the weekender water port. Then open for the water to self- pressurize the water tank. You can manually pressurize the water tank with an extern pump.
Need help?
Do you have a question about the WEEKENDER and is the answer not in the manual?
Questions and answers