Table of Contents
Advertisement
Quick Links
Advertisement
Table of Contents

Summary of Contents for SEVR X1
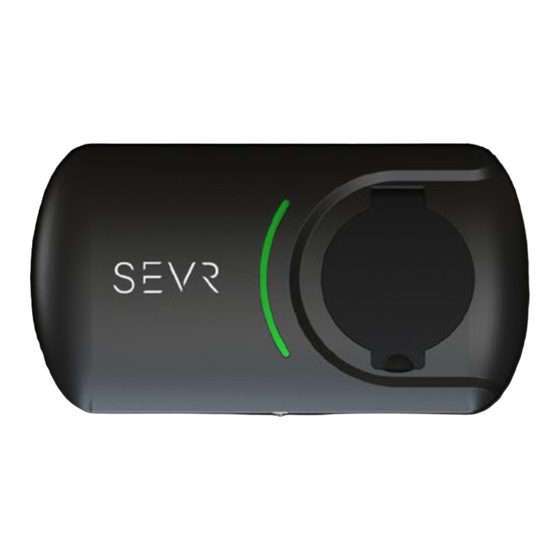
- Page 2 DATA SHEET SEVR-EVX1 s evr.com . au Version 9 7KW EV CHARGER Description Cable, Plugs & Connectors Type 2 plug Designed for Australians, this single phase EV charger boasts a sleek, compact design, perfect for discreet residential installation. Compatible with all EV car models, ensuring a safe and reliable charging experience.
-
Page 3: Important Safety Instructions
CAUTION: The device must not be installed in close vicinity to running water, water jets or areas subject to flooding. The information contained in this document is the sole property of SEVR PTY LTD. Any reproduction in part or as a whole without the written permission of SEVR Holdings PTY LTD is prohibited. -
Page 4: Product Overview
10. User manual x1 3.2 Gather Tools The information contained in this document is the sole property of SEVR PTY LTD. Any reproduction in part or as a whole without the written permission of SEVR Holdings PTY LTD is prohibited. -
Page 5: Installation
Use appropriate protection when connecting to the main power distribution cable. The information contained in this document is the sole property of SEVR PTY LTD. Any reproduction in part or as a whole without the written permission of SEVR Holdings PTY LTD is prohibited. -
Page 6: Residual Current Device (Rcd)
4. Use a rubber hammer to fix the expansion screws into the holes. The information contained in this document is the sole property of SEVR PTY LTD. Any reproduction in part or as a whole without the written permission of SEVR Holdings PTY LTD is prohibited. - Page 7 2. Using the 4x M6 Screws from installation kit and use a Phillips screwdriver to tighten the screws to secure the backplate on the wall. The information contained in this document is the sole property of SEVR PTY LTD. Any reproduction in part or as a whole without the written permission of SEVR Holdings PTY LTD is prohibited.
- Page 8 2. Secure the charging hub with one M4 screw from the bottom. The information contained in this document is the sole property of SEVR PTY LTD. Any reproduction in part or as a whole without the written permission of SEVR Holdings PTY LTD is prohibited.
- Page 9 3. Open the wire connectors, follow the wire labels to connect the wires before firmly pressing down all levers. The information contained in this document is the sole property of SEVR PTY LTD. Any reproduction in part or as a whole without the written permission of SEVR Holdings PTY LTD is prohibited.
-
Page 10: Step 5: Charger Configuration
1. Close the front cover and secure the front cover with one M4 screw on the top and an M4 TORX head screw on the bottom. The information contained in this document is the sole property of SEVR PTY LTD. Any reproduction in part or as a whole without the written permission of SEVR Holdings PTY LTD is prohibited. -
Page 11: Operation
10 flashes followed by 3 second pauses Restart recovery The information contained in this document is the sole property of SEVR PTY LTD. Any reproduction in part or as a whole without the written permission of SEVR Holdings PTY LTD is prohibited. -
Page 12: Charging Guide
The information contained in this document is the sole property of SEVR PTY LTD. Any reproduction in part or as a whole without the written permission of SEVR Holdings PTY LTD is prohibited.

Need help?
Do you have a question about the X1 and is the answer not in the manual?
Questions and answers