Table of Contents
Advertisement
Quick Links
Advertisement
Table of Contents

Related Manuals for brisk it Origin-940

Summary of Contents for brisk it Origin-940
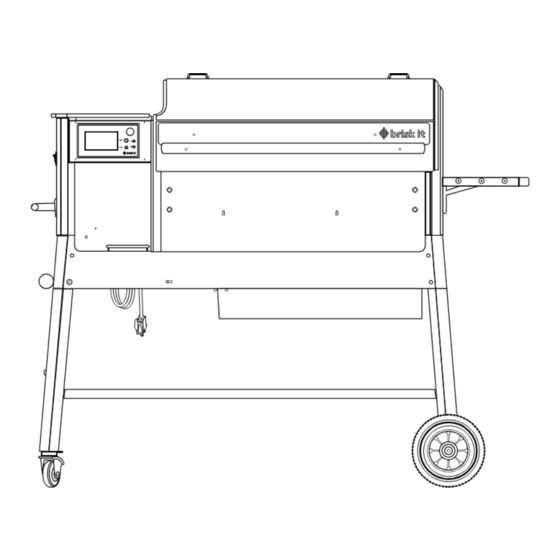
- Page 1 Model: Origin-940 TEXT GRILLING MADE SMART...
-
Page 2: Safety Information
It’s all about eating delicious food with friends and family. Store wood pellets in a dry container far from electrical and The Brisk It Grill combined with the Brisk It mobile app provide fuel burning appliances. a quality barbeque experience without the fuss, so you can skip •... -
Page 3: Fire Hazard
SAFETY INFORMATION, cont. READ ALL INSTRUCTIONS BEFORE INSTALLING THE APPLIANCE FIRE HAZARD • During grill operation, combustible materials should maintain a minimum distance of 18 inches (45.7cm) from the grill. • For overhead combustible materials, such as tree branches and/or wooden roofs, a minimum distance of 40 inches (102 cm) is required. •... -
Page 4: Parts List
ASSEMBLY INSTRUCTIONS PARTS LIST IMPORTANT: Refer to the Parts List and Assembly Instructions to assemble and install your Brisk It Grill PART DESCRIPTION Grill Body Grill Lid Left Side Handle Bottom Storage Shelf Locking-Caster Legs Locking-Caster Legs All-Terrain Legs All-Terrain Legs... - Page 5 NOTICE: TWO PEOPLE REQUIRED FOR ASSEMBLY STEP 1 - Install Left Side Handle a. Remove contents from inside the grill body (1) and b. Required components: 3, C (x4) set aside Install left side handle (3) to the grill body using the bolts (C) and a screwdriver.
- Page 6 STEP 3 - Install Legs a. Rotate the grill body (1) so that the bottom is facing upwards. We recommend using the cardboard packaging to support the grill when doing this step. b. Insert the legs (5) (6) (7) (8) into the slots. c.
- Page 7 STEP 3 - Install Legs, cont. d. Required components: 6, A e. Required components: 7, A (x4) (x4) (x4) (x4) Repeat step C to leg (6). Repeat step C to leg (7). f. Required components: 4, C g. Required components: 8, A (x6) (x6) (x4)
- Page 8 STEP 4 - Install Grill Lid Handle a. Required components: 18 b. Attach grill lid handle (18) to grill lid (2) using previously removed bolts and washers. Tighten Remove attached bolts and washers from grill lid bolts using a wrench. handle (18) using a wrench.
- Page 9 STEP 6 - Install Grease Tray and Ash Tray Liner a. Required components: 11 b. Required components: 11 Place grease tray and ash tray liner into tray (11). Insert tray (11) into slot below the grill body. STEP 7 - Place Interior Parts a.
Need help?
Do you have a question about the Origin-940 and is the answer not in the manual?
Questions and answers