
Related Manuals for EasyShed EF-S2308

Summary of Contents for EasyShed EF-S2308
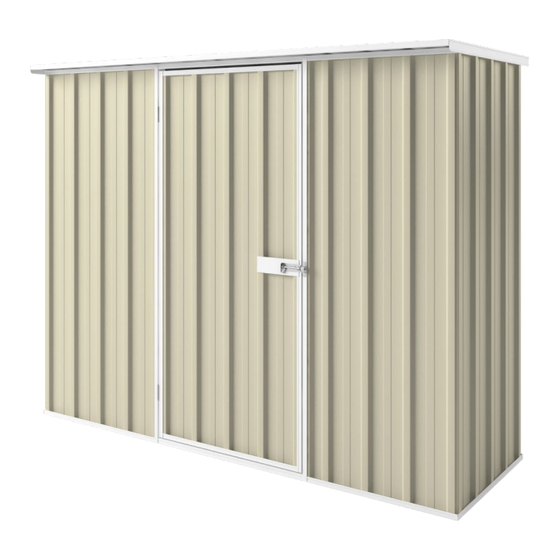
- Page 1 Flat Model: EF-S2308 Size: 2.25m x 0.78m x 1.82m 5 Step Assembly OPTIONAL EXTRAS INSTRUCTIONS: links.easyshed.co/optional-extras- instructions MODEL: EF-S2308 VERSION: MAR2022 PAGE 1...
- Page 2 Flat Model: EF-S2308 CUSTOMER CHECK LIST: 1 of 2 NOTE: Where possible, most components have been marked with Part Numbers for easy identification. Other components not able to be marked can be easily identified by their description, sketches and sizes shown on the Pack List and throughout this instruction.
- Page 3 Flat Model: EF-S2308 CUSTOMER CHECK LIST: 2 of 2 CHECK QTY DESCRIPTION PART # DETAIL/IMAGE 970mm L FLASHING L970 1800mm JAMB J1800 1125mm JAMB J1125 1740mm U CHANNEL C1740 1127mm U CHANNEL C1127 793mm U CHANNEL C793 777mm U CHANNEL...
-
Page 5: Before You Start
Sudden wind gusts may damage the panels or cause injury. TOOLS REQUIRED: POWER PHILLIPS HEAD RIVET DRILL DRIVER DRILL BITS: STEP STRING 3mm Steel LADDER LINE 10mm Steel (concrete fixing) 10mm Masonry (concrete fixing) MODEL: EF-S2308 VERSION: MAR2022 PAGE 5... -
Page 15: Step 4. Door Assembly
-------l ► ►E will have the letter 'H' added to it as shown below. C1740 >> C1740H This will make it easier to identify the hinged door channel in following door assembly steps. MODEL: EF-S2308 VERSION: MAR 2022 PAGE 15... - Page 25 GUARANTEED FOR QUALITY EasyShed are manufactured for quality, strength and warranted for a period of up to 20 years from date of purchase. Retain your proof of purchase to affect your warranty period. Contact Manufacturer for warranty inclusions.
- Page 28 Flat Model: EF-S2308 FACTORY REFERENCE ONLY Sheeting Box: 1 of 1 | Box: 1 of 1 | Base: 2160 x 67 SHEETING: 1800mm - WALL SWR1 1740mm - DOOR 970mm - ROOF 1800mm - NARROW JAMBS: 1800mm J1800 1125mm J1125...
Need help?
Do you have a question about the EF-S2308 and is the answer not in the manual?
Questions and answers
Hi Trying to connect Ed-s2308 panels together from the side to the back
To connect the side panels to the back panel of the EasyShed EF-S2308, follow these steps:
1. Unpack and Identify Parts – Check and familiarize yourself with all components using the customer checklist.
2. Position the Back Panel – Place the back panel in the desired location, ensuring it is stable and aligned correctly.
3. Align Side Panels – Position the side panels adjacent to the back panel, ensuring the edges align properly.
4. Secure the Panels – Use the provided screws or fasteners to join the side panels to the back panel at the connection points.
5. Check Fastening Points – Ensure all fasteners are tightened securely to avoid gaps.
6. Seal for Waterproofing (Optional) – Apply silicone sealant along the joints to improve water resistance.
For easier handling, it is recommended to have two people assist in the assembly process.
This answer is automatically generated