
Related Manuals for Step2 Kingsley Park Atherton Grand Mail Post


Summary of Contents for Step2 Kingsley Park Atherton Grand Mail Post
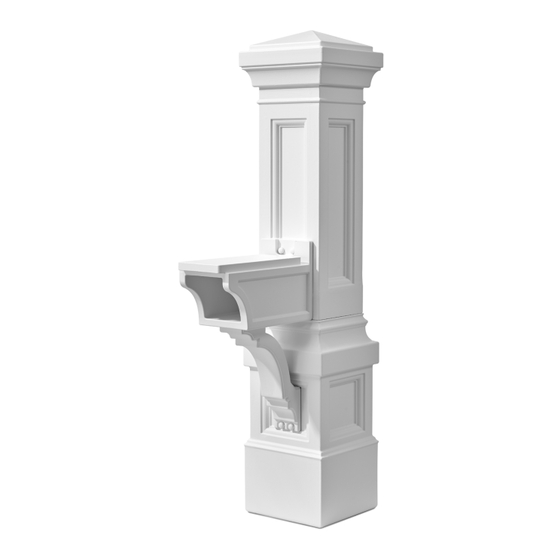
- Page 1 Atherton Grand Mail Post ™ Assembly Instructions Instructions de montage | Instrucciones de montaje 04/21/2022 194377D01B 5955 / 5975...
- Page 2 Welcome to the Family Bienvenue dans la famille Bienvenidos a la familia Kingsley Park ™ Kingsley Park ™ Kingsley Park ™ Whether you’re creating your dream backyard Kingsley Park™ est conçu pour vous, que vous Ya sea que esté creando el espacio de sus space or adding a timeless spin on your favorite vouliez créer l’espace de jardin de vos rêves sueños en el patio trasero o dando un giro...
- Page 3 Parts | Les Pièces | Parets OPTIONAL: For secondary mailbox mounting option. OPTIONNEL: Pour l'option de montage de boîte aux lettres secondaire. OPCIONAL: Para la opción de montaje del buzón secundario. x6 | 2-1/2” (63,50 mm) x6 | 3/4” (19,05 mm) x5 | x5 | x5 |...
- Page 4 Post Installation Diagram Above Ground Au-dessus du Sol (post not included) Encima del Suelo 40 - 42 in. 101.6 - 106.7 cm Install post 90° to ground level. Installer le poteau de 90° au niveau du sol. Poster le Diagramme Instale el poste 90°...
- Page 5 Measure mailbox to ensure a height of 41 - 45 inches (104.14 - 114.3 cm) from road surface to inside of shelf and is set back 6 - 8 Inches from the front face of the road edge to the mailbox door. Adjust your wood post accordingly to meet these requirement before bolting down mailbox.
- Page 6 ARROW MUST POINT TO ROAD. LA FLÈCHE DOIT POINTER VERS LA ROUTE. LA FLECHA DEBE APUNTAR A LA CARRETERA. Measure and mark center of post. x1 | 1” (25,40 mm) Mesurez et marquez le centre du poteau. Mida y marque el centro del poste. Align groove in part 'B' to post center and secure with screw.
- Page 7 SLOTTED SIDE OF PART 'A' MUST POINT TO ROAD. LE CÔTÉ FENDU DE LA PARTIE 'A' DOIT POINTER VERS LA ROUTE. EL LADO RANURADO DE LA PARTE ' A ' DEBE APUNTAR A LA CARRETERA. HOLD FLUSH 1/4” drill bit MAINTENEZ AFFLEURANT Foret de 6,35 mm MANTENER AL RAS...
- Page 10 1” (25,40 mm)
- Page 11 Hold part 'F' firmly in place and use as guide to drill pilot holes. 1/4” drill bit Foret de 6,35 mm broca de 6,35 mm Maintenez fermement la partie 'F' en place et utilisez-la comme guide pour percer des avant-trous. Sostenga la Parte 'F' firmemente en su lugar y úsela como guía para perforar agujeros piloto.
- Page 13 x1 | 1” (25,40 mm) Hold down ' A ' to eliminate any gaps between ' A ' & 'B' . Maintenez ' A ' pour éliminer tout écart entre ' A ' et 'B' . Mantenga presionada ' A ' para eliminar cualquier espacio entre ' A ' y 'B' .
- Page 14 Mailbox Mounting Instructions: (Recommended) Instructions de montage de la boîte aux lettres: (Recommandé) Instrucciones de montaje del buzón: (Recomendado) Mount mailbox (Sold Separately) using hardware set 'H' . Align mailbox mounting holes with slots in part 'C' and position mailbox as far back as possible. Montez la boîte aux lettres (vendue séparément) à...
- Page 15 Mailbox Mounting Instructions: (Secondary) Instructions de montage de la boîte aux lettres: (secondaire) Instrucciones de montaje del buzón: (Secundario) If mailbox does not have standard bottom mounting holes, use the provided screws (J2) and spacers (L) to secure mailbox from the sides. Be sure the screws go through the center of the spacers.
- Page 16 É.-U. et Canada seulement, de 8 h à 17 h HSE. EE.UU. Y Canadá solamente, 8 am-5 pm hora estándar del Este. KingsleyPark.com KingsleyPark.com or Step2.com or Step2.com KingsleyPark.com or Step2.com Our staff is ready to provide assistance. Notre personnel se fera un plaisir de vous fournir l’aide nécessaire.
Need help?
Do you have a question about the Kingsley Park Atherton Grand Mail Post and is the answer not in the manual?
Questions and answers