
Related Manuals for Doheny's 90604

Summary of Contents for Doheny's 90604
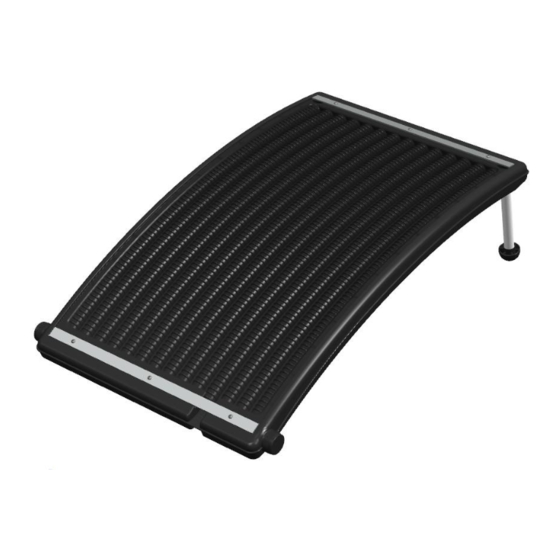
- Page 1 Solar Heater INSTALLATION AND INSTRUCTION MANUAL Read all instructions BEFORE assembling and using it. RETAIN THIS MANUAL FOR FUTURE USE.
-
Page 2: Important Safety Information
Table of Contents Safety Information…………………………………………………………………….1 How Solar Heater Works………………………………………………………………2 Solar Heater Location………………………………………………………………….3 Tools Required…………………………………………………………………………3 Parts list/Reference……………………………………………………………………4 Installation Instructions………………………………………………………………..5 Connecting Multiple Units…………………………………………………………….8 Dividing valve installation…………………………………………………………….9 Winterization…………………………………………………………………………10 Troubleshooting………………………………………………………………………10 The solar heater has been engineered and manufactured in our highest standards for dependability, durability, ease of operation and safety. Follow these instructions, and it will heat your pool for many years to come. - Page 3 Important Carefully read this manual. Failure to comply with these instructions can cause injury, death, or damage to the unit. Do NOT allow children to operate solar heater Always turn the filter system off when installing, working on, or servicing the solar heater Install solar heater far enough away from the pool to prevent children from using it as a way to access the pool...
- Page 4 Where should I put the Solar Heater Choose a hard, level surface The unit(s) should never be placed on a roof, or any structure Install solar heater on the ground in a location where it will receive at least 6 hours of direct sunlight a day The unit(s) should be angled toward the sun using the legs provided NOTE: The solar heater is to be installed between the filter and the pool water inlet.
- Page 5 Parts lists(Standard package): Ref. No. Description Main body 1-1/2 Flex hose Leg covers Aluminum legs 11⁄2” Stainless Steel Clamps O-ring Pipe Adaptors smooth 11⁄2” PVC Couplings Component parts list: (BUY SEPARATELY, NOT INCLUDED IN STANDARD PACKAGE): Ref. No. Description Pipe Adaptors barbed Short robber hose (for the multiple connection) 11⁄2”...
-
Page 6: Installation
Dividing Valve lists (BUY SEPARATELY, NOT INCLUDED IN STANDARD PACKAGE): Ref. No. Description T-type adaptor Three-way valve Adaptor 11⁄2” male threaded 11⁄2” Stainless Steel Clamps Teflon tape Installation We suggest wrap ample amounts of Teflon tape on the ends of all threaded headers and pipe adapters. - Page 7 3. Putting O-ring on the pipe adaptor (smooth). Attach coupling and pipe adaptor to outlet and inlet, tighten it. Plug return fitting in pool to ensure no water loss when disconnecting hose from return. 5. Make sure filter is turned off so no water flows out of the filter when disconnecting return hose from the swimming pool return and connecting to the solar heater.
- Page 8 7. Take the hose end removed from pool return and connect to hose adaptor attached to the header. Tighten hose clamp with screwdriver. 8. Connect provided flex hose to the end labeled “To Pool” and the opposite end to the return fitting.
- Page 9 10. Remove protective film from glazed clear cover. Multiple solar heater can be installed in series for larger pools and/or for more rapid heating. To connect multiple units together, use the provided rubber hose and hose damps to join the solar heater together at the lower end. 1.
- Page 10 Solar heater should installed with dividing valve Using dividing valve could lower the heater’s pressure that could longer the heater’s service life. The dividing valve will not influence the heater’s working efficient. We suggest wrap ample amounts of Teflon tape on the ends of all threaded headers and pipe adapters.
-
Page 11: Troubleshooting
Winterization: The solar heater MUST BE DRAINED FOR WINTERIZATION! FREEZE DAMAGE IS NOT COVERED UNDER WARRANTITY! YOU MUST DRAIN THE SOLAR HEATER JUST LIKE YOU DRAIN THE REST OF YOUR POOL EQUIPMENT! It is always best to store your solar heater inside a warm, dry place for winter storage. Troubleshooting Problems Possibilities/Solutions...
Need help?
Do you have a question about the 90604 and is the answer not in the manual?
Questions and answers