
Related Manuals for Safavieh CLF1023A

Summary of Contents for Safavieh CLF1023A
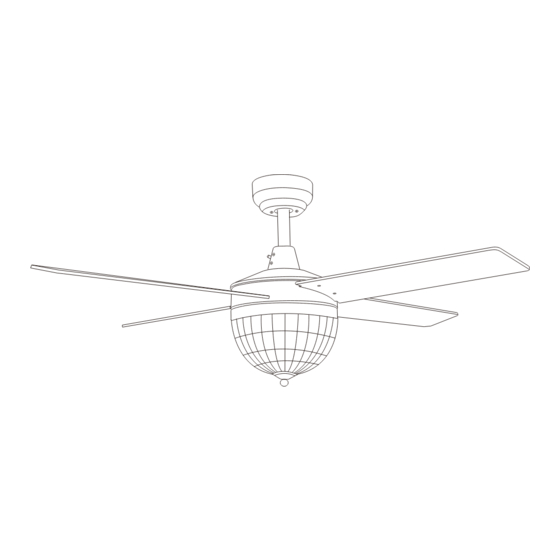
- Page 1 CEILING FAN INSTRUCTION MANUAL ITEM # : CLF1023A SIZE: 52"L X 52"W X 15"-20"-25"H REMO CLF1023A...
-
Page 2: Table Of Contents
TABLE OF CONTENTS Safety instruc ons Warning Prepara on Part List and Hardware List Installa on of the hanging bracket Hanging the fan A aching the fan blades and lights A aching the shade & opera on Use of remote control & making the electrical connec ons Install remote control &... -
Page 3: Safety Instruc Ons
SAFETY INSTRUCTIONS 1. To reduce the risk of electric shock, ensure the electricity has been turned off at the circuit breaker or fuse box before you begin. WARNING: To reduce the risk of personal injury, do not bend the blade brackets (also referred to as 2. -
Page 4: Warning
A certain amount of “wobble” is normal and should not be considered a defect. Servicing performed by unauthorized persons shall render the warranty invalid. There is no other express warranty. SAFAVIEH hereby disclaims any and all warran es, including but not limited to those of merchant ability and fitness for a par cular purpose to the extent permi ed by law. -
Page 5: Part List And Hardware List
Part List and Hardware List PIECE DESCRIPTION PICTURE QUANTITY PIECE DESCRIPTION PICTURE QUANTITY Downrod assembly Fan-Motor assembly 25cm Downrod assembly LED light kit 12.5cm Fan Blade Coupling cover Remote control Lampshade (Transmi er) Light kit fi er Remote control assembly (Receiver) Moun ng Bracket Wire nut... -
Page 6: Installa On Of The Hanging Bracket
STEP 1: INSTALLATION OF THE HANGING BRACKET Make sure that the clearance between the door and the fan blade psis at least 2.13 metres and at least 1 metre between p of blades and walls or any obiects. FOR CONCRETE CEILING Install the hanger with the correct screws as shown in the figure. -
Page 7: Hanging The Fan
STEP 2: HANGING THE FAN 1. install downrod assembly 2. Suspended Installa on 1. Thread the suspender through the suspended clock and coupling cover. 1. No ce the half ball on the end of the support rod is grooved down one side. 2. - Page 8 HANGING THE FAN 1. Install flushmount assembly 2.Flushmount Installa on Flushmount Installa on Only Slide the canopy up into place over the ceiling moun ng bracket. Loosen up the canopy screws on the side of the canopy screws. Press the canopy against the moun ng bracket and turn it clockwise.
- Page 9 STEP 3: ATTACHING THE FAN BLADES AND LIGHTS 1. Fastening the blade to the motor 2. Connec ng lamp wire Blades...
- Page 10 STEP 4: ATTACHING THE SHADE & OPERATION 3. Install the lamp shade Opera ng your fan SUMMER WINTER An upward airflow Air is blown down will push warm air o fithe ceiling Producing a cool breeze and circulate it downwards...
- Page 11 STEP 5: USE OF REMOTE CONTROL & MAKING THE ELECTRICAL CONNECTIONS MPORTANT: Use the plas c wire connectors WARNING: Each wire not supplied with this supplied with your fan. Secure the connectors LIGHT NO / OFF with electrical tape and ensure there are no Fan speed Low Leve fans is designed to accept up to one 12-gauge loose strands or connec ons.
-
Page 12: Install Remote Control & Fan Balance
STEP 6: INSTALL REMOTE CONTROL & FAN BALANCE ADJUSTING AND BALANCING YOUR CEILING FAN BLADES 1. Carefully push the canopy to the bo om of the moun ng bracket, make two sliding holes aligned to the two prominent screws on the moun ng bracket, and then turn clockwise un l ght. - Page 13 CARE AND CLEANING & TROUBLE SHOOTING WARNING : Make sure the power is off before cleaning your fan. □ Because of the fan’s natural movement, some connec ons may become loose. Check the support connec ons, brackets, and blade a achments twice a year. Make sure they are secure.
- Page 14 Remote control fan USE AND CARE GUIDE 52-INCH CEILING FAN 52-INCH CEILING FAN...
Need help?
Do you have a question about the CLF1023A and is the answer not in the manual?
Questions and answers