
Related Manuals for mitoredlight Universal Stand

Summary of Contents for mitoredlight Universal Stand
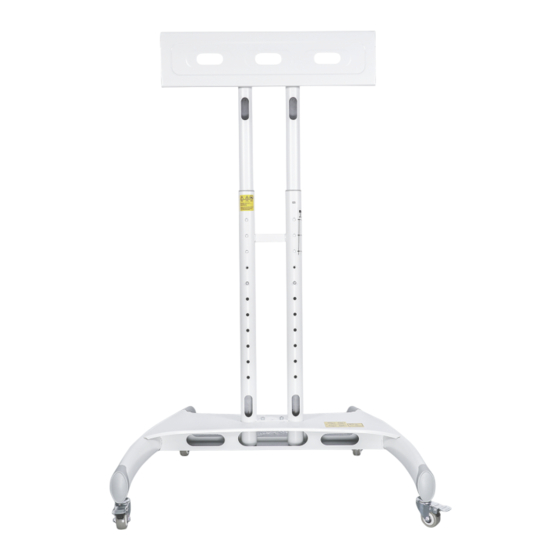
- Page 1 USER MANUAL Universal Stand www.mitoredlight.com © 2020 Mito Red Light, Inc. All rights reserved.
-
Page 2: Table Of Contents
PRECAUTIONS We reserve the right to modify or alter instructions. No modification or alteration without formal notice. The universal stand is used for Mito Red Light Therapy panels only. Please ensure the stand is placed on level floor. Please ensure the wheels are locked after installation. -
Page 3: Warning
The manufacturer disclaims any liability that the modifications, improper installation, or installation over the specified weight range. The manufacturer will not be liable for any damages arising out of the use of or inability to use, the product. All images are a reference only. www.mitoredlight.com... -
Page 4: Parts List
PARTS LIST www.mitoredlight.com... -
Page 5: Add Castor Wheels To Base
STEP 1: ADD CASTOR WHEELS TO BASE INSTALLATION www.mitoredlight.com... -
Page 6: Post Assembly To Base
STEP 2: POST ASSEMBLY TO BASE INSTALLATION Note: Make sure cable management holes are facing the rear of the house www.mitoredlight.com... -
Page 7: Install Telescopic Mounting Poles
Twist upper pole towards the plunger holes direction and engage the spring ball into the plunger hole and set as shown in figure 1. Step 2: repeat with the left pole. www.mitoredlight.com... -
Page 8: Vertical Stand Instructions
VERTICAL STAND ASSEMBLY INSTRUCTIONS www.mitoredlight.com... -
Page 9: Selection Of Mounting Patterns
Step 1: Screw the vertical stand mounting brackets to panel as shown (single panel example) fig-1 fig-2 ** See product specific user manuals / video tutorials for bracket install instructions as the brackets vary by Series. https://mitoredlight.com/pages/user-manual Step 2: Hang the panel (with vertical mounting brackets) cross bracket. Then to secure... -
Page 10: Vertical Stand Key Tip
The holes for the screws and attachments are located on the outside of the outer brackets. Some helpful assembly videos are available here: https://mitoredlight. com/pages/user-manual www.mitoredlight.com... -
Page 11: Product Specifications
PRODUCT SPECIFICATIONS www.mitoredlight.com... -
Page 12: Horizontal Stand Instructions
The base and telescopic mounting installation is the same as the previous example. Then connect and fix Horizontal L-form mounting kit ‘A’ with the telescopic mounting, as shown below Attach poles with 60mm screws to steel L-form plates as shown below 60mm fig-2 www.mitoredlight.com... -
Page 13: Screw Horizontal Metal Structure To Panel
SCREW HORIZONTAL METAL BRACKETS TO PANEL Screw horizontal metal brackets to panel. *note - see product specific user manuals / video tutorials for bracket install instructions as the brackets vary by Series https://mitoredlight.com/pages/user-manual fig-1 fig-2 2. Fix panel (with horizontal metal bracket attached) with bolts... -
Page 14: Mitoadapt Bracket Installation
MITOADAPT BRACKET INSTALLATION 2PCS MitoADAPT MAX MitoADAPT MAX (stacked vertically) www.mitoredlight.com... - Page 15 MITOADAPT BRACKET INSTALLATION MitoADAPT MID MitoADAPT MIN MitoADAPT MAX MitoADAPT MAX www.mitoredlight.com...
- Page 16 If you have any further questions, please feel free to contact us at: info@mitoredlight.com You can also call our phone number Monday - Friday 9am - 5pm MST +1 866-861-6486 Mail correspondence can be sent to: Mito Red Light, Inc...
Need help?
Do you have a question about the Universal Stand and is the answer not in the manual?
Questions and answers