Advertisement
Quick Links
Advertisement

Related Manuals for Cannondale Treadwell Neo


Summary of Contents for Cannondale Treadwell Neo
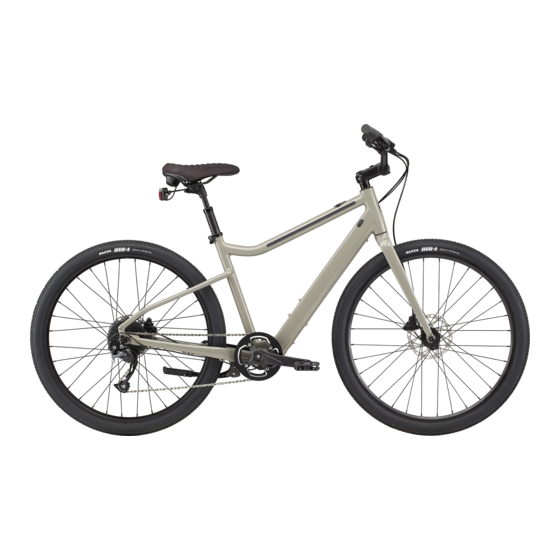
- Page 1 Treadwell Neo Quick Start Guide...
- Page 2 Welcome to the Cannondale family. WARNING First up, thank you for buying a new Cannondale bike – we’re excited to have you on board and to get you out riding as soon as possible. Our new This is a Quick Start Guide, not an assembly process is easy-to-follow –...
- Page 3 The 4 major steps to setting up our ride. Install your handlebars Install your front wheel Install your pedals SET-UP STEP 1 STEP 2 STEP 3 PRE-RIDE CHECK...
- Page 4 Getting your bike ready for assembly. This video applies to one Cannondale Platform: • Treadwell Neo Let’s get your bike out of the box. Tools Needed: Use a flat head screwdriver to carefully open the upper flap of the • Flat-Head Screwdriver box.
- Page 5 Let’s get your bike out of the box. Inside the small box, you’ll find a smaller box of parts, necessary tools, component documentation and manuals. Once the bike is assembled, but before you ride, please read the owner’s manual. Locate and remove the warranty card and set it aside with the owner’s Lift the entire bike up off the box and set the manual.
- Page 6 Step 1. Install your handlebars. Using the included hex wrench, loosen and remove the bolts and faceplate from the stem. The stem connects the handlebar to the fork. Set the bolts and faceplate aside together, so you don’t lose anything. Place the handlebar into the stem and verify the brake hoses and shift cables wrap around the frame cleanly, without visible kinks in the lines.
- Page 7 Step 2. Install your front wheel. Remove the disc brake pad spacer from the front caliper. Take care not to pull the front brake lever while either the pad spacer or disc brake rotor is not present in the caliper. Carefully lift the bike from the box and gently place the fork ends on the ground.
- Page 8 Step 2. Install your front wheel. Insert the skewer into the wheel axle on the opposite side of the disc brake rotor. Push the skewer through the hub to the other side of the wheel. Place the conical spring back onto the skewer with the narrow end pointing toward the wheel, then thread on the adjusting nut.
- Page 9 Step 3. Install your pedals. Pedals are left- and right-specific. Locate the left and right markings on the pedal spindles prior to installation. Locate the bag of grease and carefully insert the threaded portion of the pedal spindle into the bag. Insert the right pedal (marked with R) into the right/drive side crank arm and tighten with your fingers.
- Page 10 Some final pre-ride checks. Torque Bolts. Select the correct bit for the stem bolts and install it into the torque wrench. Look for the torque specification markings on the front and back of the stem, as well as the seatpost. If these markings are absent, torque all stem, seatpost and seat collar bolts to 7 Nm.
- Page 11 Some final pre-ride checks. Seat Height. Adjust seat height by loosening the seatpost collar. Standing next to the bike, position the saddle so it’s the same height as your hip. Align the saddle with the frame and tighten the seatpost clamp When riding, you should have a slight bend in your knee when the pedal is at the bottom of its rotation.
- Page 12 Some final pre-ride checks. Brake Check. Confirm the front and rear brakes engage when the levers are squeezed. The brake lever and handlebar should not come into contact with the brakes fully engaged. Wheel Engagement. Using the 6mm hex wrench, confirm the front wheel is securely installed.
- Page 13 Some final pre-ride checks. Charging. Unbox the e-bike charger and remove any additional packaging from the charger itself. Read the instructions included with the charger, then assemble the charger. Insert the charging end into the charge port. Be sure to orient the charging end with the port.
- Page 14 Welcome to the family. @ridecannondale...