Advertisement
Quick Links
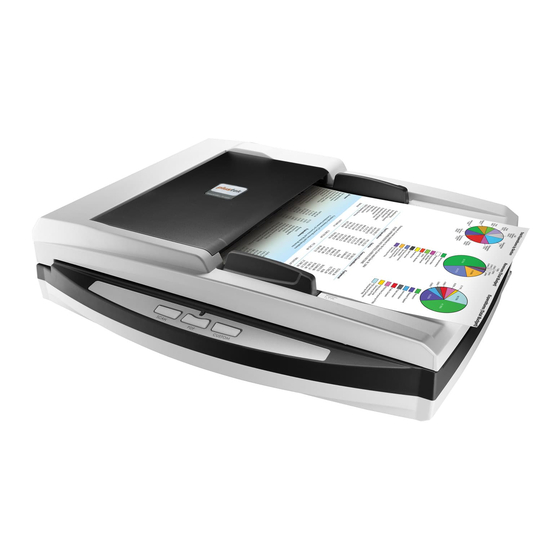
PL4080
Quick Installation Guide
Quick Installation Guide
Step 1 Connecting
Connecting the scanner to your computer
*Please use the AC adapter provided with the scanner.
Step 2 Installing
Do one of the following to install the scanner driver:
• Insert the Setup/Application Disc, included with your
scanner, into your DVD-ROM drive.
• Download the latest driver from our official website:
https://www.plustek.com/pl4080
Installing the software on Windows OS
6C1-1121000-0
Follow the on-screen instructions to install all software:
Scanner Connection
Check the icon located on the Windows system tray:
Appearance
No Display
LED Indicator
Indicates the scanner status.
Light
Blue
Orange
Off
The program has been successfully launched, the scanner is connected with the computer and the
scanner connection is activated, ready to scan images.
The scanner is not connected with the computer or the scanner power is not switched on. Or, the
scanner is in standby mode.
You have chosen to terminate the program, no matter the scanner is connected or disconnected with
the computer.
The scanner is turned on, ready to scan images.
The scanner is in standby mode if it is idle for 10 minutes.
The scanner is off, either because the power is not turned on, or because the AC adapter is not
properly plugged into an AC power outlet.
Status
Status
Advertisement

Summary of Contents for Plustek PL4080
- Page 1 PL4080 Quick Installation Guide Quick Installation Guide Installing the software on Windows OS 6C1-1121000-0 Follow the on-screen instructions to install all software: Step 1 Connecting Connecting the scanner to your computer *Please use the AC adapter provided with the scanner.
- Page 2 3. Calibrating the scanner If you encounter color issue, please find Calibration Wizard as following: 1. Cleaning the ADF If you encounter paper-feeding issue, please clean the ADF as following: • Clean the Feed Roller: • Clean the Pad Module: Click Next, then click Calibrate Now.


Need help?
Do you have a question about the PL4080 and is the answer not in the manual?
Questions and answers