Advertisement
Dual output receiver to XRF wireless transmission system
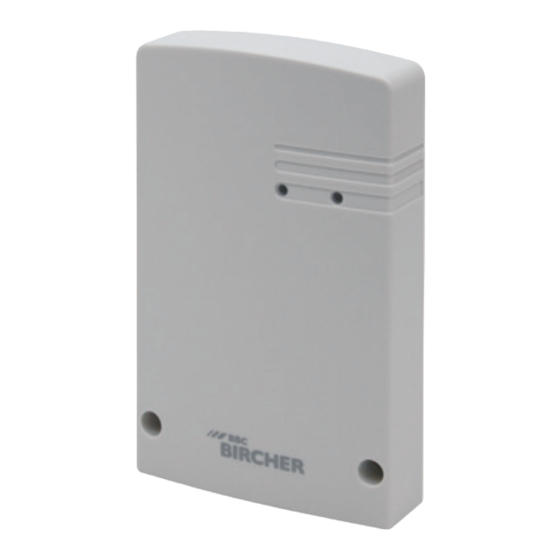
XRF-R.2
EN
ORIGINAL OPERATING INSTRUCTIONS
1
Description
1.1
Intended use
Monitoring safety edges and switches on industrial doors and gates.
1.2
Typical Application
Transmitter Tx1 (input 1) corresponds to receiver output 1
Transmitter Tx2 (input 1) corresponds to receiver output 2
ON
1 2
Tx1
Figure 1.a
Transmitter Tx1 (input 1) corresponds to receiver output 1
Transmitter Tx2 (input 1) corresponds to receiver output 1
Transmitter Tx2 (input 2) corresponds to receiver output 2
ON
1 2
Tx1
Figure 1.b
04.2023
© BBC Bircher / bircher.com
1 2
4.2
44
44
Receiver
Out-
Out-
put 1
put 2
Tx2
Receiver
Receiver
Out-
Out-
put 1
put 2
ON
1 2
Tx2
Receiver
XRF-R.2
75
24
75
2
Safety instructions
• Read these operating instructions thoroughly before putting the
device into operation and keep them for future reference.
• Follow all the recommendations given in this manual to avoid serious
danger to persons.
• Do not use this product other than for its specified application.
• Pay attention to all local relevant electrical safety regulations.
• Only trained and qualified personnel may install and initialize the
device.
• The installer is responsible for testing the system to ensure it meets
all applicable safety standards.
• After accessing the inside of the device, ensure the cover/protection
seal is closed tightly to achieve designated protection rating. The
device must not be used without the cover mounted.
• For compliance with EU standards: Operate the sensor from a safety
ON
1 2
extra low voltage (SELV) system with safe electrical separation
according to EN 61558. The wiring must be protected against
mechanical damage.
• Disconnect device from mains in the event of a fault.
3
Installation
3.1
Opening cover
▷ Lift cover at screw end, then slide away.
3.2
Cable routing, strain relief
1. Determine the cable routing.
2. Break out the respective part of the cover if necessary.
3. Punch hole into the grommet.
4. Insert cable (cable Ø: 3.1 – 5.2 mm).
Either break out a piece of
the cover...
ENGLISH
1
LED SYS
2
Buzzer
3
Joystick
4
LED 1
5
LED 2
6
DIP-switch
24
... or use holes in the base
Use Screwdriver to punch
plate
hole
463830 A
1 / 4
Advertisement
Table of Contents

Subscribe to Our Youtube Channel
Related Manuals for BBC Bircher XRF-R.2


Summary of Contents for BBC Bircher XRF-R.2
- Page 1 4. Insert cable (cable Ø: 3.1 – 5.2 mm). Either break out a piece of ... or use holes in the base Use Screwdriver to punch Figure 1.b Receiver the cover... plate hole 04.2023 © BBC Bircher / bircher.com XRF-R.2 1 / 4...
- Page 2 Low battery green flashing green closed green closed 3x every min. Test input active green closed open closed open Error (transmitter or system) flashing closed open closed open 2 / 4 XRF-R.2 © BBC Bircher / bircher.com 04.2023...
- Page 3 Protection class IEC 60529 IP65 Operating temperature –20 °C to +60 °C Contact BBC Bircher Smart Access BBC Bircher AG, Wiesengasse 20, CH-8222 Beringen www.bircher.com Designed in Switzerland / Made in China 04.2023 © BBC Bircher / bircher.com XRF-R.2 3 / 4...
- Page 4 4 / 4 XRF-R.2 © BBC Bircher / bircher.com 04.2023...
Need help?
Do you have a question about the XRF-R.2 and is the answer not in the manual?
Questions and answers