Advertisement
Technical Support and E-Warranty Certificate www.vevor.com/support
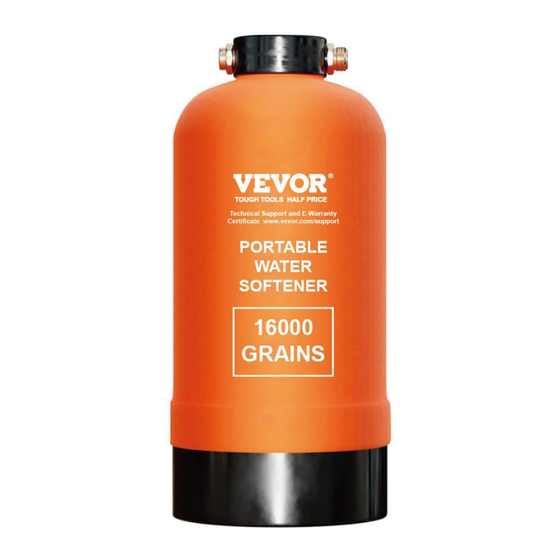
RV WATER SOFTENER
MODEL:RWS16000
We continue to be committed to provide you tools with competitive price.
"Save Half", "Half Price" or any other similar expressions used by us only represents an
estimate of savings you might benefit from buying certain tools with us compared to the major
top brands and does not necessarily mean to cover all categories of tools offered by us. You
are kindly reminded to verify carefully when you are placing an order with us if you are
actually saving half in comparison with the top major brands.
Advertisement
Table of Contents

Related Manuals for VEVOR RWS16000

Summary of Contents for VEVOR RWS16000
- Page 1 Technical Support and E-Warranty Certificate www.vevor.com/support RV WATER SOFTENER MODEL:RWS16000 We continue to be committed to provide you tools with competitive price. "Save Half", "Half Price" or any other similar expressions used by us only represents an estimate of savings you might benefit from buying certain tools with us compared to the major top brands and does not necessarily mean to cover all categories of tools offered by us.
- Page 3 This is the original instruction, please read all manual instructions carefully before operating. VEVOR reserves a clear interpretation of our user manual. The appearance of the product shall be subject to the product you received. Please forgive us that we won't inform you again if there are any technology or software updates on our product.
-
Page 4: Important Safeguards
IMPORTANT SAFEGUARDS BASIC SAFETY RULES Read and understand all instructions. Failure to follow all instructions may result in serious injury or property damage. The warnings, cautions, and instructions in this manual cannot cover all possible conditions or situations that could occur. Exercise common sense and caution when using this tool. -
Page 5: Specifications
mechanical hazards in your work area. Some of these hazards may be hidden from your view and may cause personal injury and/or property damage. PERSONAL SAFETY Stay alert, watch what you are doing, and use common sense when operating ... -
Page 6: Product Composition
Product Composition 1pcs 1pcs 2pcs 1pcs 1pcs Neoprene Portable Brass Hose Fiber 1m Hose Fabric Cloth Water Adapter Cloth Cover Softener 1pcs 4pcs 1pcs 1pcs Garden Hose Sealing Ring O-ring Brass L Fittings Shut Off Valve 1pcs 1pcs 1pcs 1pcs Double Female Female Garden PTFE Thread... - Page 7 - 5 -...
-
Page 8: Installation Instructions
Installation instructions FLUSH Connect the water Connect a hose to the Turn the water on and flush source to the inlet port outlet port on the tank the unit for 4 to 6 minutes. While on the tank cap/head. cap/head.A double female flushing, you might notice a garden hose connector is discoloration in the water, this is... -
Page 9: Water Hardness Test
Note: Make sure that the unit is secure with a sturdy strap in your vehicle while traveling.Make sure that the unit is placed on a flat surface, upright and level, and never install on its side. BACKFLUSH Backflush the unit every 3 months for 3 to 5 minutes. Connect the water source to the outlet port on the tank cap/head. - Page 10 Flush the unit for 30 minutes by turning on the water slowly until The water is flowing 90° to the ground or drain. Note: The water contains a high amount of salt, DO NOT drain on grass/flowers/trees. Increase the water flow for 10 minutes until the salt is fully dissolved. The unit is ready for use if the saltwater is completely drained from the unit.
-
Page 11: Troubleshooting
TROUBLESHOOTING There's a leak on - Twist and tighten the cap/head properly. the cap/head. - Replace the o-ring. There's a leak on -Make sure that the fittings are properly connected. Add the inlet/outlet. a PTFE thread seal tape if needed. Doesn't soften -Check the quality of the water using the test strip. - Page 12 Technical Support and E-Warranty Certificate www.vevor.com/support...
Need help?
Do you have a question about the RWS16000 and is the answer not in the manual?
Questions and answers
The head is leaking on mine. You sent me a new one but how do you get the pipe out of the head to install it on the new one?
To remove the pipe from the head of a VEVOR RWS16000 unit, follow these steps:
1. Disconnect the hoses connected to the unit.
2. Remove the cap/head from the tank.
This allows you to detach the pipe connected to the head for installation on a new unit.
This answer is automatically generated
How do i store the rv softener for 8 months Elor rv 1600
To store the VEVOR RWS16000 RV water softener for 8 months, follow these steps:
1. Drain the unit completely.
2. Ensure the unit is dry before storage.
3. Store the unit away from direct sunlight to prevent damage.
Before reusing after storage:
1. Backflush the unit.
2. Regenerate the unit.
3. Sterilize the tank before use or at least once a year.
This answer is automatically generated
How t regenerate unit
To regenerate the VEVOR RWS16000 unit, follow these steps:
1. Disconnect the hoses connected to the unit.
2. Remove the cap/head.
3. Fill the tank with 52 oz (1471.6 g) of table salt.
4. Return the cap/head.
5. Reconnect the water source to the inlet port on the tank cap/head.
6. Flush the unit for 30 minutes by turning on the water slowly until the water flows straight to the ground or drain. Do not drain on grass, flowers, or trees due to the high salt content.
7. Increase the water flow for 10 minutes until the salt is fully dissolved.
8. The unit is ready for use once the saltwater is completely drained.
Note: If a backflush is needed at the time of regeneration, perform the backflush first before starting the regeneration process.
This answer is automatically generated