Table of Contents
Advertisement
Quick Links
QUICK INSTALLATION
GUIDE
QUICK INSTALLATION
GUIDE
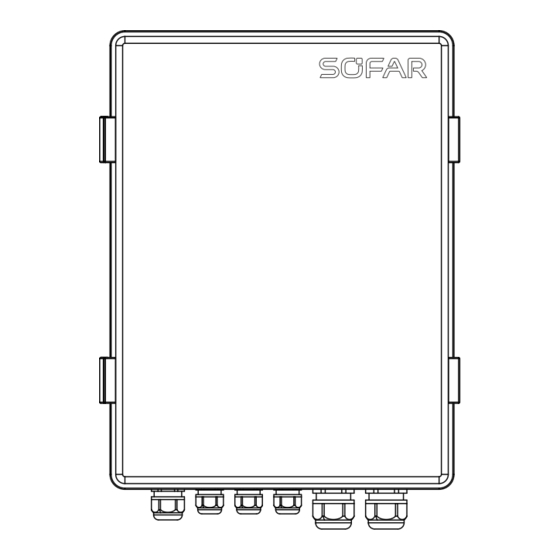
SAR-100
BASIC SAFETY INFORMATION
Please familiarize yourself with the safety tips and symbols first.
This quick installation guide contains the following models: SAR-100
The copyright of this manual belongs to Shenzhen SOFARSOLAR Co., Ltd. Any corporation or individual should not
plagiarize, partially cope or fully copy, not allow to duplication and publishment in any form and any way.
1.1
SAFETY INSTRUCTIONS AND WARNINGS
To ensure your personal and property safety when installing this product, please read the instructions of related symbols
carefully before installation.
Danger
• Installation and maintenance must be performed by professional personnel in accordance with local standards and
regulations.
• The SAR-100 must be disconnected from the inverter and power grid before installation and maintenance to prevent
electric shock.
• When working, do not touch the internal components and cables and other live parts to avoid electric shock.
Warning
• Ensure that the input voltage and current are consistent with the rated voltage and current. Otherwise, the
components will be damaged or cannot work properly.
• The AC input port supports only the three-phase and four-wire power grid.
1.2
PROUDUCT LABEL MARK
Pay attention to safety - Ignoring the warning
signs in this manual may result in minor or
moderate injury or improper operation of
the device
Pay attention to the high voltage
electric shock risk
CE mark
It shall not be disposed of as ordinary refuse, and shall be recycled after special treatment
01
SAR-100
2.4
Device installation
2.4.1 Installation precautions
Power off the device before installation.
Connect the inverter through RS485, please use daisy-chain connection method.
Only support one low-voltage bus and inverters under the same low-voltage bus, which means does not support
inverters under different low-voltage buses
Grid
Grid
SAR-100
SAR-100
3x230/400V
3x230/400V
M1
M2 RS485
M1
M2 RS485
Load
Inverter
AC
Load
Inverter
CT
Load
Inverter
RS485
RIGHT
2.4.2 Installation clearance
≥200mm
≥200mm
≥200mm
≥500mm
2.4.3 Installation SAR-100
① Select a right (firm & flat) place to install the device;
② Determine the hole position according to the hole size of the Mounting hook
③ Fixed the SAR-100 to the wall with the expansion screws in the Packing list
03
SAR-100
Recyclable mark
Grounding mark
Please read this manual carefully before use
Grid
Grid
Grid
SAR-100
SAR-100
Grid
3x230/400V
3x230/400V
M1
M2 RS485
3x230/400V
3x230/400V
M1
M2 RS485
Load
Inverter
Load
Inverter
Load
Inverter
Load
Inverter
Load
Inverter
Load
Inverter
WRONG
Top----------------200mm;
Below-------------500mm;
≥500mm
Front--------------500mm;
Two sides--------200mm
The hole spacing and hole size are
shown below:
320mm
PRODUCT OVERVIEW
2.1
DIMENSIONS: W×H×D=
2.2
PACKING LIST
a
b
Feed-in Limitation
Mounting hook ×4
Box*1
Note:CTs are not included in the packing list, users are requested to prepare their own in quantities of 6.
2.3
Use environment
2.4.4 SAR-100 wiring
Danger
• Power off before connecting cables.
• Wiring must confirm the correct wiring, wiring firmly, and then energize.
• All equipment is reliably grounded.
1. Internal structure
2. Outgoing line/External connection:Please refer to the following figure for external
connection
• Connect to Inverter
The max. number of inverters that SAR-100 can connect to is 10. Baud rate for all inverters: 9600.
If the RS485 link communication is abnormal, please connect a 120
A is RS485+ and B is RS485-.
Inverter modbus address should be configured starting from 002, it is recommended to use continuous address as 002-011.
φ8mm
×
×
mm
300
170
c
e
d
Hook screw ×4
Expansion screw ×4
Resistance ×5
Number
1
2
3
4
5
6
resistor between A and B point of the last inverter.
A
MAX 10
RS485
RS485
RS485
f
Antenna ×1
02
SAR-100
Name
Circuit Breaker
Meter 1
Power
repeaters
DIN-Rail Logger
Meter 2
B
04
SAR-100
Advertisement
Table of Contents

Related Manuals for Sofarsolar SAR-100


Summary of Contents for Sofarsolar SAR-100
- Page 1 PACKING LIST regulations. • The SAR-100 must be disconnected from the inverter and power grid before installation and maintenance to prevent electric shock. • When working, do not touch the internal components and cables and other live parts to avoid electric shock.
- Page 2 10.10.100.254, with the username admin and password admin (XXXXXXXXX means logger SN, and as shown in the picture below). Note: Before all configurations, make sure that the firmware for the SAR-100 and the inverter is up to date. Refer to the user manual for SAR-100 firmware upgrade operations.
Need help?
Do you have a question about the SAR-100 and is the answer not in the manual?
Questions and answers