Advertisement
Quick Links
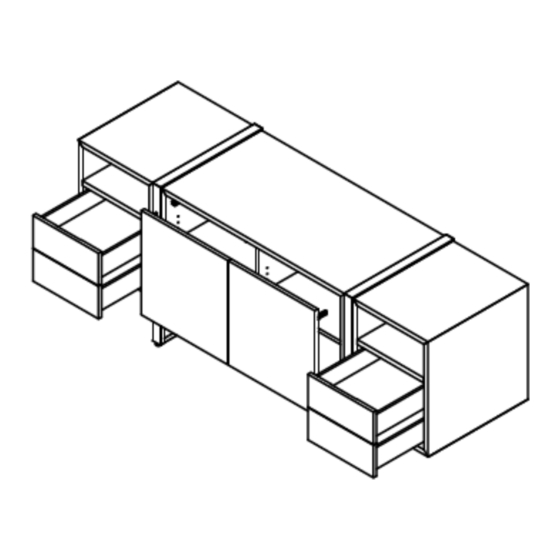
Instructions For Following Product(s)
• All standard Highline Credenzas
Related Instructions
• 02D00018 - Cabinet Door Hinge
• 02D00019 - Cabinet Drawer Slide
• 02D00020 - Cabinet Trash Drawer
Tools Required
Driver\Drill Gun
In The Box (Supplied By DatesWeiser)
Instructions For Highline Credenza
Instruction Number: 02D00013-R01
Tape Measure
Product(s) Required But Ordered Separately
• None
Driver Bit,
Open-End Wrench,
Phillips #2
Internal Hex Driver,
7/16"
3/16"
Page 1 of 6
Advertisement

Summary of Contents for DATESWEISER Highline Credenza
- Page 1 • 02D00019 - Cabinet Drawer Slide • 02D00020 - Cabinet Trash Drawer Tools Required Driver\Drill Gun Tape Measure Driver Bit, Open-End Wrench, Internal Hex Driver, Phillips #2 7/16" 3/16" In The Box (Supplied By DatesWeiser) Page 1 of 6...
- Page 2 Instructions For Highline Credenza Door & Drawer Removal Note: For ease of assembly, it's strongly recommended to remove any Doors or Drawers before you begin assembly. • For details on Door removal, see instruction 02D00018. • For details on Drawer removal, see instruction 02D00019.
- Page 3 Instructions For Highline Credenza Case & Leg Assembly Page 3 of 6...
- Page 4 Instructions For Highline Credenza Case & Leg Assembly Door & Drawer Re-Assembly • For details on Door removal, see instruction 02D00018. • For details on Drawer removal, see instruction 02D00019. • For details on Trash removal, see instruction 02D00020. Page 4 of 6...
- Page 5 Instructions For Highline Credenza Pull Assembly (If Equipped) Trash Liner Assembly (If Equipped) Note: Note: Skip forward to "Trash Liner Assembly" if Credenza is not equipped Skip forward to "Position & Level" if Credenza is not equipped with with Pulls.
-
Page 6: Top Assembly
Instructions For Highline Credenza Top Assembly Note: Assembly is complete if Credenza is not equipped with an Accent Top. Full Length (Clear Glass Only) Peel and stick Bumpers (C04), placing one in each corner of the credenza inset approximately 1" to the center of the Bumper. Then (Spaced equally) stick the remaining Bumpers along the length of the Credenza.