
Summary of Contents for Super Walter 824N
- Page 29 Congratulations on your new Compact Dryer! In addition to its contemporary design, this is a highly sophisticated engineered product that will give you many years of satisfaction. Here are some of the best reasons for buying your Dryer: Easy to use Variable heat levels Wall mount option Built-In installation...
- Page 30 Safety In order to reduce the risk of fire, electric shock, and/or injury, please follow safety precautions. Read all instructions carefully and save for future reference. Use the appliance indoors. It is not intended to be used outdoors. Ensure that open flame sources, such as candles are not placed on top of the dryer.
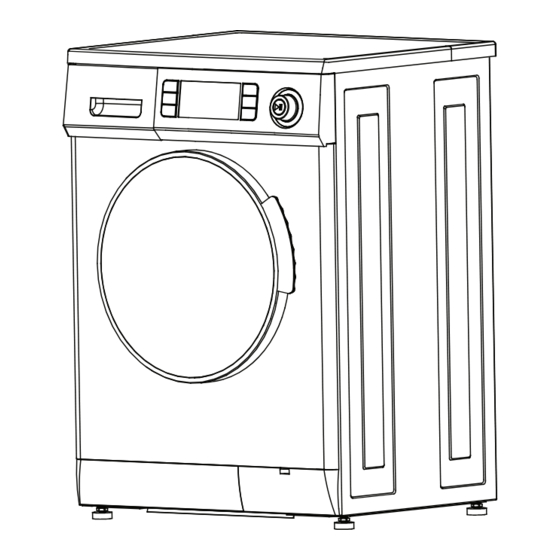
- Page 31 Placement Do not place or store the dryer where it will be exposed to the weather. Place the dryer in dry ventilated area, away from heat and direct sunlight. Place the dryer on a flat, smooth surface. Do not place on carpet or uneven surfaces.
- Page 32 Installation The dryer must be installed and serviced by a qualified technician. Install the dryer according to manufacturer's instructions and local codes. The dryer must be properly grounded. Do not modify the plug. Do not install the dryer in a tight-fitting cabinet. Ensure there is adequate ventilation space all around the dryer (please see detailed installation instructions).
- Page 33 Built-In, Recessed, Closet and Alcove Installation...
- Page 34 Wall Mounting Instructions...
- Page 36 Time Knob Mode button Dry Function button...
- Page 37 Control Panel Functions Time Knob Dry Function Mode button button SLEEP Control Panel The Control Panel has a Dry Function button on the left, a Mode button on the right and a Time Knob in the middle. The Dryer can be operated in NORMAL Mode or SLEEP Mode.
- Page 38 Sensor Dry The Sensor Dry function operates when the Dry Function button is up (not pressed down). Turn the Time Knob clockwise to 200. When the time reaches the 120-minute mark, the moisture and humidity levels are measured by the sensor and the drying time is automatically adjusted to stop hot air blowing once the clothes are dry.
- Page 39 Maintenance 1. Removing the Filters 2. Cleaning the Filters...
- Page 40 3. Re-installing the Filters Cleaning the Air Intake Filter...
- Page 41 Cleaning Drying Tips Technical Specifications 120V - 60Hz 27.5 x 23.6 x 21.5 inch...
- Page 42 In most cases, when your Dryer fails to work, the problems arising can be easily solved without having to call for a technician. Before calling for assistance, always check these points.
Need help?
Do you have a question about the 824N and is the answer not in the manual?
Questions and answers