
Related Manuals for X10 CM15A


Summary of Contents for X10 CM15A
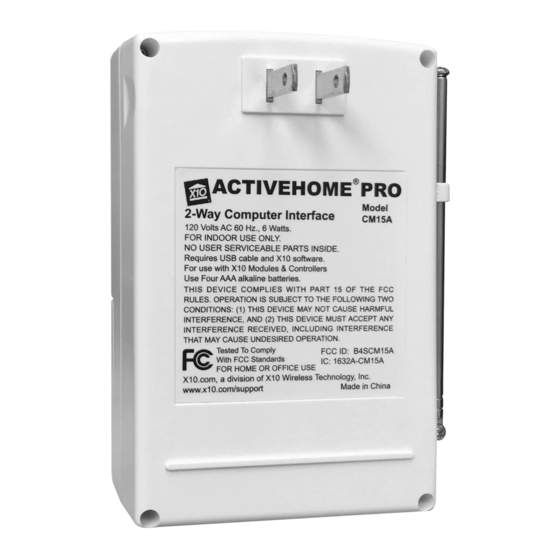
- Page 1 ActiveHome Pro USB 2-Way Home Automation System CM15A ODEL OWNER’S MANUAL (Please keep for future reference)
- Page 2 Interface. This Owner’s Manual shows you how to get started with ActiveHome Pro, get the most out of its advanced features, and see what X10 Home Automation products can do. Because ActiveHome Pro is frequently updated, you might be notified that new versions are available when you run it (if you’re connected to the Internet).
-
Page 3: Table Of Contents
ONTENTS Introduction to ActiveHome Pro ... 2 Setting Up ActiveHome Pro ... 6 Installing the ActiveHome Pro Interface ... 6 Operation ... 10 Using ActiveHome Pro... 10 Creating & Editing Rooms ... 11 Editing Rooms ... 11 Adding Modules ... 12 Add Module Dialog ... - Page 4 ARDWARE ETUP Unpack these items. Download the X10 Software. Click on the software link in the e- mail you received titled “New Software Download Link.” Before you download the software, choose the option to save the file, and save it onto your desktop so you can more easily access it later.
- Page 5 Hardware Setup Plug in the CM15A Interface (wait until the installation program asks you to connect it). Connect the other end of the USB cable to the CM15A Interface. Hardware Setup Plug the Interface into an AC outlet near your PC.
-
Page 6: Operation
PERATION Using ActiveHome Pro All you need to do is run your X10 ActiveHome Pro software — your software controls the Interface. Use the entry in your Windows Start Menu, or double-click the icon on your desktop to open the program. When the program opens click on help for information on how to use ActiveHome Pro. -
Page 7: Adding Modules
DDING ODULES There are two ways to add modules to ActiveHome Pro: using the Add Module dialog, and using the Module Panes. Add Module Dialog To open the Add Module window, select “Add Module” from the Edit Menu or choose “New Module” from the Pop-Up Menu. Enter the name you want to use for this module. -
Page 8: Module Types
Adding Modules Module Types In ActiveHome Pro, X10 modules are classified into four different categories: Lamps: dimmable modules and those designed only for incandescent lighting control. Appliances: modules with only On/Off control that are designed to be used with higher wattage loads, small motors, and more. -
Page 9: Configuration
ONFIGURATION Getting Data from Previous Versions If you used the original version of ActiveHome, you can use your files in the ActiveHome Pro. There are two ways to get your existing ActiveHome data into ActiveHome Pro. Opening a File from the Original ActiveHome To open your previous ActiveHome files in ActiveHome Pro, open the File Menu and choose “Open.”... -
Page 10: Controlling Lights & Appliances
ActiveHome Pro only shows you when they are active. Two-Way Modules In addition to receiving commands and turning on and off, some X10 modules can send information back to ActiveHome Pro. These Two-Way modules (model LM14A Lamp Module and AM14A and AM15A appliance modules, plus some models from other manufacturers), will have a Poll button on them. -
Page 11: Creating Timed Events
REATING IMED Scheduling events for specific times and dates is one of the most powerful features in ActiveHome Pro. Each module or Macro in your system can have multiple timers for different times of day, days of the week, and dates during the year. - Page 12 Repeat indicates to ActiveHome Pro that the command for this timer should be sent multiple times when it runs. Use this option if you know that sometimes X10 command signals don’t get through to your models. Dusk and Dawn ActiveHome Pro contains information about the rising and setting of the sun all over the world.
-
Page 13: Timer List
REATING IMED VENTS You can choose to use both Dusk and Dawn settings, or just one, but you can only have one On command active at a time. When you use a Dusk or Dawn setting, you don’t have to use the exact time; you can enter a time into the box, and then choose to have your timer happen before or after Dusk or Dawn. -
Page 14: Using Macro Events
SING The Trigger information tells ActiveHome Pro what command you want to use to start the Macro with an X10 remote or other controller. The command always has an X10 Address, plus an On or Off. In this example, the trigger for the Macro is B13 On. You could set another Macro to be triggered by B13 Off, too. -
Page 15: Module List
SING ACRO VENTS Module List To add commands to a Macro, you drag the module you want to control from the Module List on the right into the Macro Timeline. At the top of the list are modules in the selected room. Change rooms using the drop- down list, and the modules will change. -
Page 16: Running Macros With Your Computer Off
SING ACRO VENTS The “Dim” and “Brighten” settings work differently. If you have a module that’s already on, use “Dim” or “Brighten” to tell it to dim or brighten by a certain amount. Use the slider to select the amount you want to the light to change. -
Page 17: Step 1: Macro Information
SING ACRO VENTS Step 1: Macro Information First, name your macro. Click into the Macro Name box, and type a new name. In this example, the Macro will be called “Breakfast.” At this point you can also select the Macro’s Trigger (remote command you use to start it), but ActiveHome will assign one automatically, which will usually be fine. -
Page 18: Step 5: Extending Over Time
SING ACRO VENTS Step 5: Extending Over Time One useful thing you can do with macros is use them to turn a set of lights on for you to use them, then turn them off automatically at a time when you’ll be done. -
Page 19: Macro Summary View
SING ACRO VENTS Macro Summary View The Macro Summary view lets you easily review your Macros. Each Macro is shown with its text description, its trigger information, the total time it runs, and what room it’s in. To edit a specific Macro, click its Edit button. -
Page 20: Lifestyle Mode
Lifestyle schedule as you do them. For example: if you turn on lights with an X10 remote when you get up in the morning, Lifestyle will do it for you automatically the next day. -
Page 21: Miscellaneous
ISCELLANEOUS Click the title of one of the sections to switch the main window to that view: Rooms opens the Room View with all rooms selected. Modules opens that Modules List in the Active Pane. Macros opens the Macro Summary. Timers opens the Timer Summary for the current room. - Page 22 Unit Code. House Codes A House Code is the part of the X10 address the assigns a module to a group. While ActiveHome Pro can control modules set to any House Code, other X10 remotes and controllers can only send commands to one House Code at a time.
-
Page 23: Troubleshooting
Support. Enter your e-mail address and order number to be sent the download link again. X10 software installation on Windows 98 asks for a disk: If your X10 software asks you to insert an X10 disk when you connect the Interface, follow these steps: 1. Click OK in this window. -
Page 24: Expanding Your System
Sends commands to the Transceiver Module just like a remote. The PowerFlash Module PF284 connects to dry contact or low voltage alarm terminals on your burglar alarm system and flashes X10 controlled lights when it is triggered. - Page 25 (1) year from the original date of purchase at retail. X10 agrees to repair or replace, at its sole discretion, a defective X10 product if returned to X10 within the warranty period and with proof of purchase.
Need help?
Do you have a question about the CM15A and is the answer not in the manual?
Questions and answers