Advertisement
Quick Links
Instruction Manuals
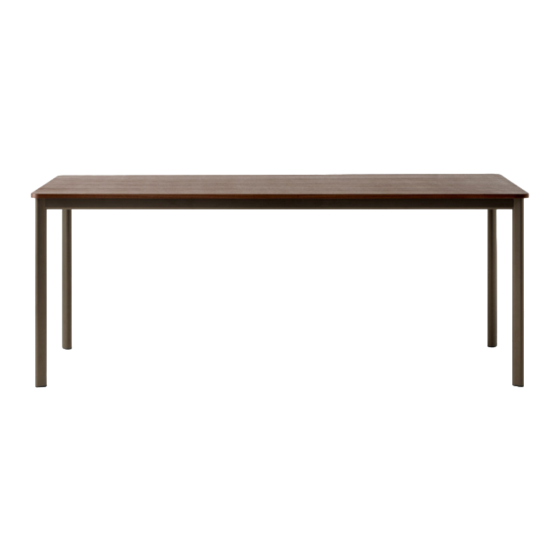
Drip MTO up to 3m
Hee Welling
2021
We hope you will enjoy using this product and follow
these instructions to ensure correct assembly. If you
have any questions or comments, please do not
hesitate to contact us by mail on:
info@andtradition.com
Advertisement

Related Manuals for &Tradition Drip MTO


Summary of Contents for &Tradition Drip MTO
- Page 1 Instruction Manuals Drip MTO up to 3m Hee Welling 2021 We hope you will enjoy using this product and follow these instructions to ensure correct assembly. If you have any questions or comments, please do not hesitate to contact us by mail on:...
- Page 2 Drip MTO up to 3m Please read these instructions carefully and retain them for future reference to ensure that the product is used Hee Welling correctly. For your own safety, please study each step of this instruction manual first. &Tradition is not responsible...
- Page 3 Step 1 Insert the corners (C) into the frames (D & E) as shown and attach them with screw (F). The 2 small holes on the corners (C) must be facing upwards, see illustration. Important: Install only the screws slightly and then finally tighten all of them.
- Page 4 Step 3 Place the cover components (J) on each of the 4 corners Step 4 Place the tabletop (A) upside down on a soft, flat surface and place the frame on top, upside down. Important: Install only the screws (G) slightly and then finally tighten all of them to secure correct fit.
- Page 5 Instruction Manuals Drip MTO 3m - 6m Hee Welling 2021 We hope you will enjoy using this product and follow these instructions to ensure correct assembly. If you have any questions or comments, please do not hesitate to contact us by mail on:...
- Page 6 Drip MTO 3m - 6m Please read these instructions carefully and retain them for future reference to ensure that the product is used Hee Welling 2021 correctly. For your own safety, please study each step of this instruction manual first. &Tradition is not responsible for any faults or damages caused by not following these instructions correctly.
- Page 7 Cleaning instructions Laminate can be cleaned with a soft cloth wrung in a mild solution of lukewarm water and an universal cleaning detergent. Always wipe with a dry soft cloth after clean- ing. For difficult stains such as coffee or tea use a nylon bristle brush with mild household cleaner or detergent, rinsing with clean water and repeating as necessary.
- Page 8 Step 1 Fit the T-Bracket (D) and top section of the leg together with x2 long button screws (J). The x2 small holes on the T-Brackets (D) must be facing upwards, see illustration. Important: Make sure you tighten these screws properly to ensure each leg is secure. NB! Make sure the holes on the corner (C) are facing up.
- Page 9 Step 4 Insert the four corner brackets (C) into the ends of the two short frames (F). Fasten with the flat head hex screws (H). The 2 small holes on the corners (C) must be facing upwards, see illustration. Important: Do not completely tighten the screws at this stage.
- Page 10 Step 6 Insert the installed short frames (F) into both sets of long frames (E). Fasten with x4 flat head hex screws (H) in each end. Step 7 Place the cover components (M) on each of the 6 leg brackets (C) and attach them with screws (K).
- Page 11 Step 9 Finally, double check that all screws are tight and secure. Then flip the table and enjoy your product.
Need help?
Do you have a question about the Drip MTO and is the answer not in the manual?
Questions and answers