Advertisement
Quick Links
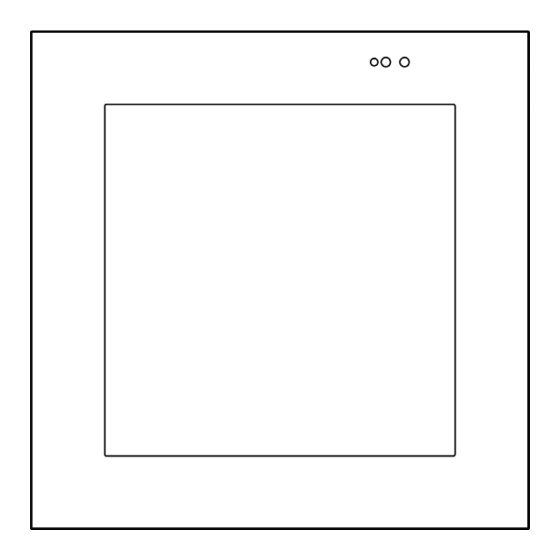
Lisa
Quick Reference Guide
A
B
C
D
D
E
A
Proximity & light sensor
B
Reset button
C
USB
D
Microphones
E
Speaker
F
LAN+Power over Ethernet
d. Installing the mounting bracket
Using the included #5-24 screws to mount the mounting
bracket onto the EU/CH single-gang junction box, UK
standard single-gang junction box or steel box.
2x #5-24
EU/CH single-gang junction box:
Take off the 2
original screws
of the gang box
before mounting!
UK standard single-gang:
Take off the 2
original screws
of the gang box
before mounting!
Lisa is designed to be wall mounted.
Lisa requires a minimum mounting depth of 24mm from
the back side of Lisa plus room for cable/s. Power is
supplied by Power Over Ethernet (PoE). PoE must meet the
IEEE 802.3af standard. Lisa connects to the local network
via a hard wired Ethernet connection.
1
Installing Lisa
D
a. Mounting height
The recommended mounting height for Lisa is
1450 mm -1650 mm (57"- 65") above the finished floor.
1650 mm / 65"
1450 mm / 57"
F
e. Connecting Lisa to power and Ethernet
PoE Connection
PoE connection requires the IEEE 802.3af standard.
Use a network switch or PoE injector that meets this
standard.
Connect Lisa using a standard T568A or T568B Ethernet
cable from the network switch to the LAN/PoE connector
on the back of Lisa.
To Lisa
PoE Injector
Network Switch
PoE Network Switch
b. Rough-In
Lisa has been designed to mount to a EU/CH single-gang
junction box, UK standard single-gang junction box or
steel box.
The mounting bracket, included in the box, should be
attached with included screws (2x #5-24).
EU/CH single-gang box
UK standard single-gang box
UK single-gang steel box
f. Installing Lisa on the wall
Position Lisa for mounting, align the mounting bracket
hooks with Lisa mounting slots and gently press it
towards the mounting bracket/wall.
Lisa snaps in when pushed to its mounting bracket.
CAUTION: DO NOT PRESS DIRECTLY ON THE SCREEN
When installing on to the mounting bracket. Press only
on the frame edges.
Mounting Bracket
Mounting Bracket
Top of
Top of
single-gang Box
single-gang Box
Dry Wall
Push
Dry Wall
Locked
c. Mounting
Install the single-gang box junction box in its
normal orientation.
EU/CH single-gang box
UK single-gang box
g. Mounting Lisa
Align the mounting bracket hooks with the mounting
slots and gently press Lisa towards the mounting
bracket/wall.
Make sure the mounting hooks are properly engaged.
Advertisement

Summary of Contents for Basalte Lisa
- Page 1 Quick Reference Guide Lisa requires a minimum mounting depth of 24mm from the back side of Lisa plus room for cable/s. Power is supplied by Power Over Ethernet (PoE). PoE must meet the Lisa has been designed to mount to a EU/CH single-gang Install the single-gang box junction box in its IEEE 802.3af standard.
- Page 2 Thank you for using Lisa as part of your intelligent home. Powering up Lisa Removing Lisa Lisa has been designed to provide years Lisa will automatically power on when power is Follow the step 1 and 2 in order to remove Lisa of trouble free operation when wired and installed applied.
Need help?
Do you have a question about the Lisa and is the answer not in the manual?
Questions and answers