Advertisement
Quick Links
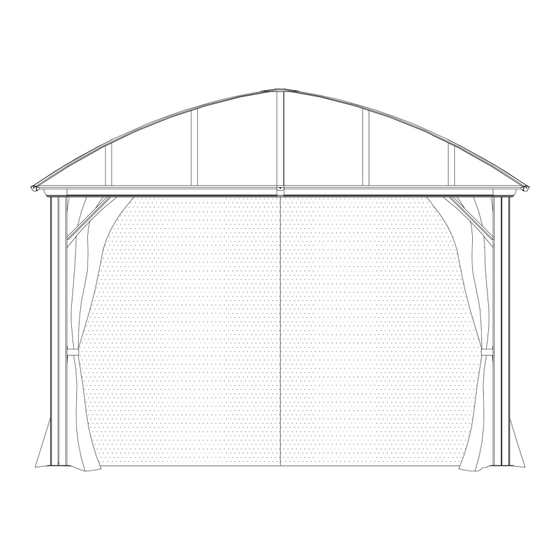
PAVILLON
RICHMOND 12' X 12'
Toit en Alu-Plasti
12' x 12' Richmond Pavilion / Alu-Plasti Roof
Modèle / Model: LGFP9853
GUIDE D'ASSEMBLAGE
Assembly Instructions
POUR TOUTE ASSISTANCE,
CONTACTEZ VOTRE DÉTAILLANT.
For assistance, contact your retailer.
Fabriqué en Chine / Made in China
Advertisement

Related Manuals for Trevi Richmond


Summary of Contents for Trevi Richmond
- Page 1 PAVILLON RICHMOND 12' X 12' Toit en Alu-Plasti 12′ x 12′ Richmond Pavilion / Alu-Plasti Roof Modèle / Model: LGFP9853 GUIDE D’ASSEMBLAGE Assembly Instructions POUR TOUTE ASSISTANCE, CONTACTEZ VOTRE DÉTAILLANT. For assistance, contact your retailer. Fabriqué en Chine / Made in China...
- Page 2 Trousse de quincaillerie incluse / Hardware package included M6 x 50 M5 x 10 x 145 x 40 M6 x 16 ST4.8 x 10 M6 x 25 Clé Allen / Allen Key Guide d’assemblage pavillon Richmond 12′ X 12′ / 12′ X 12′ Richmond Pavilion Assembly Instructions...
- Page 3 Barre de renfort / Support bar Barre de renfort / Support bar Baguette de finition / Finishing End Bar Baguette de finition / Finishing End Bar Guide d’assemblage pavillon Richmond 12′ X 12′ / 12′ X 12′ Richmond Pavilion Assembly Instructions...
- Page 4 Rideau / Curtain Embout de finition / End Plate Embout de finition / End Plate x 112 Crochet / Hook Insert en caoutchouc / Rubber Insert Guide d’assemblage pavillon Richmond 12′ X 12′ / 12′ X 12′ Richmond Pavilion Assembly Instructions...
- Page 5 ASSEMBLAGE / ASSEMBLY Étape 1 : Connexion des bases / Step 1: Connecting the Bases Guide d’assemblage pavillon Richmond 12′ X 12′ / 12′ X 12′ Richmond Pavilion Assembly Instructions...
- Page 6 Insert 14 hooks (H1) into the inside track of each crossbeam (C+D) facing inward as illustrated. *NOTE: If you intend on purchasing a set of curtains, follow the instructions on page 15. Guide d’assemblage pavillon Richmond 12′ X 12′ / 12′ X 12′ Richmond Pavilion Assembly Instructions...
- Page 7 ASSEMBLAGE / ASSEMBLY Étape 3 : Assemblage des moulures (2) / Step 3: Assembling the Crossbeams (2) Guide d’assemblage pavillon Richmond 12′ X 12′ / 12′ X 12′ Richmond Pavilion Assembly Instructions...
- Page 8 Étape 4 : Connexion des renforts de coin / Step 4: Connecting the Corner Brackets Étape 5 : Connexion des cache-joints et des couvre-coins Step 5: Connecting the Gap Covers and Corner Covers Guide d’assemblage pavillon Richmond 12′ X 12′ / 12′ X 12′ Richmond Pavilion Assembly Instructions...
- Page 9 Étape 6 : Assemblage des baguettes de toit / Step 6: Assembling the Roof Bars Étape 7 : Assemblage de la structure du toit / Step 7: Assembling the Roof Structure Guide d’assemblage pavillon Richmond 12′ X 12′ / 12′ X 12′ Richmond Pavilion Assembly Instructions...
- Page 10 ASSEMBLAGE / ASSEMBLY Étape 8 : Connexion du connecteur de toit supérieur / Step 1: Attaching the Upper Roof Connector Guide d’assemblage pavillon Richmond 12′ X 12′ / 12′ X 12′ Richmond Pavilion Assembly Instructions...
- Page 11 ASSEMBLAGE / ASSEMBLY Étape 9 : Installation des barres de renfort / Step 9: Installing the Support Bars Guide d’assemblage pavillon Richmond 12′ X 12′ / 12′ X 12′ Richmond Pavilion Assembly Instructions...
- Page 12 ASSEMBLAGE / ASSEMBLY Étape 10 : Installation des panneaux du toit / Step 10: Installing of the Finishing End Bars Guide d’assemblage pavillon Richmond 12′ X 12′ / 12′ X 12′ Richmond Pavilion Assembly Instructions...
- Page 13 ASSEMBLAGE / ASSEMBLY Étape 11 : Installation des baguettes de finition / Step 11: Installing of the finishing end bars Guide d’assemblage pavillon Richmond 12′ X 12′ / 12′ X 12′ Richmond Pavilion Assembly Instructions...
- Page 14 ASSEMBLAGE / ASSEMBLY Étape 12 : Installation des inserts en caoutchouc / Step 12: Installing the Rubber Inserts Guide d’assemblage pavillon Richmond 12′ X 12′ / 12′ X 12′ Richmond Pavilion Assembly Instructions...
- Page 15 Camp nails cannot be used for permanent anchoring. Failure to do so will nullify the warranty. INSTALLATION OF THE CURTAINS / Outer tracks: Follow these diagrams if you bought a set of curtains. Guide d’assemblage pavillon Richmond 12′ X 12′ / 12′ X 12′ Richmond Pavilion Assembly Instructions...
Need help?
Do you have a question about the Richmond and is the answer not in the manual?
Questions and answers