Table of Contents
Advertisement
Quick Links
Advertisement
Table of Contents

Summary of Contents for Yard Tuff YTF-4WEC
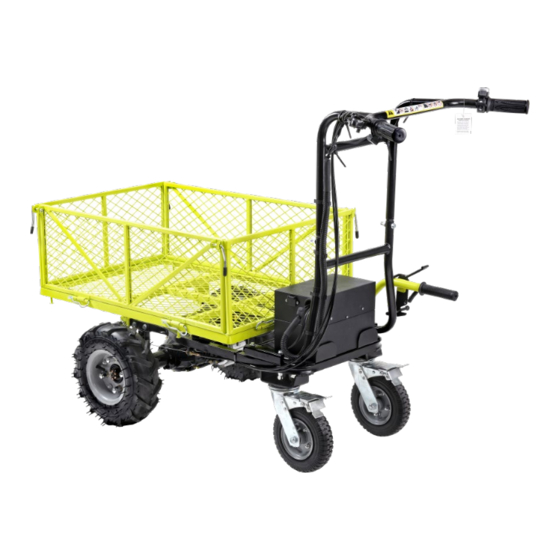
- Page 1 4 Wheel Electric Cart OWNER’S MANUAL WARNING: Carefully read and understand all ASSEMBLY AND OPERATION INSTRUCTIONS before operating. Failure to follow the safety rules and other basic safety precautions may result in serious personal injury. Model# YTF-4WEC 10032023...
-
Page 2: Intended Use
Thank you very much for choosing this product! For future reference, please complete the owner’s record below: Model: # YTF-4WEC Purchase Date: _______________ Save the receipt, the warranty, and these instructions. It is important that you read the entire manual to become familiar with this product before you begin using it. -
Page 3: Work Area
7. Do not operate the machine while riding on the machine. 8. Do not allow others to ride on the machine. 9. Do not use the machine when visibility is poor, because there is a risk of striking obstacles. 10. When operating the machine on rough ground, decrease speed and exercise caution. 11. - Page 4 OPERATION ON SLOPE WARNINGS • Be sure to decrease speed and exercise caution on slopes. • Exercise caution when starting or stopping the machine on slopes. • As the loads become less stable on slopes, firmly secure the load. • As the machine becomes unstable depending on the condition of the road, keep the load to a minimum.
- Page 5 ASSEMBLY WHEEL 1. Install the wheel(2), the wheel pad(4) and 4 elastic washer(5) into the axle(3), and the wheel pattern is as shown in the figure.. 2. Use four cap nuts (1) to secure the wheel to the axle. 3. The other side is installed in the same way.
-
Page 6: Assembly- Frame
2. Install the hose clamp (2) onto the round handle (1). 3. Insert the handle up side (1) into the handle down (3). 4. Use two M8 * 40 bolts (1) and two M8 nuts (5) to fix them under the round handle (3). (See Figure 4) Figure 4 ASSEMBLY- Frame 1. -
Page 7: Operation
5. Assemble the left & right frame (3), and the front &back frame (4), locked by Pin (5). 6. Locking the entire frame by handle bar (1), the electric cart assembly is finished. (See Figure 7) Figure 7 OPERATION 1. Turn on the power switch (B). (See figure 8) Figure 8 2. - Page 8 3. Use the direction button (F) on the left handle for forward and reverse. Figure 9 4. Release the lock lever (1) out from the dumping handle holder, push the dumping handle to lift the cart for dumping. Figure 10 OPERATION ON SLOPE WARNINGS 1.
-
Page 9: Battery Charge
BATTERY CHARGE 1. Battery charge: When the battery is in low capacity, please do recharge. Input the triplex receptor (G) into the battery box (I), and connect the charge plug (H) with electric power to start charging. Once the adaptor light (J) turns green, the battery is fully charged.It usually takes about 4-6 hours. -
Page 10: Diagram & Parts List
DIAGRAM & PARTS LIST 10 of 11... -
Page 11: Warranty
Part No. Description Q’ty Part No. Description Q’ty Left handle switch Chassis Frame Round tube handle (Up) Hex Cap Nuts M14X1.5 Turn right handle Elastic washer 14 Hexagon flange bolts M8x40 Flat key Switch Drive axle Charging plug Main Frame (Thick mesh) Left handle Rubber Plug Battery Box... - Page 12 Size:210x285mm 157G双铜(彩色印刷) REV 10/09/23 3020496...