Advertisement
Quick Links
English
English
Thanks for purchasing one of our products, please read carefully the assembly
Thanks for purchasing one of our products, please read carefully the assembly
instructions before the installation (Attention: Do not tighten the screws before
instructions before the installation (Attention: Do not tighten the screws before
all screws are in place).
all screws are in place).
General Care:
-Keep your furniture out direct sunlight-Use desk pads and coasters to protect
the surface from dents,scratches,and moisture from hot or cold liquids.
Cleaning:
-For cleaning, wipe the surface with a damp (not wet) cloth or wipe dry with a clean
lint free cotton cloth.
-Window cleaning liquid or a similar cleaning liquid can be used to clean glass surface.
A03 100925
All manuals and user guides at all-guides.com
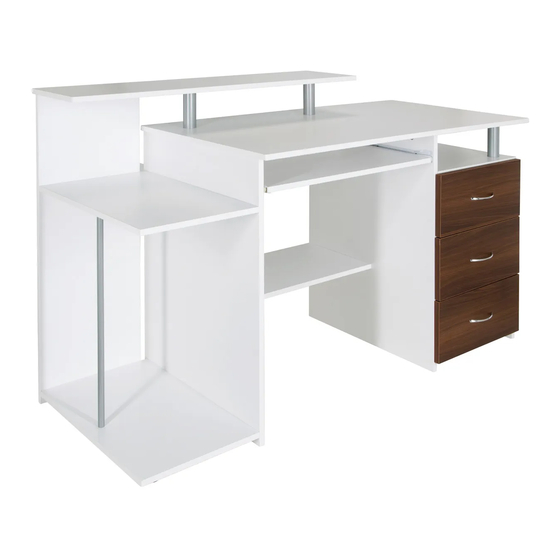
COMPUTER TABLE
COMPUTER TABLE
ASSEMBLY INSTRUCTION
ASSEMBLY INSTRUCTION
MODEL 673951
MODEL 673951
Advertisement

Subscribe to Our Youtube Channel
Related Manuals for HJH office 673951


Summary of Contents for HJH office 673951
- Page 1 (Attention: Do not tighten the screws before instructions before the installation (Attention: Do not tighten the screws before all screws are in place). all screws are in place). MODEL 673951 MODEL 673951 General Care: -Keep your furniture out direct sunlight-Use desk pads and coasters to protect the surface from dents,scratches,and moisture from hot or cold liquids.
-
Page 2: Parts List
All manuals and user guides at all-guides.com 673951 PARTS LIST PARTS LIST... -
Page 3: Screws List
All manuals and user guides at all-guides.com 673951 Right Left Right Left Left Right 3 SETS SCREWS LIST SCREWS LIST PART QTY. ITEM PART QTY. ITEM 3X15 MM 6X25 MM 6X40 MM 4X30 MM 4X14 MM 6X35 MM 6X40 MM... -
Page 4: Assembly Steps
All manuals and user guides at all-guides.com 673951 6X40MM BOLT INSTALLATION AS BELOW: Bolt Connecting piece Adjust connecting piece direction if Insert bolt when Connecting piece condition as illustrated under Such condition ASSEMBLY STEPS: ASSEMBLY STEPS: Left Right 3PCS 3PCS... - Page 5 All manuals and user guides at all-guides.com 673951 SCREWS SCREWS SCREWS SCREWS 6X40 MM 6X40 MM 2PCS 2PCS SCREWS SCREWS SCREWS SCREWS 6X40 MM 6X40 MM 4PCS 4PCS...
- Page 6 All manuals and user guides at all-guides.com 673951 SCREWS SCREWS 4X14 MM 2PCS 6X35 MM SCREWS SCREWS 6X40 MM 4PCS SCREWS SCREWS 6X40 MM 8PCS...
- Page 7 All manuals and user guides at all-guides.com 673951 SCREWS SCREWS 6X40 MM 2PCS 2PCS SCREWS SCREWS 6X40 MM 4PCS 6X35 MM 2PCS SCREWS SCREWS 6X40 MM 2PCS...
- Page 8 All manuals and user guides at all-guides.com 673951 2PCS SCREWS SCREWS 6X40 MM 2PCS 6X35 MM 2PCS SCREWS SCREWS 4X14 MM 4PCS SCREWS SCREWS 6X25 MM 4PCS...
- Page 9 All manuals and user guides at all-guides.com 673951 SCREWS SCREWS 4X30 MM 4PCS Left Right SCREWS SCREWS 4X20 MM 2PCS SCREWS SCREWS 3X15 MM Repeat step 18 to step 21 4PCS to install other drawers...
Need help?
Do you have a question about the 673951 and is the answer not in the manual?
Questions and answers