
Related Manuals for Macrom KIT7WBR

Summary of Contents for Macrom KIT7WBR
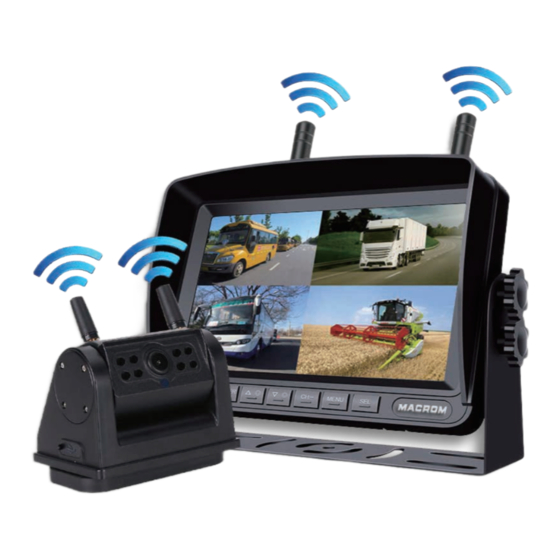
- Page 1 WIRELESS WIRELESS USER MANUAL KIT7WBR 7-inch monitor kit + magnetic wireless rear view camera with built-in battery...
- Page 2 Installation • Before completing the installation, temporarily connect the wiring and make sure it works properly. • Use only the parts included with the unit to ensure proper installation. Using parts not included in the package may cause malfunctions. • This product must be installed by an authorized reseller to qualify for warranty. •...
- Page 3 Connections Wifi Antennas 1. Connect the Wifi antennas paying attention to the operating frequency indicated on the antenna ( A ), 2.4 Ghz, ( B ), 433 Mhz, Power connection via USB charging cable cigarette lighter wiring Connections Power via ACC Power Supply 1.
- Page 4 Product overview Front panel Warning: The images in this manual are indicative only and may differ from the actual product. Please refer to the actual device unit. 1. Power Key (On/Off) 2. Key Previous / Decrease brightness 3. Key Next / Increase brightness 4.
- Page 5 Rear view camera pairing Important Before proceeding with the use of the monitor it is necessary to pair a rear view camera using the pairing function. Note Before using and pairing the camera make sure it is fully charged. Charging time may vary depending on the actual charge of the product. Maximum recharge time about 9 hours 1.
- Page 6 Video Recording / Playback Insert an SD card Using a Phillips screwdriver, open the SD card door on the back of the monitor and insert the SD card. It is recommended to use a class 10 high-speed TF card (minimum) or higher.
- Page 7 System settings Image settings Access the menu and select image using the cursor < / > and confirm the selection using the SEL key. Select the Brightness / Contrast / Color functions using the cursor < / > and confirm your selection by pressing the SEL key.
- Page 8 Specifications Monitor Screen ..........................7’’ AHD IPS Resolution ........................ 1024xRGB*600P Contrast ............................. 600:1 Power Supply ........................DC12V-36V Maximum current level ........................ 10A System ........................PAL/NTSC (AUTO) Connection ...........................WiFi Registration Mode .......................QUAD-Vision 4 retrocamera Video ..............................Mp4 Images ............................JPG Support Typology ........................Full SD HC/XC Maximum capacity ........................
Need help?
Do you have a question about the KIT7WBR and is the answer not in the manual?
Questions and answers