
Summary of Contents for Medicomp reactDX TelePatch
- Page 1 Holter Patient Guide TelePatch™ Monitoring System Holter Patient Guide The Most Advanced & Convenient Ambulatory Cardiac Monitoring System...
- Page 2 Inside the Box Universal Pendant Battery(ies) Additional Battery Find Electrode Patches Inside the Box. ESPAÑOL Encuentra Esta Guía en Español ReactDx.com/es/GuiaHolter1-1...
-
Page 3: Table Of Contents
Table of Contents Welcome To TelePatch ........2 TelePatch Holter Monitoring Kit Contents.. 3 Preparing Your Skin ..........4 Putting the Device On ........5 Starting Your Holter Study ....... 6 Lighting and Sound Guide .......7 Replacing the Electrode Patch ....... 8 Changing the Battery ........ -
Page 4: Welcome To Telepatch
Welcome To TelePatch The most advanced heart monitoring system Your doctor has prescribed a Holter study using the ReactDx TelePatch Monitor. This guide will walk you through hooking up the monitor, using it during daily activities, recording symptoms when they occur, and returning the monitor at the end of the study. -
Page 5: Telepatch Holter Monitoring Kit Contents
TelePatch Holter Monitoring Kit Contents Universal Pendant Battery(ies) Electrode Patch(es) Note: The number of Patches and Batteries included in your kit is dependent upon the prescribed duration of your Holter study. A Patient Diary may also be included in your Kit. -
Page 6: Preparing Your Skin
Preparing Your Skin Find Location. Wash with Plain Soap (No Lotion/Oil), Shave (if needed) and Dry. Wipe Location with the Dry 60 Seconds. Skin Prep Pad. The location for the Patch is just left of the center of the chest, as highlighted. -
Page 7: Putting The Device On
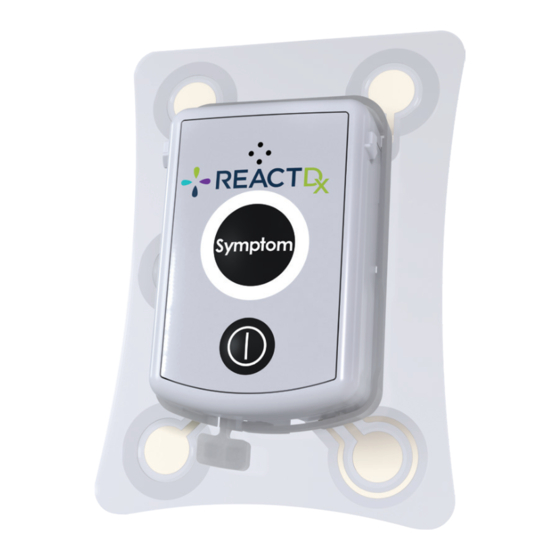
Putting the Device On Insert Battery. Insert Pendant. Peel Backing. Adhere to Chest. Remove White Do Not Move the Outer Ring. Patch Over to Shoulder Area. Align the Patch just left of the center of your chest. Avoid your shoulder fold. Take care not to insert the Pendant upside down. Be sure the slightly curved end of the Pendant —... -
Page 8: Starting Your Holter Study
Starting Your Holter Study Flashing Light Follow these Steps after the Electrode Patch is Attached in the Proper Position on the Chest. Confirm the Pendant is ON. Green Light Flashes If it is not, press the power Every 2 Seconds when the button to turn it on. -
Page 9: Lighting And Sound Guide
Lighting and Sound Guide Flashing Light Power ON Power OFF Monitoring - Good Symptom Press Check Pendant Change Battery If the Check Pendant BLUE light starts flashing, remove the Pendant, wipe front and back of the Pendant and inside of the Patch Cradle with a clean dry cloth, and insert the Pendant back in securely. -
Page 10: Replacing The Electrode Patch
Replacing the Electrode Patch Replace every 7 days Replace every 7 days or as needed. or as needed. Remove Patch. Remove Pendant. Discard Patch Only. Wipe Location Insert Pendant. Place on Chest with Skin and Ensure Prep Pad. Pendant is ON. You should have enough supplies in your Kit to last through the end of your Study. -
Page 11: Changing The Battery
Changing the Battery Flashing Light Charged Battery and Monitoring. Low Battery. Remove Battery from Power Off. Pendant. Add Charged Battery Insert Pendant into the Patch. to the Pendant. Ensure the Pendant is ON. -
Page 12: Troubleshooting
Troubleshooting Moisture can sometimes build up inside the Patch Cradle, especially if you have showered with the Pendant on. Follow these steps if your Pendant is blinking Blue, indicating that the Pendant needs If the Pendant’s Blue Light to be checked. is blinking, follow these steps. -
Page 13: Do's And Don'ts
Do’s and Don’ts Wear Day and Night. Fully Snap into Cradle. Do Not Discard Pendant. Turn Off Before Dry Pendant and Patch. Do Not Submerge. Changing Battery. Return Promptly– Leave Kit for Mail Carrier to Do Not Move Patch Pick Up in any USPS Mailbox. Over to Shoulder Area. -
Page 14: Making A Symptom Recording
Making a Symptom Recording Remember: When you experience a symptom, press the Symptom button. Record the date, time, what you were doing, and what you felt for each symptom experienced in the Patient Diary or on a piece of paper that includes your name and date of birth. Return your notes in the Kit promptly after the study is completed. -
Page 15: Procedure Ending Instructions
Procedure Ending Instructions Remove the Patch with the Remove the Pendant. Pendant from your Chest. Discard the Patch Only. Insert All Contents / Unused Supplies Back into the Box. Close and Seal the Box. Promptly Leave for a Mail Carrier in any USPS Mailbox. -
Page 16: Returning The Monitor Kit
Unreturned devices may result in a bill of up to $2000 to replace the device. Medicomp, Inc. dba ReactDx has earned the Joint Commission’s Gold Seal of Approval. (877) 996-5553 • www.ReactDx.com • Info@ReactDx.com ©2023 Medicomp, Inc. dba ReactDx QSG0000727-01...
Need help?
Do you have a question about the reactDX TelePatch and is the answer not in the manual?
Questions and answers
Changed the patch for the device and battery. This message keeps flashing on screen: Please remove and restart pendant, then reinsert in cradle." No matter how many times I do this, message still there. The BT ECG Data is still flashing, so I'm assuming it's also still properly recording the heart info.
If the Medicomp reactDX TelePatch displays the message "Please remove and restart pendant, then reinsert in cradle" after changing the patch and battery, follow these steps:
1. Remove the Pendant from the Patch Cradle.
2. Power Off the Pendant if it is still on.
3. Remove the Battery from the Pendant.
4. Reinsert the Battery into the Pendant.
5. Ensure the Pendant is ON.
6. Insert the Pendant back into the Patch Cradle.
If the issue persists, check for moisture inside the Patch Cradle and clean the gold electrodes on the back of the Pendant using an alcohol wipe.
This answer is automatically generated