
Related Manuals for LAURA JAMES GLORIA SB-GLORIA-WH/GRY/TL-01


Summary of Contents for LAURA JAMES GLORIA SB-GLORIA-WH/GRY/TL-01
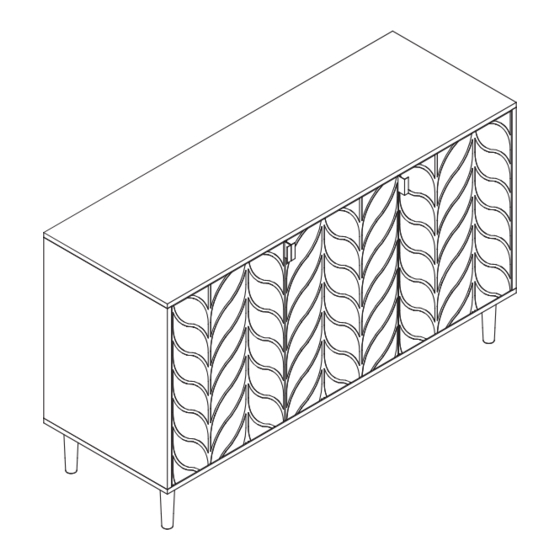
- Page 1 GLORIA SIDEBOARD SB-GLORIA-WH/GRY/TL-01 — Instruction manual www.laura-james.co.uk www.laura-james.co.uk...
-
Page 3: Table Of Contents
CONTENTS Safety and care advice Components – panels Components – fittings Assembly instructions Copyright Door alignment www.laura-james.co.uk... -
Page 4: Safety And Care Advice
SAFETY AND CARE ADVICE PLEASE READ THESE INSTRUCTIONS CAREFULLY AND KEEP FOR FUTURE REFERENCE Warning: Please lift with care. ·Check you have all the components and tools listed on pages 2 and 3. ·Remove all fittings from the plastic bags and separate them into their groups. -
Page 5: Components - Panels
COMPONENTS — PANELS Please check you have all the panels listed below: 2 PERSON ASSEMBLY RECOMMENDED PANEL LIST PACK 1/1 Top Panel Active Panel Back Panel Panel Left Side Door - 1 Panel Right Side Vertical Panel - 1 Door - 2 Vertical Panel - 2 Door - 3 Bottom Panel... -
Page 6: Components - Fittings
COMPONENTS — FITTINGS Please check you have all the fittings listed below: Metal Dowel x 8 Screw(Ø3x14mm) x 12 Lock (Ø15x12mm) x 8 Back Support x 12 Screw(Ø4x40mm) x 8 Big Bend Hinge x 4 Wooden Dowel(Ø8x30mm) x 16 Safety Device x 2 Handle x 3 Middle Bend Hinge x 2 Screw(Ø4x14mm) x 24... -
Page 7: Assembly Instructions
ASSEMBLY INSTRUCTIONS Step 1 Step 2 www.laura-james.co.uk... - Page 8 ASSEMBLY INSTRUCTIONS Step 3 Step 4 www.laura-james.co.uk...
- Page 9 ASSEMBLY INSTRUCTIONS Step 5 www.laura-james.co.uk...
- Page 10 ASSEMBLY INSTRUCTIONS Step 6 www.laura-james.co.uk...
- Page 11 ASSEMBLY INSTRUCTIONS Step 7 www.laura-james.co.uk...
- Page 12 ASSEMBLY INSTRUCTIONS Step 8 Step 9 www.laura-james.co.uk...
- Page 13 ASSEMBLY INSTRUCTIONS Step 10 www.laura-james.co.uk...
-
Page 14: Copyright
ASSEMBLY INSTRUCTIONS Congratulations! Now you have finished assembling the product. There may be some dust or hand marks on your item. IF YOU FIND A DEFECTIVE PART We fully stock all parts and components. Any defective part can be quickly replaced. -
Page 15: Door Alignment
DOOR ALIGNMENT Customer Attention: To align doors and control gap in between doors. Product doors may need adjusting during and after assembly. This can be done by adjusting appropriate screws. See below illustration. Vertical Door Adjustment: Loosen both screws on all hinges and lift the door to the desired height. - Page 16 W all fix ings Step by step Important When drilling into walls always check there are no hidden wires or pipes etc. Make sure that the screws and wall plugs being used are suitable for supporting your unit. Consult a quali ed tradesperson if you are unsure. Hints 1.
- Page 17 www.laura-james.co.uk...
- Page 20 Thank you for purchasing! Laura James® is a registered trademark of AGTC Ltd. Made in China for AGTC LTD S35 9ZX. www.laura-james.co.uk...
Need help?
Do you have a question about the GLORIA SB-GLORIA-WH/GRY/TL-01 and is the answer not in the manual?
Questions and answers