Advertisement
Quick Links
Advertisement

Summary of Contents for Jenny Meraki Imports
- Page 1 1.0 ASSEMBLY SHEET JENNY...
- Page 2 ASSEMBLY INSTRUCTIONS Thank you for making a purchase with Meraki Imports. The goal of this assembly sheet is to help you assemble the product in a way that will contribute to its longevity and durability. Kindly follow all the instructions carefully to ensure a safe and accurate assembly process.
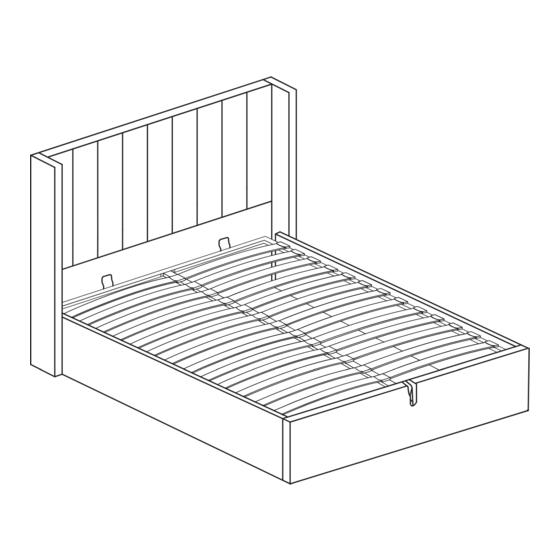
- Page 3 Jenny B e d P a g e 3 o f 13 PARTS INVENTORY PARTS INVENTORY ID DESCRIPTION ID DESCRIPTION Up and Down Metal Frame Headboard Side Rail Connecter Footboard Left Hydraulic Center Frame Right Hydraulic Center Floating Leg Headboard Back...
- Page 4 Jenny B e d P a g e 4 o f 13 STEP 1 : Pay attention to these three holes on the right and left metal frame (11). They should be facing the same side. Step 1 : Attach parts 11 and 12 using hardware C and G.
- Page 5 Jenny B e d P a g e 5 o f 13 STEP 2 Step 2 : Attach part 14 to both sides of part 12, using hardware A, E and F. STEP 3 Step 3: Attach the support legs (15) to the holes...
- Page 6 Jenny B e d P a g e 6 o f 13 STEP 4 Turn it upside down for more ease. Step 4: Attach parts 20 and 21 to the headboard using hardware parts H, A and E. STEP 5...
- Page 7 Jenny B e d P a g e 7 o f 13 STEP 6 Step 6: Attach the gas lift mechanism (3 and 4 ) to the side rails 6 and 7 using hardware N, E and A. STEP 7...
- Page 8 Jenny B e d P a g e 8 o f 13 STEP 8 Step 8: Attach the side rails (6 and 7) to the footboard (2), using hardware E, D and A. STEP 9 stick the felts(J) on top of the...
- Page 9 Jenny B e d P a g e 9 o f 13 STEP 10 Step 10: Attach side rail connector (13) to the side rails (6 and 7) and head- board (1) using parts B and E. STEP11 Step 11: Attach the second side rail connector (13) to the centre of both...
- Page 10 Jenny B e d P a g e 10 o f 13 STEP 12 Stick the felts (J and M) on top of the metal bar. Step 12: Attach the frame that you built in the previous steps to the gas lift mechanism at a 45°...
- Page 11 Jenny B e d P a g e 11 o f 13 STEP 13 ONCE THE MATTRESS IS ON TOP,YOU CAN OPEN & CLOSE THE BED SAFELY PUSH DOWN FROM DO NOT THE MIDDLE USING PUSH DOWN ON ONE BOTH HANDS...
- Page 12 Jenny B e d P a g e 12 o f 13 STEP14 Step 14(a): Attach the slats (8) to the plastic clips and insert them into the holes of the metal bars (11 and 14). Clips open from both sides (10) will be attached to the middle bar (14), and clips open from one side (9) will be attached to the side bars (11).
- Page 13 Jenny B e d P a g e 13 o f 13 STEP15 Step 15a Attach the non-woven fabric (18) to the bed. Start from the bottom of the bed and go halfway behind the headboard. Attach the non-woven fabric (16) to the Step 15b back of the headboard.
Need help?
Do you have a question about the Meraki Imports and is the answer not in the manual?
Questions and answers