Table of Contents
Advertisement
az
- Montaj təlimatları
* modeldən asılı olaraq
bg
- Инструкции за монтаж
* в зависимост от модела
cs
- Pokyny pro montáž
* v závislosti na modelu
da
- Monteringsvejledning
* afhænger af model
de
- Montageanleitung
* je nach Modell
el
- Οδηγίες συναρμολόγησης
* ανάλογα με το μοντέλο
en
- Assembly instructions
* depending on model
es
- Instrucciones de montaje
* en función del modelo
- Kokoamisohjeet
fi
* mallista riippuen
fr
- Instructions d'assemblage
* selon le modèle
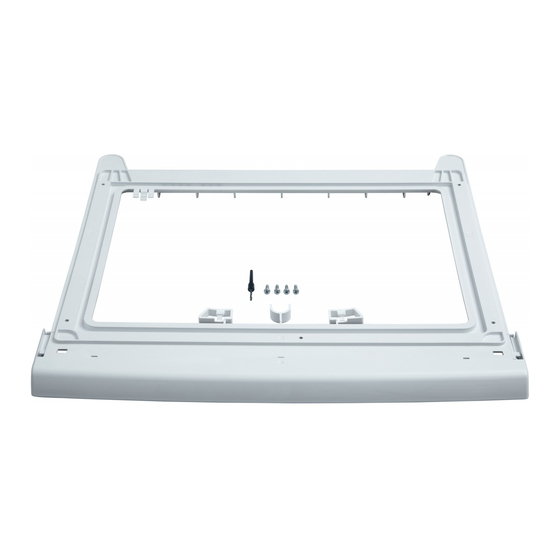
1x
4x
1
3
5
=
< 60cm
hr
- Upute za montažu
* ovisno o modelu
hu
- Felszerelési utasítás
* típustól függően
it
- Istruzioni di montaggio
* a seconda del modello
ka
- აწყობის ინსტრუქციები
* მოდელის შესაბამისად
kk
- Орнату нұсқаулары
* Үлгіге байланысты
mk
- Упатства за инсталирање
* во зависност од моделот
nl
- Installatie-instructies
* afhankelijk van het model
no
- Monteringsveiledning
* avhengig av modell
- Instrukcja montażu
pl
* w zależności od modelu
pt
- Instruções de montagem
* conforme o modelo
1x
1x
1x 1x
2
4
6
=
3AS110B
WTZ27410/C/X
WZ27410/D/X
WTZ20410/X/0UC
WTZ20SH/0CH/1CH
WTZ27510/C/X/0UC
WZ27510/D/X
WZ11410/X
WTZ2741C
ro
- Instrucțiuni de asamblare
* în funcţie de model
ru
- Инструкция по сборке
* в зависимости от модели
sk
- Montážne pokyny
* v závislosti na modeli
sl
- Navodila za montažo
* odvisno od modela
sq
- Instruksionet për instalim
* në varësi të modelit
sr
- Upute za montažu
* ovisno o modelu
sv
- Monteringsanvisningar
* beroende på modell
tr
- Montaj talimatları
* Modele bağlı olarak
- Інструкція з монтажу
uk
* залежно від моделі
uz
- Yig'ish ko'rsatmalari
* modelga bog'liq
1x
1x
B
B
A
A
B
A
7
B
Advertisement
Table of Contents


Need help?
Do you have a question about the 3AS110B and is the answer not in the manual?
Questions and answers