Table of Contents
Advertisement
Quick Links
Advertisement
Table of Contents

Related Manuals for Renson SENSE GO

Summary of Contents for Renson SENSE GO
- Page 1 RENSON SENSE GO User manual...
-
Page 2: Table Of Contents
APP READY FOR USE TECHNICAL SPECIFICATIONS Privacy Policy Privacy Policy If this device is connected to the internet, it automatically transmits various device data to Renson. For more information on this data processing, Privacy Statement Renson Sense Service contact details IP44 service@renson.be... -
Page 3: Why Choosea Renson Sense Go
Congratulations on your purchase! We guarantee you an opportunity for a healthier life thanks to the awareness of the indoor air quality offered by the Sense GO. This allows you to take all kinds of measures to effectively tackle indoor air quality. -
Page 4: Before You Start
BEFORE YOU START … Before using the monitor for the first time, it is recommended to start charging the monitor for 24 hours in order to make the monitor more stable. For best monitoring result, set it up in a well-ventilated environment. For ABC calibration (Automatic Baseline Calibration) to work properly, Sense GO must continuously monitor CO levels for at least 7 days. -
Page 5: Installation Options
INSTALLATION OPTIONS Depending on your requirements, you can either mount the Sense GO on the wall or stand it up some- where. 1. Free-standing installation 2. Wall installation The Sense GO’s compact design and your preference goes 3. Push the plastic attachments... -
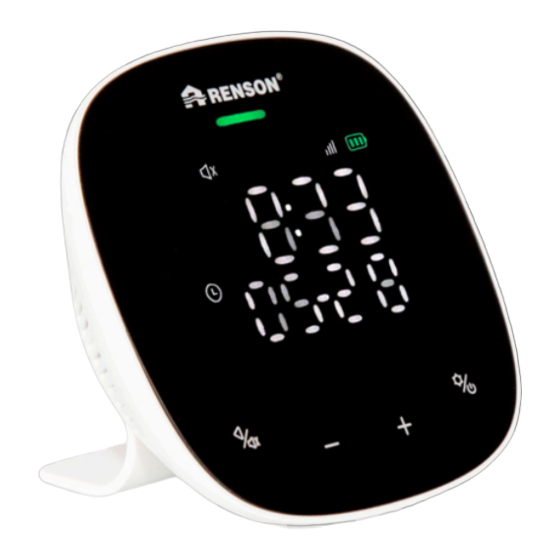
Page 6: It's All About The Display
IT’S ALL ABOUT THE DISPLAY 1. Control buttons You can easily operate and set up your device using the four touch buttons on the display. • Power on/off with a long press (approx. 5 seconds). • When powered via AC adaptor, turn off/on the screen display with a short press. - Page 7 2. Display views The different display views allow you to decide for yourself what information your Sense GO displays. You can choose from: CO value and time (menu 1), temperature and humidity (menu 2), as well as the date and time (menu 3).
- Page 8 3. What do the symbols mean? We would like to give you an overview of all the symbols shown on the display. Air Quality Indicator Air inlet Display Area Micro USB Port Return/ Setting/ Mute Button Power Button Bracket “–” Button “+”...
-
Page 9: Installation Manual
Then the Plug & Play method is the easiest for you as a way to consult the information. All you have to do is plug the Sense GO into the mains using the corre- sponding adapter. Once it is ful- ly charged, you can also use the Sense GO as a portable device. - Page 10 2. Create an account 3. Pair the Sense GO with your app Enter your info here. You will then Select your desired monitor receive an email at the email ad- dress provided to confirm your Go to the app and tap the “...
- Page 11 You will need to use seen in the app: is blinking slowly. a 2.4 GHz Wi-Fi network for this to Plug in your Sense GO monitor if it is A new screen will appear to connect work. not already plugged in.
- Page 12 Wi-Fi settings. appear. Connect it using the Wi-Fi for your Congratulations, your Sense GO monitor is now paired with the app! Sense GO monitor (SmartLife – XXX) You can also rename your device in this step.
-
Page 13: User Manual
USER MANUAL 1. What does the Sense GO tell you? Air quality is displayed via the LED status bar at the top of the display, based on the traffic light effect. The change of status is based on the set thresholds (that you chose). - Page 14 1 minute before switching the display to standby mode and there is a brief illumination of a red bar every 5 seconds. The Sense GO in night mode (regardless of whether it is plugged in/battery-operated) While in night mode, the display barely lights up to maximise sleep. However, we still want to provide a minimal amount of information about air quality through Sense GO.
- Page 15 All the settings can be easily set us- Go to the CO display in the settings Go to the temperature display in the ing the buttons on your Sense GO menu via the “general setup” instruc- settings menu via the “general setup” monitor.
- Page 16 2. Setup settings Humidity setup Time and date setup “Night mode” setup Go to the humidity display in the set- Go to the time and date display in the Go to the night mode display in the tings menu via the “general setup” settings menu via the “general setup”...
- Page 17 The rechargeable lithium-ion battery can support the normal operation of the Sense GO for about max. 6 hours*. This portable function makes it easy to take the Sense GO with you everywhere: car, train, office, etc., all thanks to the built-in charger protection design.
-
Page 18: What's In The Box
WHAT’S IN THE BOX? • Sense GO Indoor Air Quality monitor • Micro USB cable • Adapter • Quickstart manual • Bracket • Fixing material - Positioning mark - Plugs and screws... -
Page 19: App Ready For Use
Overview is the basis to everything: my family After installing the app and con- After pairing your Sense GO, you will be taken to the home screen, i.e. ‘Home’. necting the monitor, it is ready This screen shows you an overview of all paired or shared monitors. - Page 20 It is possible to retrieve (historical) data per Sense GO from the home screen. Tap on the desired Sense GO you want to consult. A new screen, the menu of the desired Sense GO, opens with all the necessary information.
- Page 21 As soon as you tap this chart, you will be taken to a new screen with an expanded data chart attached. In addition to CO and temperature, which were already visible, relative humidity is now also displayed in the data chart. Choose the sensor value you’d like to see from the drop-down menus at the top.
- Page 22 Profile page In addition to data analysis, you can further develop your Home manage- ment via ‘Me’. Here, there is the possibility of link- ing your monitors to specific created houses or rooms according to your desire. This can provide a clearer overview if you have a lot of Sense GO monitors.
-
Page 23: Technical Specifications
TECHNICAL SPECIFICATIONS Cleaning Usability’s • This product contains a backup lithium-ion battery. Backup bat- • Dusty monitors have • Wi-Fi router en internettoegang teries may only be replaced or cleaned. Dust deposits in the air • Openbare hotspots zijn niet van removed by professional. - Page 24 OPEN DAYS Every 1 Saturday of the month from 9:00 to 12:00 - only by appointment. Request an appointment and more information: www.renson.eu RENSON Headquarters ® Maalbeekstraat 10, IZ 2 Vijverdam B-8790 Waregem Tel. +32 56 30 30 00 info@renson.eu...
Need help?
Do you have a question about the SENSE GO and is the answer not in the manual?
Questions and answers