Sign In
Upload
Download
Table of Contents
Contents
Add to my manuals
Delete from my manuals
Share
URL of this page:
HTML Link:
Bookmark this page
Add
Manual will be automatically added to "My Manuals"
Print this page
×
Bookmark added
×
Added to my manuals
Manuals
Brands
ThermTec Manuals
Thermal cameras
Hunt Series
User manual
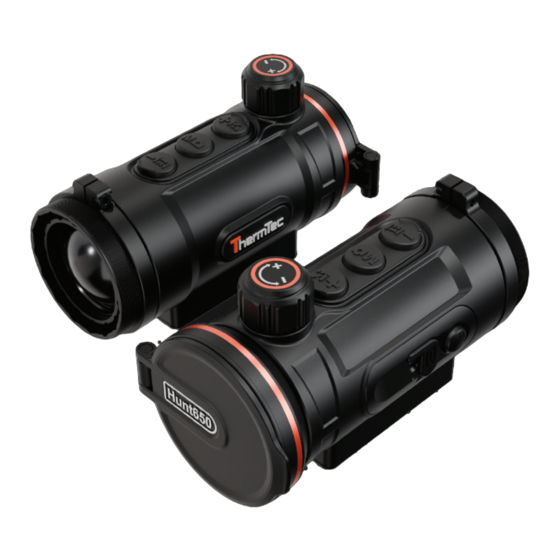
ThermTec Hunt Series User Manual
Thermal clip-on
Hide thumbs
1
2
3
4
Table Of Contents
5
6
7
8
9
10
11
12
13
14
15
16
17
18
19
20
21
22
23
24
25
26
27
28
29
30
31
32
33
34
35
36
37
38
39
40
page
of
40
Go
/
40
Contents
Table of Contents
Bookmarks
Table of Contents
Table of Contents
Safety Information
Regulatory Information
1 Description
2 Features
3 Specifications
4 Packing List
5 Components and Controls
Appearance of Hunt
Description of Controls
Menu/Status Bar Icons
6 Operation Guide
Installation
Power On/Off
Image Correction
Standby Mode
Lens Focus Adjustment
Pseudo Color Switch
Target Outline Mode
UI Zooming
AI Rangefinder
OLED Brightness Adjustment
OSD Function
7 Main Menu
8 Zeroing
9 Capturing and Recording
10 Memory Access
11 Hotspot Function
12 Remote Control
Download "Smart Thermal" App
14 Technical Inspection
15 Maintenance
16 Firmware Upgrade
Advertisement
Quick Links
1
Table of Contents
2
Regulatory Information
3
Description
4
Installation
5
Image Correction
6
Ai Rangefinder
7
Main Menu
8
Zeroing
Download this manual
Series
Thermal Clip-On
Hunt Series
User Manual
Table of
Contents
Previous
Page
Next
Page
1
2
3
4
5
Advertisement
Table of Contents
Need help?
Do you have a question about the Hunt Series and is the answer not in the manual?
Ask a question
Questions and answers
Related Manuals for ThermTec Hunt Series
Thermal cameras ThermTec Hunt335 User Manual
Thermal clip-on (40 pages)
Thermal cameras ThermTec Hunt650 User Manual
Thermal clip-on (40 pages)
Thermal cameras ThermTec ARES Series User Manual
Thermal imaging scope (29 pages)
This manual is also suitable for:
Hunt335
Hunt650
Table of Contents
Print
Rename the bookmark
Delete bookmark?
Delete from my manuals?
Login
Sign In
OR
Sign in with Facebook
Sign in with Google
Upload manual
Upload from disk
Upload from URL


Need help?
Do you have a question about the Hunt Series and is the answer not in the manual?
Questions and answers