Advertisement
Quick Links
Advertisement

Summary of Contents for CyberMed OnDemand3D
- Page 1 OnDemand3D 4K Printer Manual...
- Page 2 With its Digital Solution Thank you for purchasing OnDemand3D 4K Printer. Our printer utilizes LCD technology to produce high-quality output with speed and precision, enhancing productivity and efficiency. Cybermed offers a high-resolution 3D printing solution specifically desinged for dental applications.
- Page 3 OnDemand3D 4K Printer Manual | 1 | Product Introduction | 2 | Work Flow | 3 | Product components | 4 | Operating Instructions | 5 | Additional Functions - Clean - Z-control - LCD Test - Auto-Temperature Control | 6 | Precautions...
- Page 4 1 Product instruction OnDemand3D 4K Printer Manual Tech Spec Particulars Specifications 4K LCD 6.6 inch (Monochrome) Type 4098 x 2560 (35 µm) X-Y Resolution 10 µm ~ 100 µm Z Resolution 140 mm x 90 mm Building Size 405 nm arrayed LED / 100 w...
- Page 5 2 Work Flow Clean the printed parts Use a scanner to scan the using a washer. model or oral cavity. Wash Scan *More then 5 minutes rinse is recommended. Use provided nipper to Design with CAD software remove supporters from based on the scanned data, Supporter the printed parts.
-
Page 6: Product Component
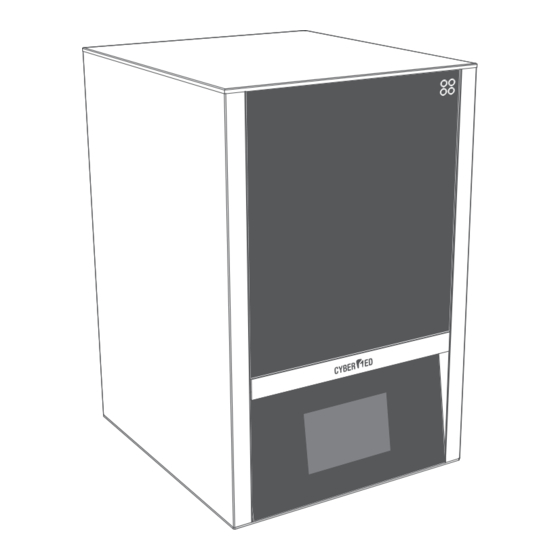
3 Product Component Main Body On / Off Switch Plate Power Port Temperature control USB Port Light control Main Display panel Accessories Remover Vat Cover Plate Plastic Metal Rounded Cleaning Hex wrench Nipper scrapper scrapper Power cable Sieve tweezer Brush (for Vat) (for plate) - Page 7 4 Operating Instructions 1. Connect the power 2. Plate & Vat installation 3. Pour material Connect the power cable and turn on Plate: Secure the plate with the two Fill the vat with resin, making sure not the power switch screws, ensuring that the screw holes to overfill the vat (max fill line is drawn face forward.
- Page 8 4. Operating Instructions 5. Printing done 6. Removal 7. Wash When printing is done, a message will Remove the printed part using the Use the washer to clean the residual resin. appear along with the alarm. remover. Recommended : more then 5 minutes 8.
-
Page 9: Additional Functions
5 Additional Functions Clean This function is used to cure a single layer of resin on the entire exposed (clean) bottom surface to remove any remaining residues in the vat at once. 1. Select "Setting" icon 2. Select "Clean" icon 3. -
Page 10: Auto-Temperature Control
5 Additional Functions LCD Test This function is the check the damage on the LCD. LCD damage example 1. Press "Setting" icon 2. Press LCD test When the light is on, check the LCD surface 3. Set lighting time for damage. Auto-Temperature This panel maintains optimal temperature within the printer. -
Page 11: Product Maintenance
6 Precautions • Do not subject the printer to strong impacts or vibrations during use. • Do not forcefully shut down the printer during operation. • If smoke or odor occurs, immediately turn off the power switch, unplug the power cord, and contact the manufacturer. - Page 13 Website : www.cybermed.co.kr Head Office : 6-26, Yuseong-daero 1205beon-gil, Yuseong-gu, Daejeon, Korea (34104) Seoul Office : #901, World Meriden Venture Center 1Cha, 254, Cherry Blossom-ro, Geumcheon-gu, Seoul (08511) OnDemand3D 4K Printer Manual ver.1 ENG | ©Cybermed Inc. 2022 All rights reserved.
- Page 14 Inquiry +82 2 6959 1553 | E-mail info@cybermed.co.kr www.cybermed.co.kr...
Need help?
Do you have a question about the OnDemand3D and is the answer not in the manual?
Questions and answers