Table of Contents
Advertisement
Quick Links
prep parts and Work Area before starting
•
Make sure you are working on a sturdy, flat work surface
that will not scratch or damage the parts while handling.
•
Lightly sand and deburr the part edges if needed.
Recommended Tools for Base Construction
•
Wood Glue
•
30" Bar Clamps (4)
•
#2 Philips Screw Driver
•
Rubber Mallet or Hammer
•
Electric Drill
Please Note: If you are not going to start building the chest right away, you will need to weight down the parts. The parts are
unfinished and can warp if left in the box for extended periods of time. Gerstner is not responsible for replacing warped parts
15 days after receipt.
•
It is recomended to dry fit (construct without glue) the
parts to familiarize yourself with the assembly process.
•
Router (Optional)
•
3/16" Roundover Bit
•
80, 120 and 150 Grit Sandpaper
•
90 Degree Square
•
Choice of Stain/Finish
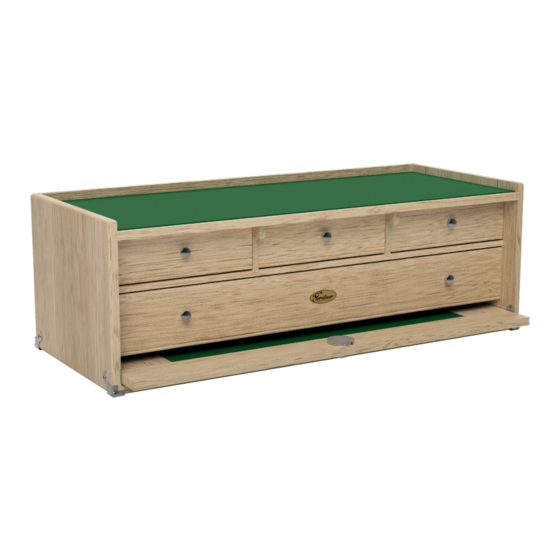
B2704 Base
DIY Kit Instruction Manual
•
Drill Bits: 3/32", 3/16", 7/16" and #25
•
Paraffin wax
•
Drawer bead bit if desired
Advertisement
Table of Contents

Summary of Contents for Gerstner B2704
- Page 1 Please Note: If you are not going to start building the chest right away, you will need to weight down the parts. The parts are unfinished and can warp if left in the box for extended periods of time. Gerstner is not responsible for replacing warped parts...
- Page 2 (Sold separately) you pre-assemble the We've made is easy to add handles box WITHOUT glue to to your B2704 Base. Use the pre- familiarize yourself with drilled 5 hole pattern on the inside of both side panels as a guide to the process.
- Page 3 It might also be necessary to clamp the chest front to back as well. Be careful to not drill through wood. CAUTION: Do not mount or drill lock on front face of lid. Have Questions? Call us at (937) 228-1662, or email us at Gerstner@GerstnerUSA.com...
- Page 4 Drawer Fronts: knob hole machining Drawer assembly Mark the knob location on the inside of the drawer face. Because the drawers are assembled the same way regardless of size we will only be covering assembly of one single drawer. Assemble the drawer front and back into the drawer side as shown.
- Page 5 Staining & Finishing Flush-up all joinery. This may be done with a flush Stain and finish the parts as desired. Gerstner stains cut router bit or by hand sanding. Take extra care in and then applies 1-2 coats of a lacquer sealer and then flushing-up the chest top and back.*...
- Page 6 We recommend Gerstner Whew Glue for all felt applications, as it holds reliably, yet is easy to replace if you ever need to re-felt in the coming years.
- Page 7 BUILDING YOUR NEW • Gerstner Workshop nameplate with nails ..1 • Base lock with screws ..... . . 1 B2704 Base? •...
Need help?
Do you have a question about the B2704 and is the answer not in the manual?
Questions and answers