
Summary of Contents for InnerSpace Ventaire
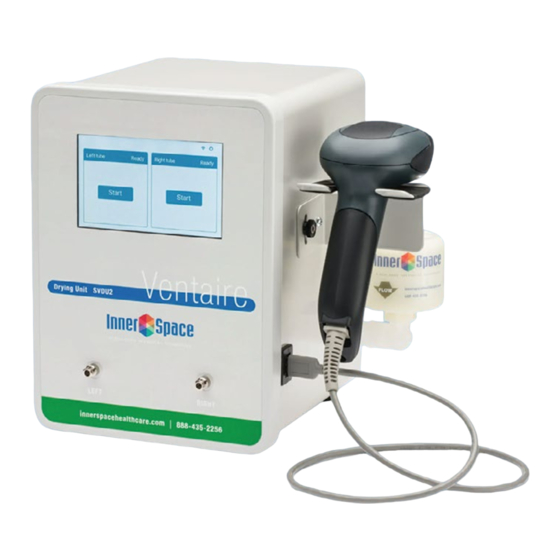
- Page 1 Instruction Guide for Scope Drying Unit Ventaire Endoscopy System ™ 888-435-2256 | innerspacehealthcare.com...
-
Page 2: Table Of Contents
Replacement Information .............4 Pausing a Drying Cycle .............10 InnerSpace Barcodes ..............4 Removing a Scope ..............11 • Using InnerSpace Scope Barcodes ........4 Restarting Scope Drying Unit ............11 • Using Embedded Manufacturers’ Scope Barcodes ....4 • Using InnerSpace User Barcodes ..........4 InnerSpace Support ..............4 Appendix Care and Maintenance ..............12... -
Page 3: Introduction
Once the unit’s drying cycle is complete, the endoscope can be InnerSpace’s Ventaire Endoscopy System includes products that placed in a scope drying and tracking cabinet for continued drying assist endoscopy staff in the safe and thorough drying, tracking, and venting or stored in an endoscope cabinet. -
Page 4: System Specifications
• Air output: · Compressor output: 5 PSI (maximum PSI) A set of InnerSpace barcode sticker sheets for ID badges and · LPM: 1.65 CFM (46.7 LPM) endoscopes is included with the scope drying unit. Scanning •... -
Page 5: System Administrators
Settings menu. such as users, scopes, and scope drying times. Users will see information and interact with the system interface based on the administrator’s setup. After the Ventaire drying unit is powered, the main screen will be displayed. -
Page 6: Exporting Data
The system default requires users to scan the InnerSpace barcode on their ID badge, but administrators can edit the steps To generate a report, select Settings and then Export Data. Insert to include scanning barcodes on both an ID badge and a scope a USB into the port on the drying unit. -
Page 7: Sound
• Scan barcode to identify an endoscope. Peel and affix sticker firmly to the endoscope After an InnerSpace ID badge or scope barcode sticker is affixed, administrators can scan the barcode to add a user or scope to the drying unit system. -
Page 8: Importing Users
ID, description, and barcode need to be entered. reboot. All preexisting data will be erased and will need to be The barcode will need to match the barcode on the InnerSpace uploaded again. endoscope barcode sticker sheet for that scope or match the... -
Page 9: System Operators
For questions or help with the scope drying unit, contact InnerSpace Customer Service at 888-435-2256. Blue: The right or left port is in use and drying a scope. The timer indicates minutes left in drying cycle. When timer is at 0:00, the... -
Page 10: Drying A Scope
How the connector is connected to the select Resume. scope depends on the type of connector you are using. Go to innerspacehealthcare.com/Ventaire for connector kit instructions. To begin a drying cycle: Select Start for port that tube is attached to. -
Page 11: Removing A Scope
System Operators Instruction Guide for Scope Drying Unit Removing a Scope Restarting Unit When the drying cycle is complete, the blue banner displays You may need to restart the system if it freezes or has another Complete, and the user can remove the scope. issue that can’t be resolved. -
Page 12: Appendix
The drying unit’s air tubes must be replaced every 24 hours, and the unit’s air filter every 6 months (180 days). See page 13 To order replacement parts, contact InnerSpace Customer Service information on tube and air filter replacement. at 888-435-2256 or innerspacehealthcare.com... -
Page 13: Instructions
Appendix Instruction Guide for Scope Drying Unit Instructions Removing and Replacing Tubes Connecting Scope Drying Unit to Building’s Air Supply Follow these instructions to remove and replace drying tubes. Follow these instructions to connect a scope drying unit to a To remove: building’s air supply. -
Page 14: Mounting A Scope Drying Unit To Iv Or Scope Pole
Appendix Instruction Guide for Scope Drying Unit Instructions Mounting a Scope Drying Unit Step 3 to IV or Scope Pole Place U-bolts over the pole and through the center holes in the back of the bracket. Insert and turn the 4 nuts clockwise with wrench until firm and the U-bolts are tightly in place Follow these instructions to mount a scope drying unit to an IV or scope pole. -
Page 15: Mounting A Scope Drying Unit To Wall
Appendix Instruction Guide for Scope Drying Unit Instructions Mounting a Scope Drying Unit Step 4 to a Wall Position bracket so the arrow faces up and place it over the anchors. Insert screws and tighten with screwdriver until screws are flush with bracket face. Do not overtighten screws Follow these instructions to mount a scope drying unit to a wall. - Page 16 Appendix Instruction Guide for Scope Drying Unit Template for Mounting a Scope Drying Unit to a Wall Drill 5/16” diameter hole into the 4 locations. Discard template...
Need help?
Do you have a question about the Ventaire and is the answer not in the manual?
Questions and answers