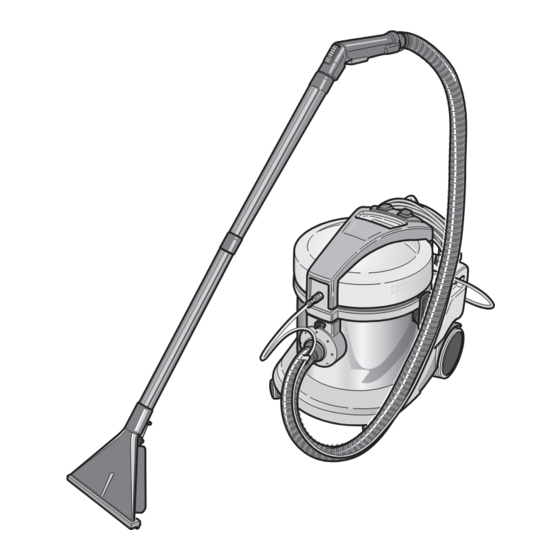
Summary of Contents for Victor CX7I
- Page 1 8050753 ed. 09-2018 CX7I CX7I CX7I CX7I Uso e Manutenzione Use and Maintenance...
- Page 2 Mod. Art. Cap.ty Air flow...
- Page 3 Produttore Modello Articolo Capacità fusto Manufacturer Model Article Container capacity Capacità aspirazione Portata d’aria N° Matricola Caratteristiche elettriche Vacuum Air flow Serial N° Electrical characteristics...
- Page 4 Fig. 1 Fig. 2 Fig. 3 Fig. 4 Fig. 5 Fig. 6 Fig. 7 Fig. 8 Fig. 9 Fig. 11 Fig. 12 Fig. 13 Fig. 10...
- Page 5 Fig. 14 Fig. 15 Fig. 16 Fig. 18 Fig. 17 Fig. 19 Fig. 21 Fig. 20...
- Page 6 Fig. 23 Fig. 22 Fig. 24 Fig. 25 Fig. 27 Fig. 26...
- Page 8 Italiano ........................ IT -1 (Istruzioni originali) English ......................EN -1 (Translation of original instructions)
-
Page 10: Caratteristiche Tecniche
CARATTERISTICHE ne e/o cose e fa decadere qualsiasi condi- zione di garanzia. TECNICHE Tensione ......Vedi targhetta dati USO SCORRETTO Potenza motore ........1200 W Livello sonoro .........60 dB(A) Depressione ........240 mbar Non utilizzare l’apparecchio per: Capacità utile serbatoio......11 l Aspirare sostanze infiammabili, esplosi- Capacità... -
Page 11: Uso Dell'apparecchio
USO DELL’APPARECCHIO 5) e bloccarla ruotando la levetta (8 Fig. 5) in orizzontale. Agganciare alla prima prolunga (10 Fig. L’apparecchio è dotato di ruote e quindi 6) la seconda prolunga (11 Fig. 6) e durante l’utilizzo può essere trascinato bloccarla agendo sulla levetta (12 Fig. 6) tramite il tubo flessibile. -
Page 12: Spegnimento Dell'apparecchio
Avviare l’aspirazione e la pompa deter- mare l’erogazione. gente premendo sui relativi interruttori Per sporchi intensi si consiglia di eroga- (24 - 25 Fig. 13). re il detergente sulla parte sporca senza Premere il pulsante (28 Fig. 15) per ero- aspirarlo lasciandolo agire per qualche gare il detergente, rilasciare per fermare secondo quindi ripassare lavando e api-... -
Page 13: Pulizia E Manutenzione
PULIZIA E MANUTENZIONE te con acqua corrente. Rimontare il tutto procedendo in senso inverso. PERICOLO: Versare nel contenitore detergente ac- Prima di effettuare qualsiasi operazione qua pulita, collegare elettricamente l’ap- di manutenzione rimuovere la spina dalla parecchio e avviare la pompa dosaggio presa di corrente. - Page 14 Sostituzione racla bocchetta pavi- utilizzare uno spillo facendo attenzione a non deformare la sagoma dell’ugello. menti (se presente) Rimontare il tutto procedendo in senso Se durante il lavaggio dei pavimenti si ha inverso. difficoltà ad aspirare il liquido di lavaggio e il pavimento o la moquette rimane bagnata è...
- Page 15 IT - 6...
-
Page 16: Technical Characteristics
TECHNICAL IMPROPER USE CHARACTERISTICS Do not use the appliance to: Aspirate flammable, explosive, corrosive Voltage ........See data plate and toxic substances. Motor power ........1200 W Aspirate hot substances. Sound level ........60 dB(A) Do not use the appliance in liquid suction Depression ........240 mbar mode to suction powder and vice versa Useful capacity tank ....... - Page 17 Hose assembly for fabric washing (if Push the switch (24 Fig. 13) on “I” to start the suction motor; the switch lights up. present) Push the switch (25 Fig. 13) on “I” to start After connecting the suction hose to the out- the detergent pump;...
-
Page 18: Cleaning And Maintenance
Switching off the appliance For very dirty areas it is recommended you apply detergent to the dirty area with- Press the switches (24 and 25 Fig. 13) to out suctioning it; leave the detergent al- “0” to switch off the appliance; the lamps lowing it to work for several seconds and on the switches will go out. -
Page 19: Spare Parts
Cleaning the detergent dispensing tor. Remove the detergent container (21 Fig. nozzle 20) lifting it by the handles. If you note that the detergent is not dispensed Remove the cap (20 Fig. 10) of the de- evenly, clean the nozzle as described below: tergent container and empty the residual Remove the ring nut (37 Fig. - Page 20 PROBLEM CAUSE SOLUTION The vacuum cleaner does Switch not pressed. Press the switch. not work. Plug not inserted. Insert the plug into the sock- Power cut. Check the power line. Suction is not satisfactory. Accessories tubes Check and clean the flexible clogged.
- Page 21 EN - 6...
- Page 24 DEALER Barnborough Ltd. 40-42 Rushey Lane,Birmingham, B11 2BL,United Kingdom Tel. +44(0)121 706 5771[73.00] - Fax. +44(0)121 708 1052 http://www.victorfloorcare.com - e-mail: sales@victorfloorcare.com...


Need help?
Do you have a question about the CX7I and is the answer not in the manual?
Questions and answers