Dreo DR-BBM001 - Baby Monitor Manual
- User manual (14 pages) ,
- Quick start manual (2 pages) ,
- User manual (15 pages)
Advertisement
- 1 SPECIFICATIONS
- 2 KNOWING YOUR PRODUCT
-
3
USING YOUR DEVICE
- 3.1 Getting Started
-
3.2
Functions & Operations
- 3.2.1 Interface Overview
- 3.2.2 Volume Settings
- 3.2.3 Brightness Settings
- 3.2.4 Screen Timeout
- 3.2.5 Add a Camera
- 3.2.6 View a Camera
- 3.2.7 Delete a Camera
- 3.2.8 Auto Switch
- 3.2.9 Split Screen
- 3.2.10 VOX (Voice Activated Alert)
- 3.2.11 Nursing Reminder
- 3.2.12 Talkback
- 3.2.13 Sleep Mode
- 3.2.14 Zoom In & Zoom Out
- 3.2.15 Pan & Tilt
- 3.2.16 Night Vision
- 3.2.17 Temperature Alert
- 3.2.18 Other Settings
- 4 TROUBLESHOOTING
- 5 IMPORTANT SAFETY INSTRUCTIONS
- 6 DREO CUSTOMER CARE
- 7 Documents / Resources
SPECIFICATIONS
| General System | |
| Connectivity | 2.4GHz FHSS |
| RF Frequency | 2400 MHz-2483 MHz |
| Type of Modulation | GFSK |
| Selectable Camera Channels | 4 |
| Monitor | |
| Resolution | 1280 X 780P |
| Display | 5 inch TFT Color Display |
| Input Voltage | 100-240V~50/60Hz |
| Operating Voltage | 5.0V  2A 2A |
| Battery | 5000mAh |
| Zoom | 2X&4X |
| Camera | |
| COMS | 1280 X 720P |
| Input Voltage | 100-240V~50/60Hz |
| Operating Voltage | 5V 1.2A |
| Night Vision | Black and white |
| Pan & Tilt | 90 degrees vertical (up=60°, down=30°) 300 degrees horizontal |
Gentle Reminder
Check the appliance regularly and refer to TROUBLESHOOTING or contact our customer support if it shows any of the following signs:
- Power cord or plug is damaged.
- Poor reception or excessive noise.
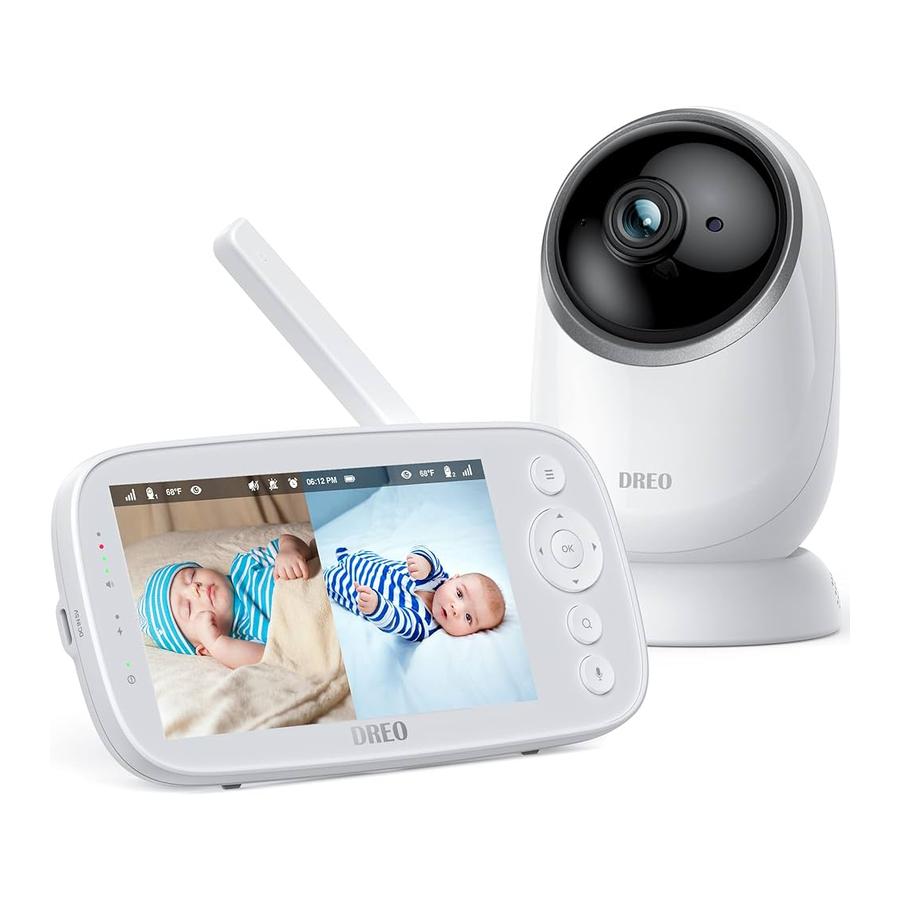
KNOWING YOUR PRODUCT
Package Contents
*Actual contents may vary depending on your purchase.

Product Diagram
Camera

|
|
|
|
|
|
|
| |
|
|
|
Device

|
|
|
|
|
|
|
|
|
|
|
|
|
|
|
|
|
|
USING YOUR DEVICE
Getting Started
- Plugging in the Camera
Connect the camera to the power supply with the included AC adapter.
![warning]() Place the camera and power cord out of reach of children. Camera is not battery powered. Keep plugged in when in use.
Place the camera and power cord out of reach of children. Camera is not battery powered. Keep plugged in when in use. - Charging the Monitor
Charge the monitor with the included USB charger.
![information]() It takes around 7 hours to fully charge. The charging indicator will turn on while charging and off when fully charged.
It takes around 7 hours to fully charge. The charging indicator will turn on while charging and off when fully charged. - Pairing the Camera with the Monitor
By default, the camera has been paired with the monitor when manufactured. If the camera is disconnected, please refer to "Add a Camera" section.
![warning]() Keep camera and monitor within a distance of 12-40 in (30-100 cm) when pairing. Note that microphone feedback might occur when they are close to each other.
Keep camera and monitor within a distance of 12-40 in (30-100 cm) when pairing. Note that microphone feedback might occur when they are close to each other. - Positioning the Camera
Keep the camera 3-16 ft (1-5m) away from your baby's crib, playpen and baby bed for best viewing and safety reasons. - Wall Mounting the Camera (Optional)
Select a spot to mount the camera, ideally 5-8 ft high, keeping it beyond the reach of children. Install the included screw into the wall and mount the camera onto the screw.
![warning]() Do not release the camera until you're sure it is firmly mounted.
Do not release the camera until you're sure it is firmly mounted.
Functions & Operations
Interface Overview


Volume Settings
Press  , select through
  →
→  /
/  , and press
  /
/  →
→  to set the desired volume level.


Brightness Settings

Press , select through  →
→  , and press / → to set the desired brightness level.
Screen Timeout

Press , select through  →
→  , and press / → to set the desired time for the screen to turn off automatically.
Add a Camera

Press , select through  →
→  →
→  , and press the PAIR button on the camera, then the camera will pair with the monitor automatically.
View a Camera

Press , select through →  , and select the camera number 1/2/3/4 to view.
Delete a Camera

Press , select through  →
→  , and select the camera number 1/2/3/4 to view.

- At least one camera should stay connected.
- The current camera number will appear at the top of the screen.
Auto Switch

Press , select through →  →
→ 
Once set, the screen will automatically switch from one camera to another camera (if connected) every 15 seconds.
Split Screen
Press , select through →  , and select two cameras.
- Once two cameras are selected, you can view two cameras in split-screen mode.
- In split-screen mode, the audio will switch between cameras every 15 seconds.
VOX (Voice Activated Alert)
- Press
![]() , select through
, select through ![]() →
→ ![]() .
. - Choose a sensitivity level. The higher the VOX sensitivity level, the more sensitive the camera is in detecting sounds for transmitting to the monitor.

 →
→  .
.
- Once set, the screen will go into sleep and enter VOX mode.
- In VOX mode, the screen will stop broadcasting sounds from the camera side until the audio detected is above the alert level.
Nursing Reminder

Press , select through  →
→  , and set a specific time for the monitor to alert you for nursing.
You can also select through →  , and select 2 hours, 4 hours, or 6 hours to create a repeating reminder.
The reminder will sound for 30 seconds and again after 1 minute if no action is taken, but will shut off automatically if none is taken after three times.
Talkback

Push  to talk and release to listen.
- In split screen mode: the talkback function is activated on the left camera by default. You can press
![]() /
/ ![]() →
→ ![]() to select one camera to talk to.
to select one camera to talk to.

- When the video volume is set low, you might not be able to hear from the camera side.
- When
![]() is pressed, the sound from the camera side will not be heard.
is pressed, the sound from the camera side will not be heard.

Sleep Mode

Short press  to enter sleep mode. Press any button to wake up.
![information]() In sleep mode, the screen will turn off, but the monitor will continue to receive sounds from the camera.
In sleep mode, the screen will turn off, but the monitor will continue to receive sounds from the camera.
Zoom In & Zoom Out

When viewing a camera, press  to magnify the screen at 2x or 4x.
Pan & Tilt

When viewing a camera, press  /
/  /
/  /
/  to view from different angles, 90 degrees vertically and 300 degrees horizontally.
Night Vision
The night vision is automatically activated in a dim environment. Infrared LEDs attached on the front of the camera allow you to see the baby in a dark room.
Temperature Alert
The monitor will prompt high temperature and low temperature alerts when the ambient temperature is below 50°F/10°C or above 86°F/30°C.
Other Settings

Press , and select  to enter other settings.
![]() : Set the date and time on the monitor.
: Set the date and time on the monitor. ![]() : Select temperature scale between °C and °F.
: Select temperature scale between °C and °F. ![]() : Select refresh rate between 60Hz and 50Hz.
: Select refresh rate between 60Hz and 50Hz. ![]() : Reset to factory settings.
: Reset to factory settings. ![]() : View support page.
: View support page.
 : Set the date and time on the monitor.
  : Select temperature scale between °C and °F.
  : Select refresh rate between 60Hz and 50Hz.
  : Reset to factory settings.
  : View support page.
TROUBLESHOOTING
| Why won't my baby monitor turn on? |
|
| Is a WiFi connection required to set up and use? |
|
| Why won't my baby monitor connect to the camera? |
|
| Why does the monitor screen keep switching off when I'm using it? |
|
| Why is the screen black when I view a camera? |
|
| Why is there no sound from the monitor? |
|
| How should I clean and maintain my monitor and accessories? |
|
| Why is the temperature shown on the monitor not accurate? |
|
| Why did the monitor video suddenly turn black and white? |
|
| Why is the screen a bit choppy? |
|
| My baby monitor makes a noise. |
|
 →
→  →
→  , and press the PAIR button on the camera, then the camera will pair with the monitor automatically.
  →
→  , and press
  →
→  , and press
  →
→  , and press
 IMPORTANT SAFETY INSTRUCTIONS
READ ALL CAUTIONARY MARKINGS ON THE APPLIANCE AND SAFETY INSTRUCTIONS IN THE USER MANUAL BEFORE USE.
General Safety
 Not a Substitute for Proper Adult Supervision:
You MUST check your children's activities regularly.
Not Intended for Use as a Medical Camera:
this appliance should not replace adult supervision.
Not a Toy:
Do not allow children to play with this appliance.
Risk of Suffocation:
Keep all packaging materials out of reach of children.
Location Safety
Strangulation Hazard:
Children can be entangled in cords. Keep the appliance, adapter and power cords out of the reach of children at all times, at least 3 feet / 1 meter away.

Danger from Power Cords:
To avoid possible danger from power cords, the cords should be secured and never be hung on or near the crib or playpen. Do not place in the crib, bed or playpen.
Keep Away From Heat:
Do not install near any heat sources such as radiators, heat registers and stoves.
Water and Moisture:
Do not use the appliance near water, including near a bathtub, sink, laundry machine, wet basement, etc.
Electricity Safety
- Only use the AC adapters provided.
- Do not insert anything into upgrade pinholes.
- Do not block any ventilation openings.
- Unplug the appliance during lightening storms.
- Only use attachments and accessories provided.
- Unplug the appliance when unused for long periods of time.
HOUSEHOLD USE ONLY READ AND SAVE THESE INSTRUCTIONS
DREO CUSTOMER CARE
We're Here to Help!
(888) 520-3736
(Mon - Fri, 9:00 am-5:00 pm PST/PDT)
www.dreo.com
support@dreo.com
Shenzhen Hesung Innovation Technology Co., LTD
26F, Bldg A7, Creative City, Shenzhen, China
Join the Dreo community on Facebook:
facebook.com/groups/dreobabycare


Documents / Resources
References
Download manual
Here you can download full pdf version of manual, it may contain additional safety instructions, warranty information, FCC rules, etc.
Advertisement


Need help?
Do you have a question about the DR-BBM001 and is the answer not in the manual?
Questions and answers