Table of Contents
Advertisement
Quick Links
Retractable
Gate
USER MANUAL(GUIDE)
2022-10
Mounting hardware must be mounted into a stud in the wall.
If the door must be installed at the top of the stairs, the door should be at
least 6 inches from the leading edge of the top stairs.
Gate must swing away from stairs when opening.
Your safety gate contains the following:
x1
A
x1
B
x1
C
x1
D
x1
E
x2
F
(The latch is not in the hardware package,
the latch is installed on the door rail)
PLEASE CHECK TO MAKE SURE YOU HAVE THE FOLLOWING PARTS:
A
Wall Anchor
E
Upper Latch
10
WARNING
Product and Accessories List
G
H
B
Mounting Screw
C
D
Wall Hinge
Lower Latch
G
H
F
Template
E-latch
Gate Frame
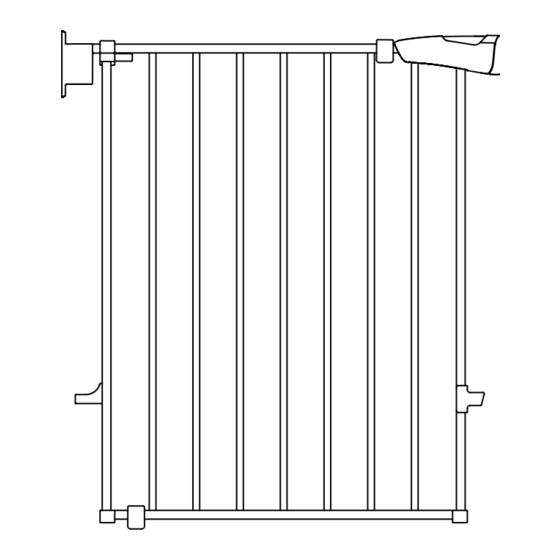
Top View
Side View
Installation Location
Bottom of stairs
lf the gate is used at the bottom of
lf the gate is used at the top of the
the stairs, it must be placed on the
stairs, it must be placed 15 cm (6 in)
lowest stair to prevent children from
back from the top step to prevent
climbing upstairs.
children from falling down the stairs.
Doorway & Opening
NOTE:
The maximum spacing from the floor to bottom of gate is 2.5", the minimum
spacing is 1"
Front View
1"~2.5"
Hardware Installation
1
Use a tape measure to figure out
the opening width.
2
Paste template
NOTE:
The bottom of the template must be close to the ground and kept
perpendicular to the ground
90°
Top of stairs
15cm
6in
Advertisement
Table of Contents

Subscribe to Our Youtube Channel
Summary of Contents for Babelio Retractable Gate
- Page 1 WARNING Installation Location Bottom of stairs Top of stairs Mounting hardware must be mounted into a stud in the wall. lf the gate is used at the bottom of lf the gate is used at the top of the If the door must be installed at the top of the stairs, the door should be at the stairs, it must be placed on the stairs, it must be placed 15 cm (6 in) least 6 inches from the leading edge of the top stairs.
- Page 2 Install the lower shaft Tighten the Q1 screw Unscrew the E-latch NOTE: NOTE: When installing the lower shaft, please keep the b end facing up and the a Keep the door frame closed when tightening the Q1 screw end facing the ground Extend the door rail to the wall and determine the sticking position of D and E Tighten the Q2 screw...
Need help?
Do you have a question about the Retractable Gate and is the answer not in the manual?
Questions and answers